how to
photograph
wild birds

Adjusting the shutter speed can change the feeling of a photo

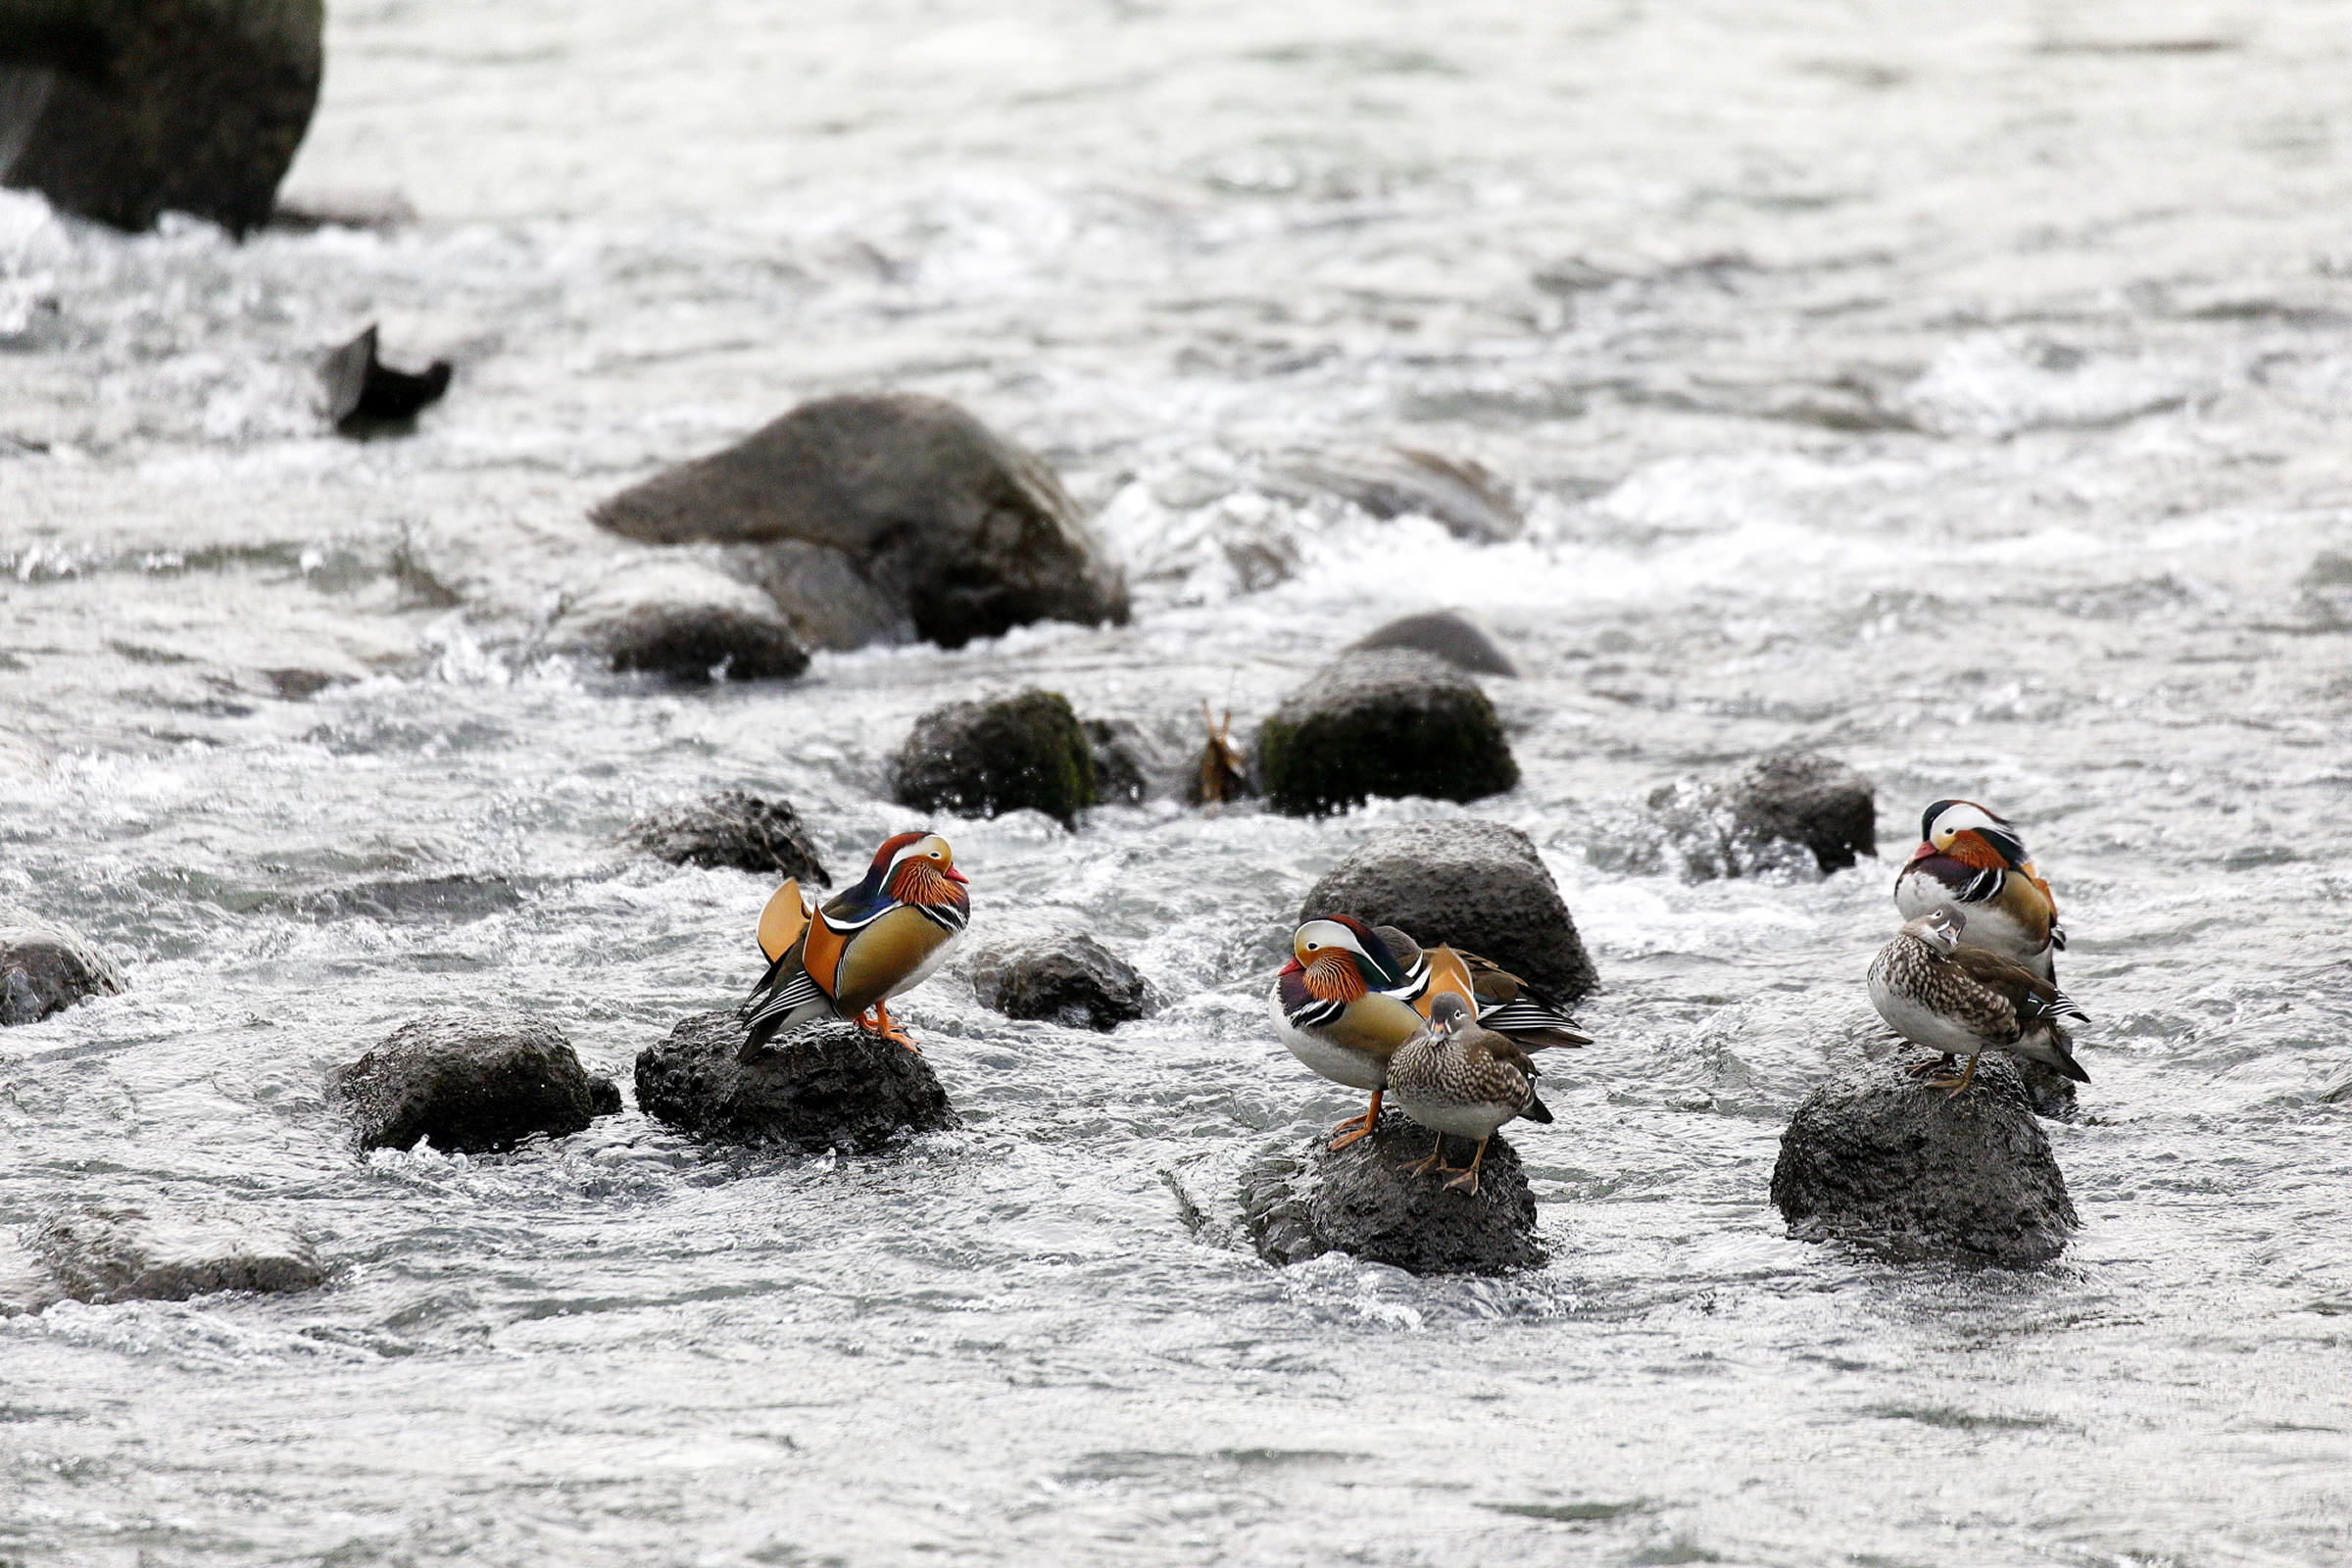
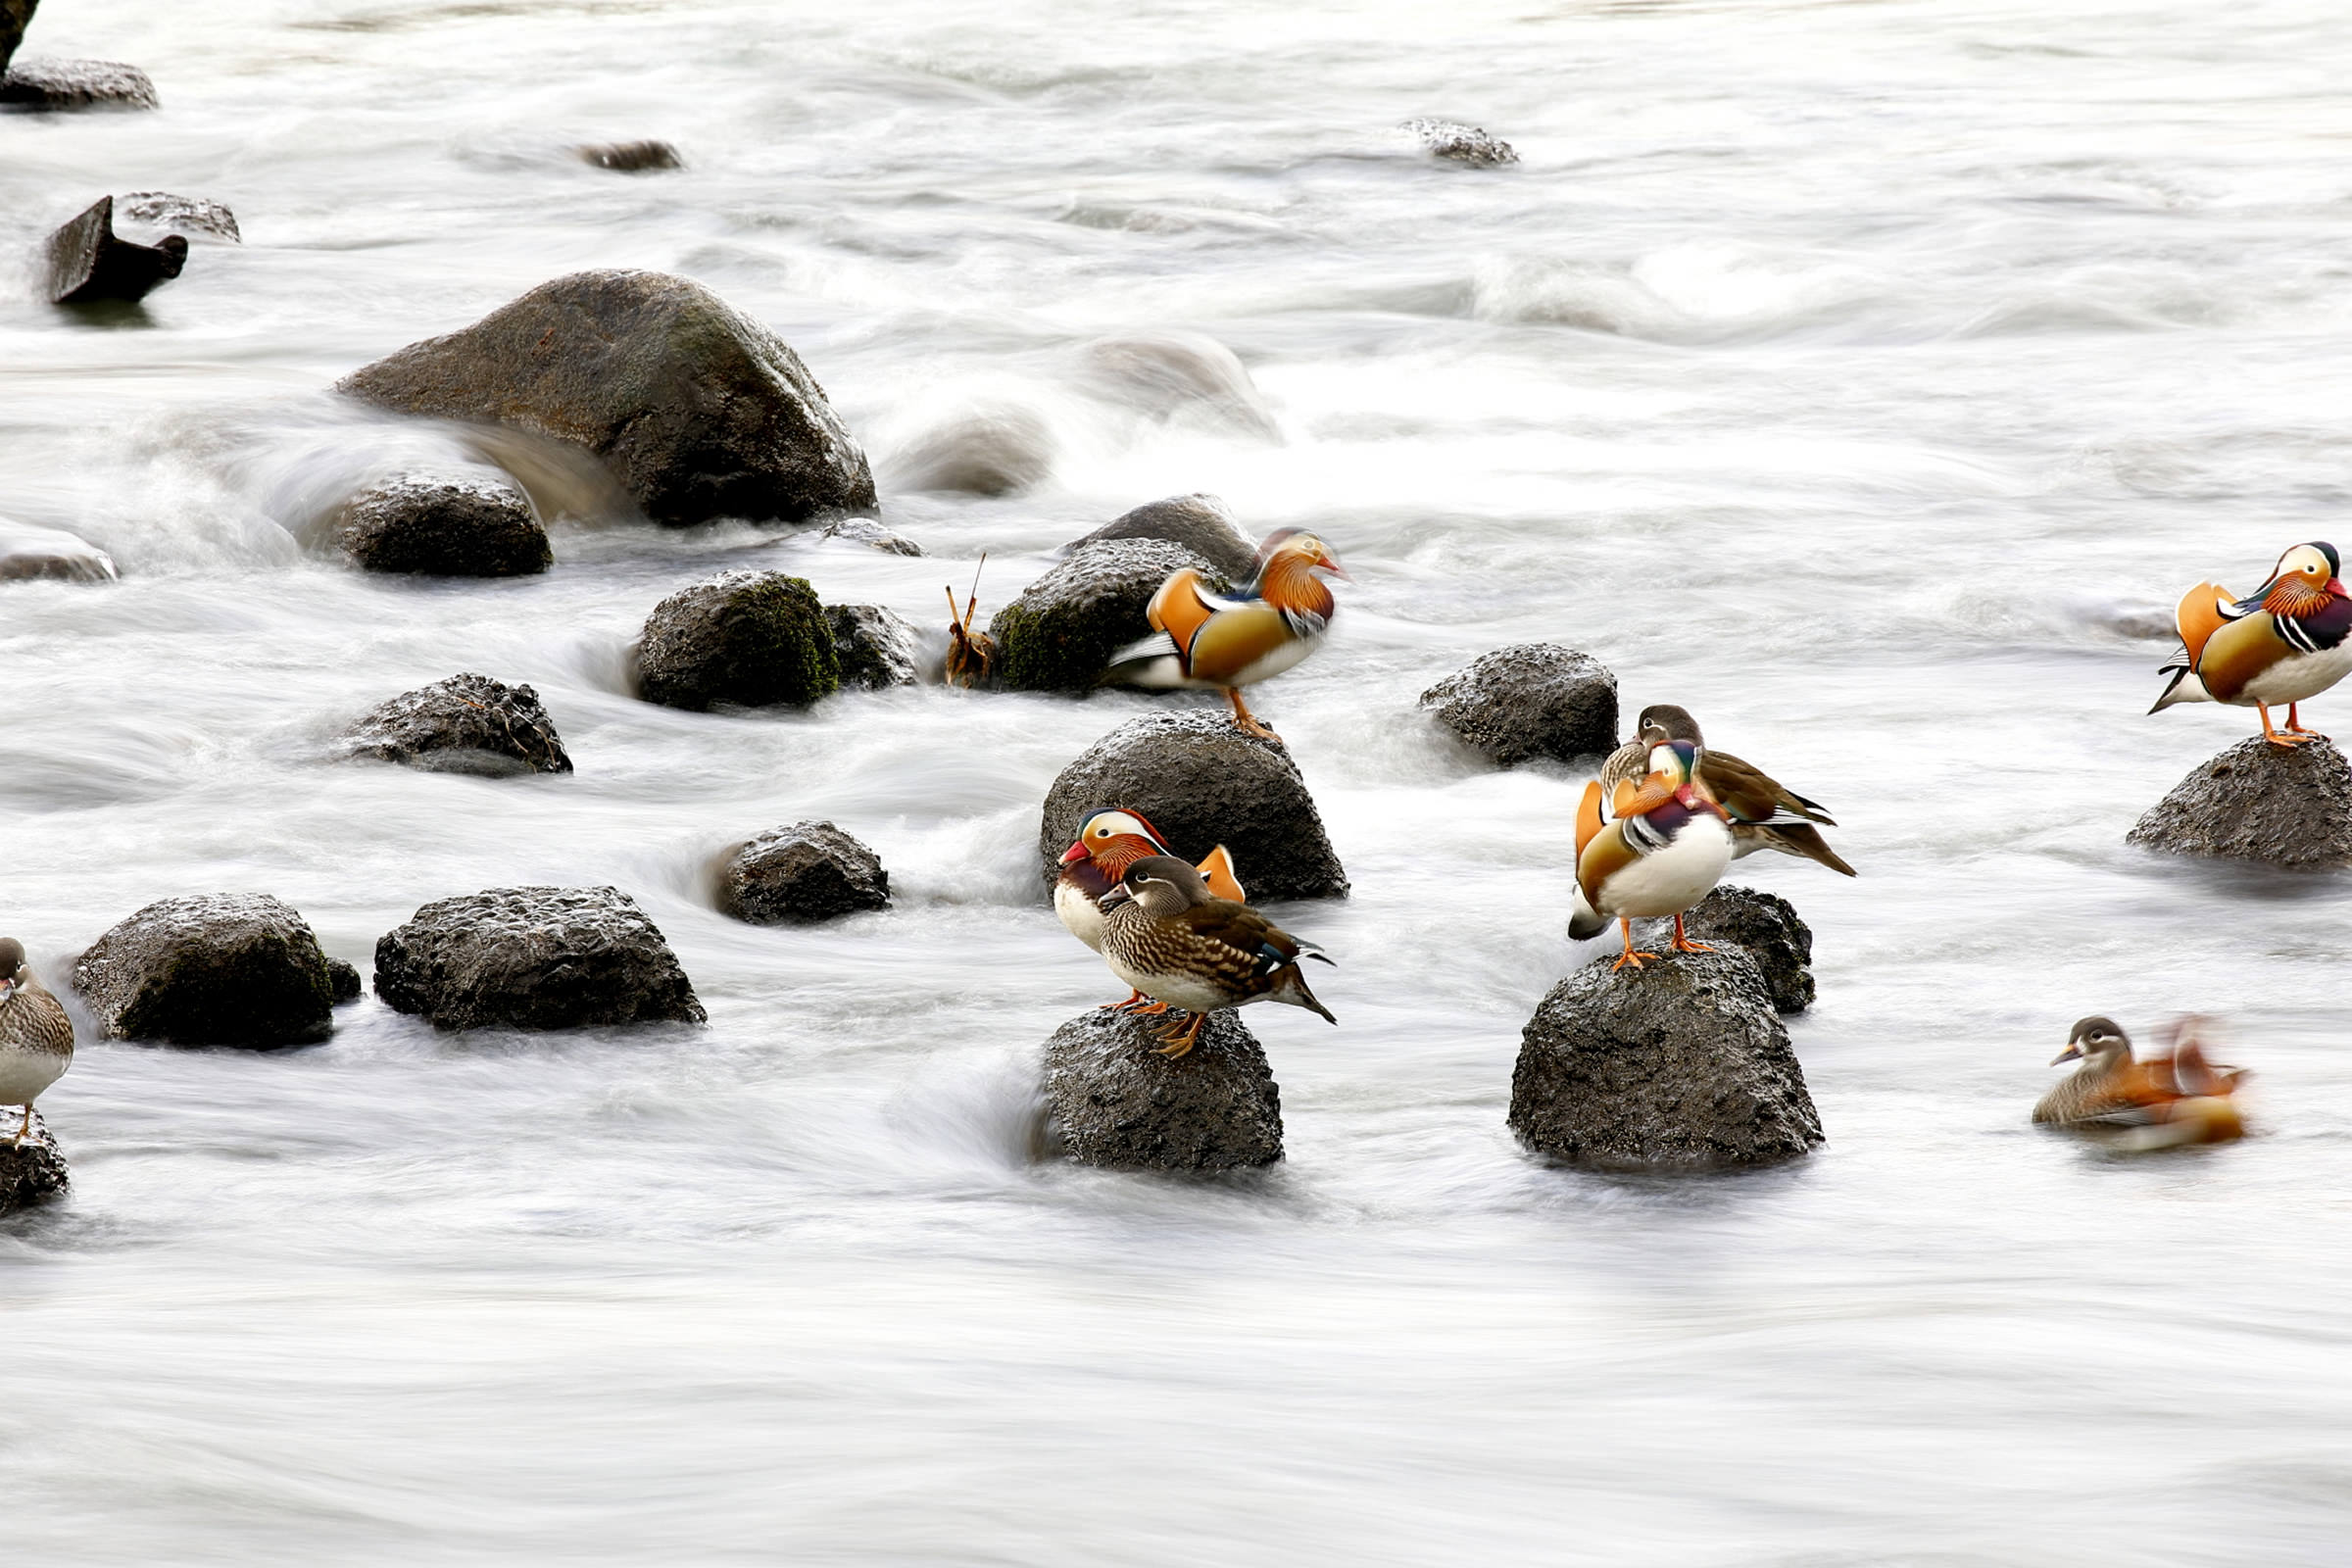
I have thus far explained how to freeze the movement with a fast shutter speed, and how to minimize the blurriness by increasing the shutter speed when photographing flying birds in certain situations, such as when the bird is small or you cannot get close to it. It is not necessarily the case, however, that photographs of birds where there is no sense of movement are the best in terms of expression.

Image
Sanderling
Sanderling
Sanderling
Enlarge

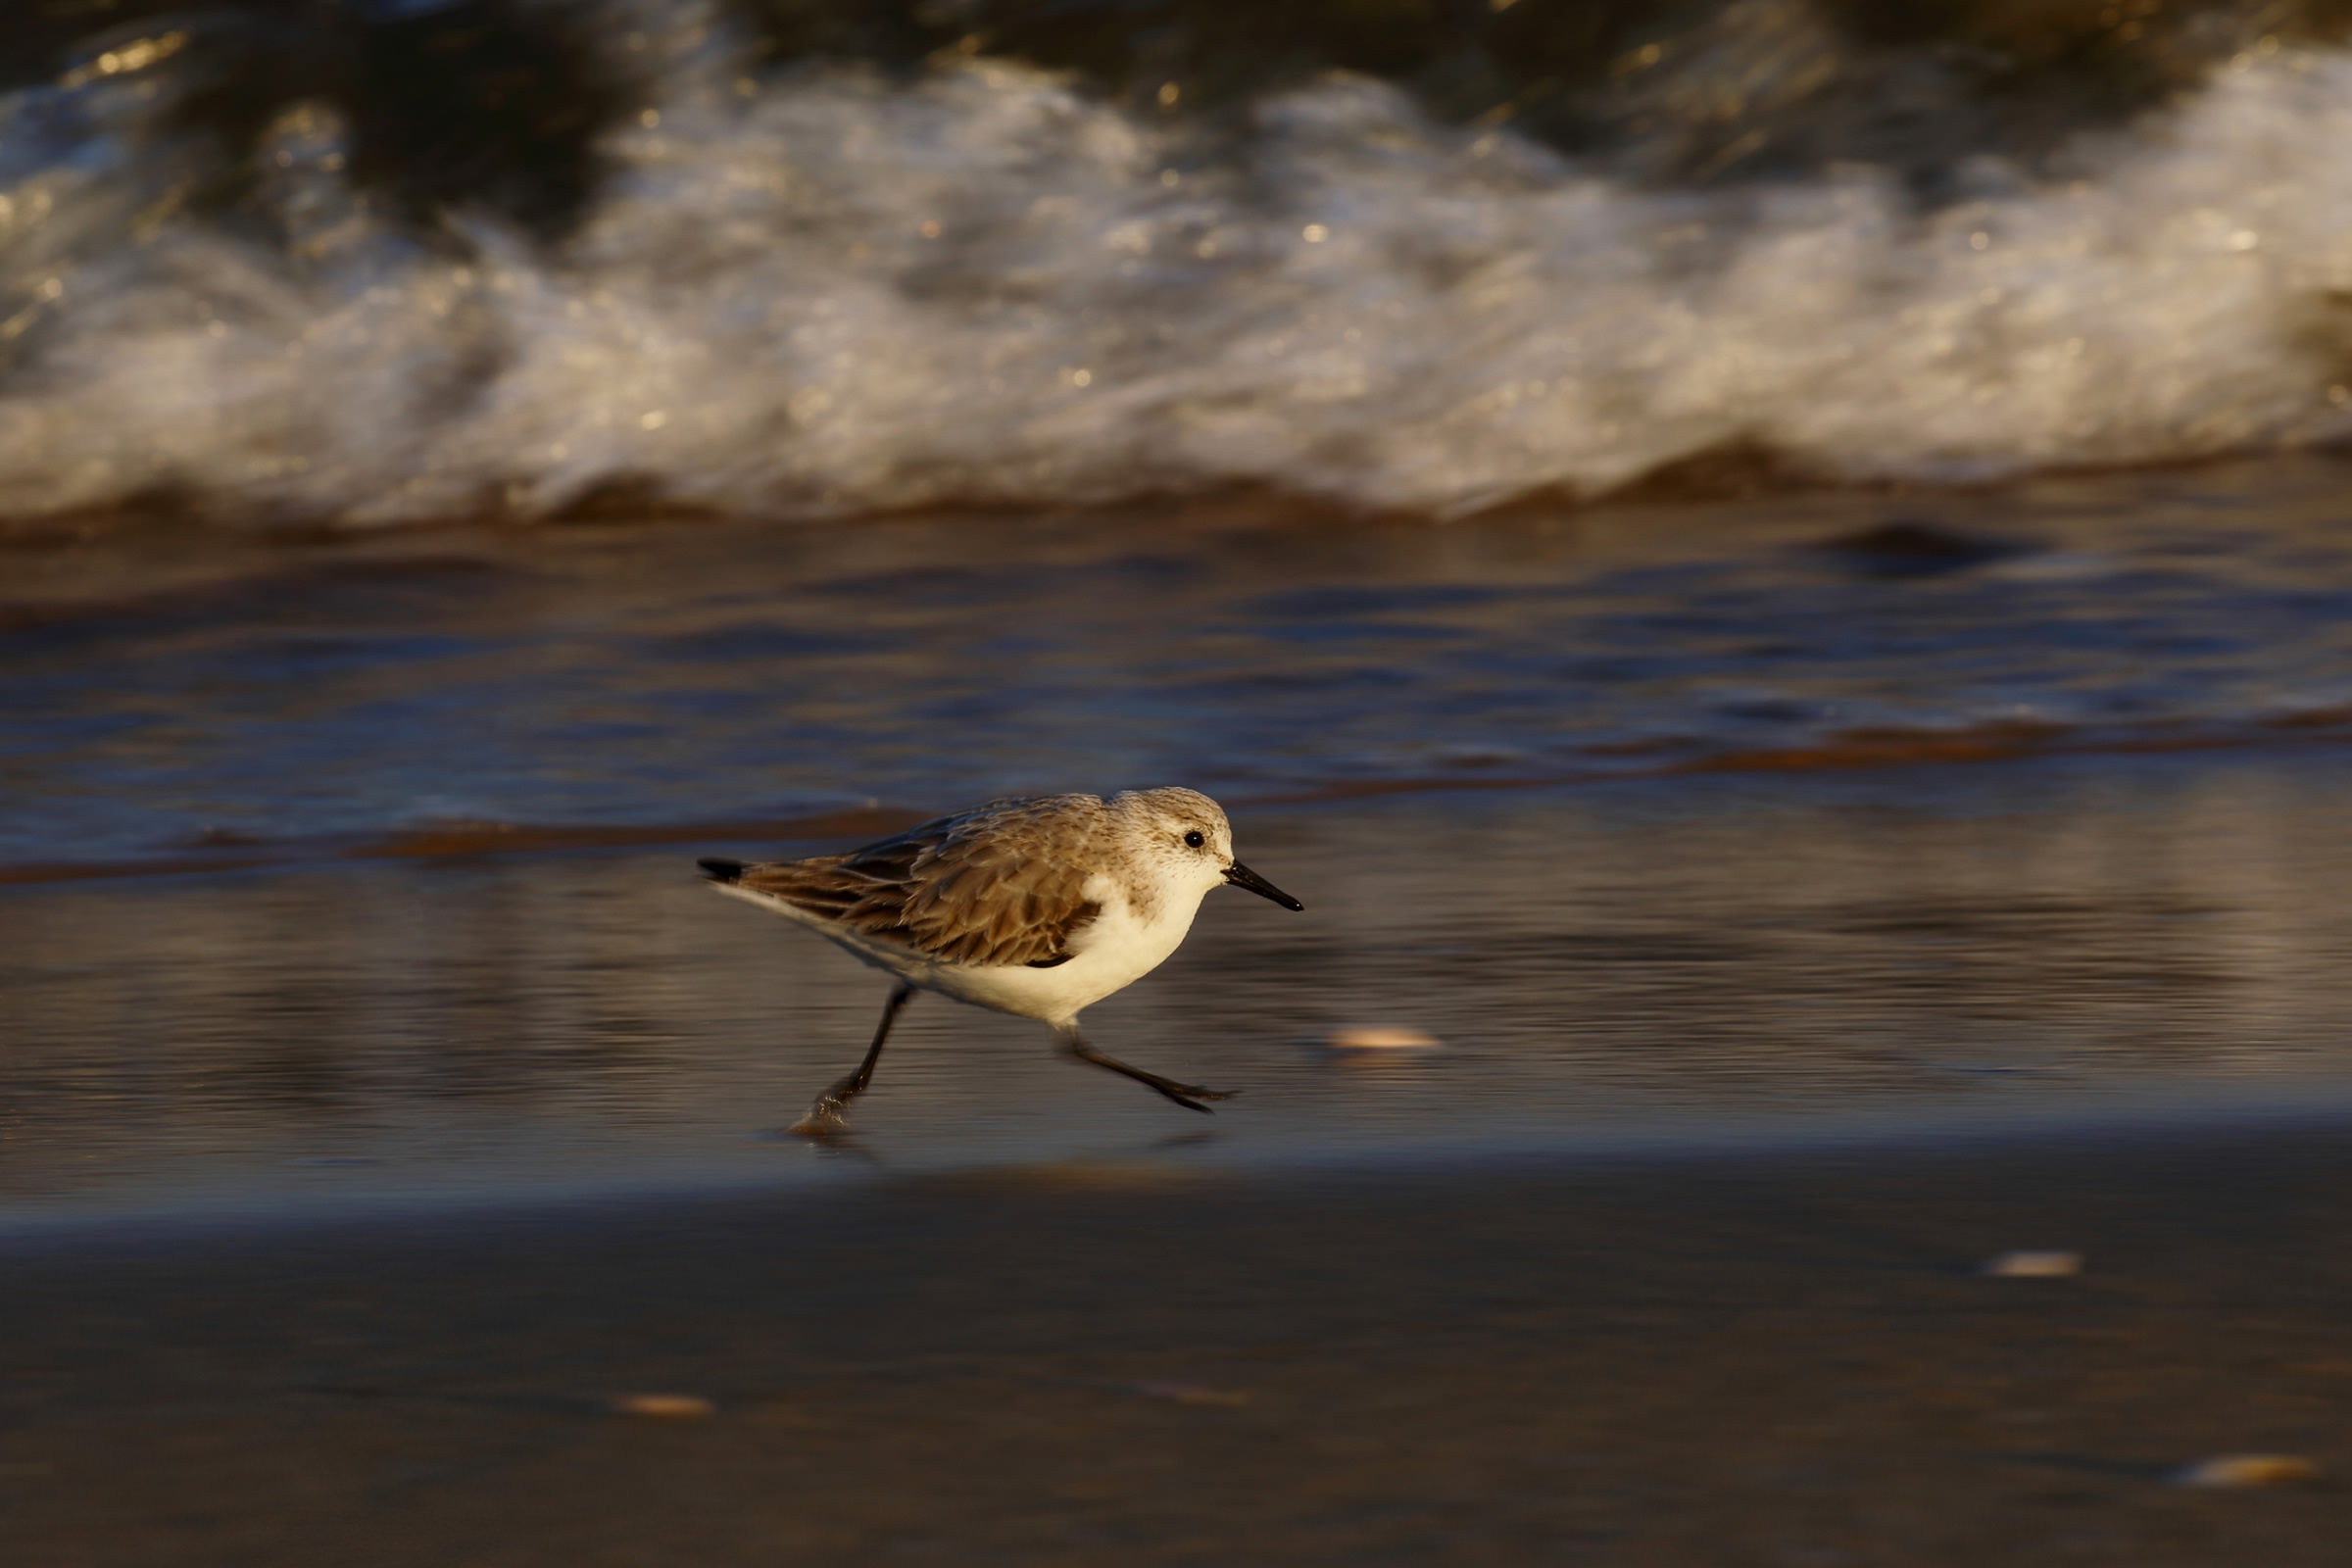
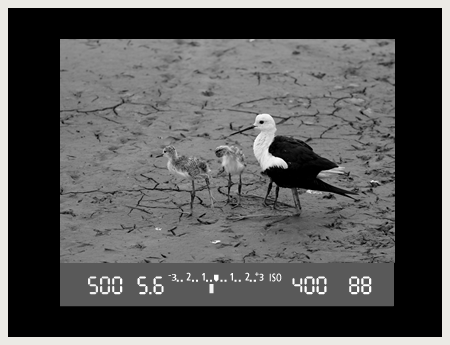
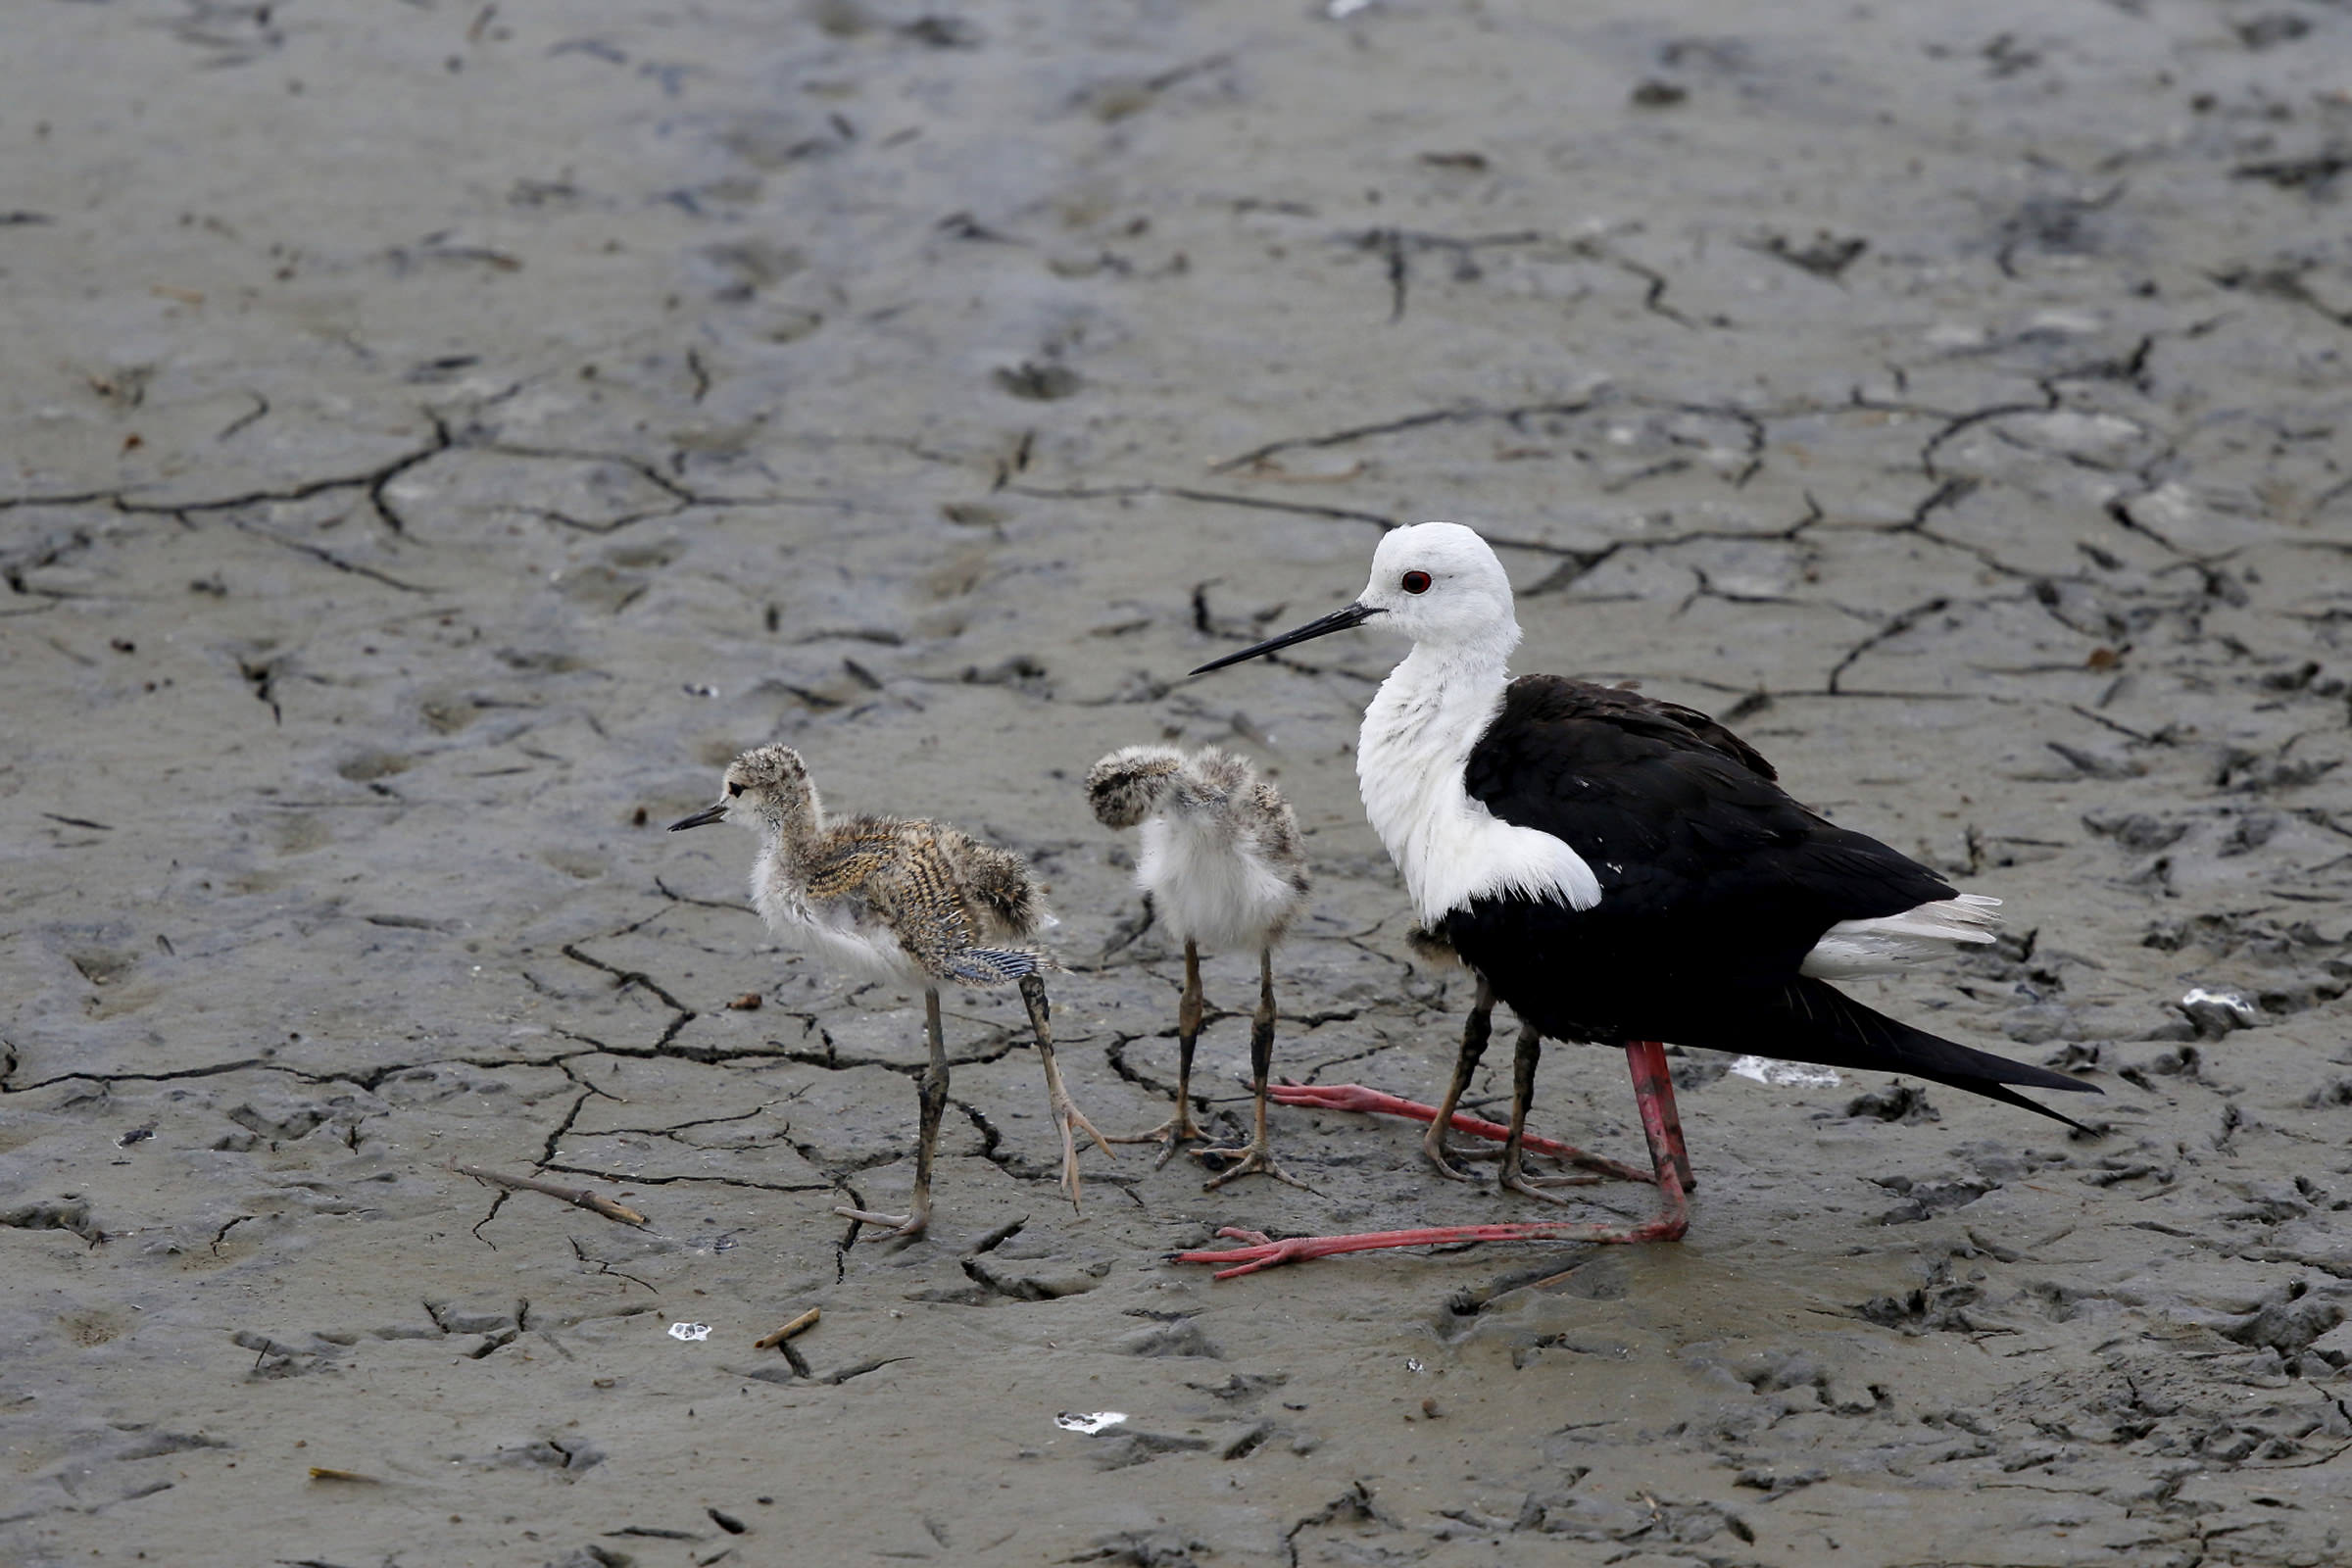
Panning is a shutter-speed technique often used when photographing sports activities and moving vehicles. When photographing wild birds, however, you rarely see panning used for anything except birds in flight. Unlike trains or airplanes, birds run about, stop suddenly, and go in unexpected directions. That is why they can be hard to follow and difficult to photograph. That being said, you can target such birds as Sandpipers and Plovers that run unhindered along sandy beaches and in other open places.

Image data
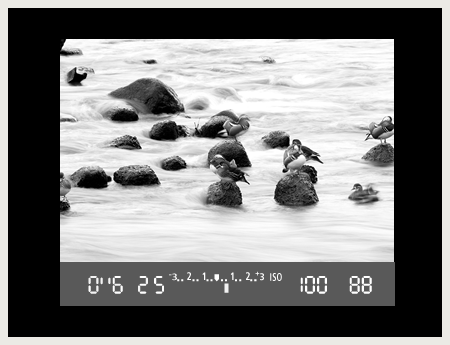
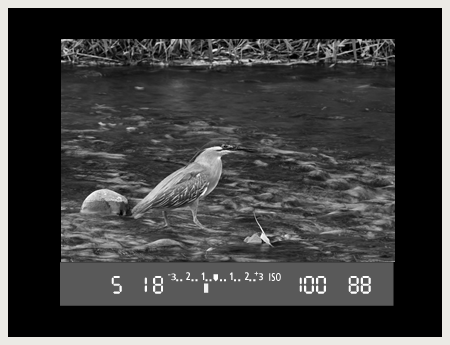
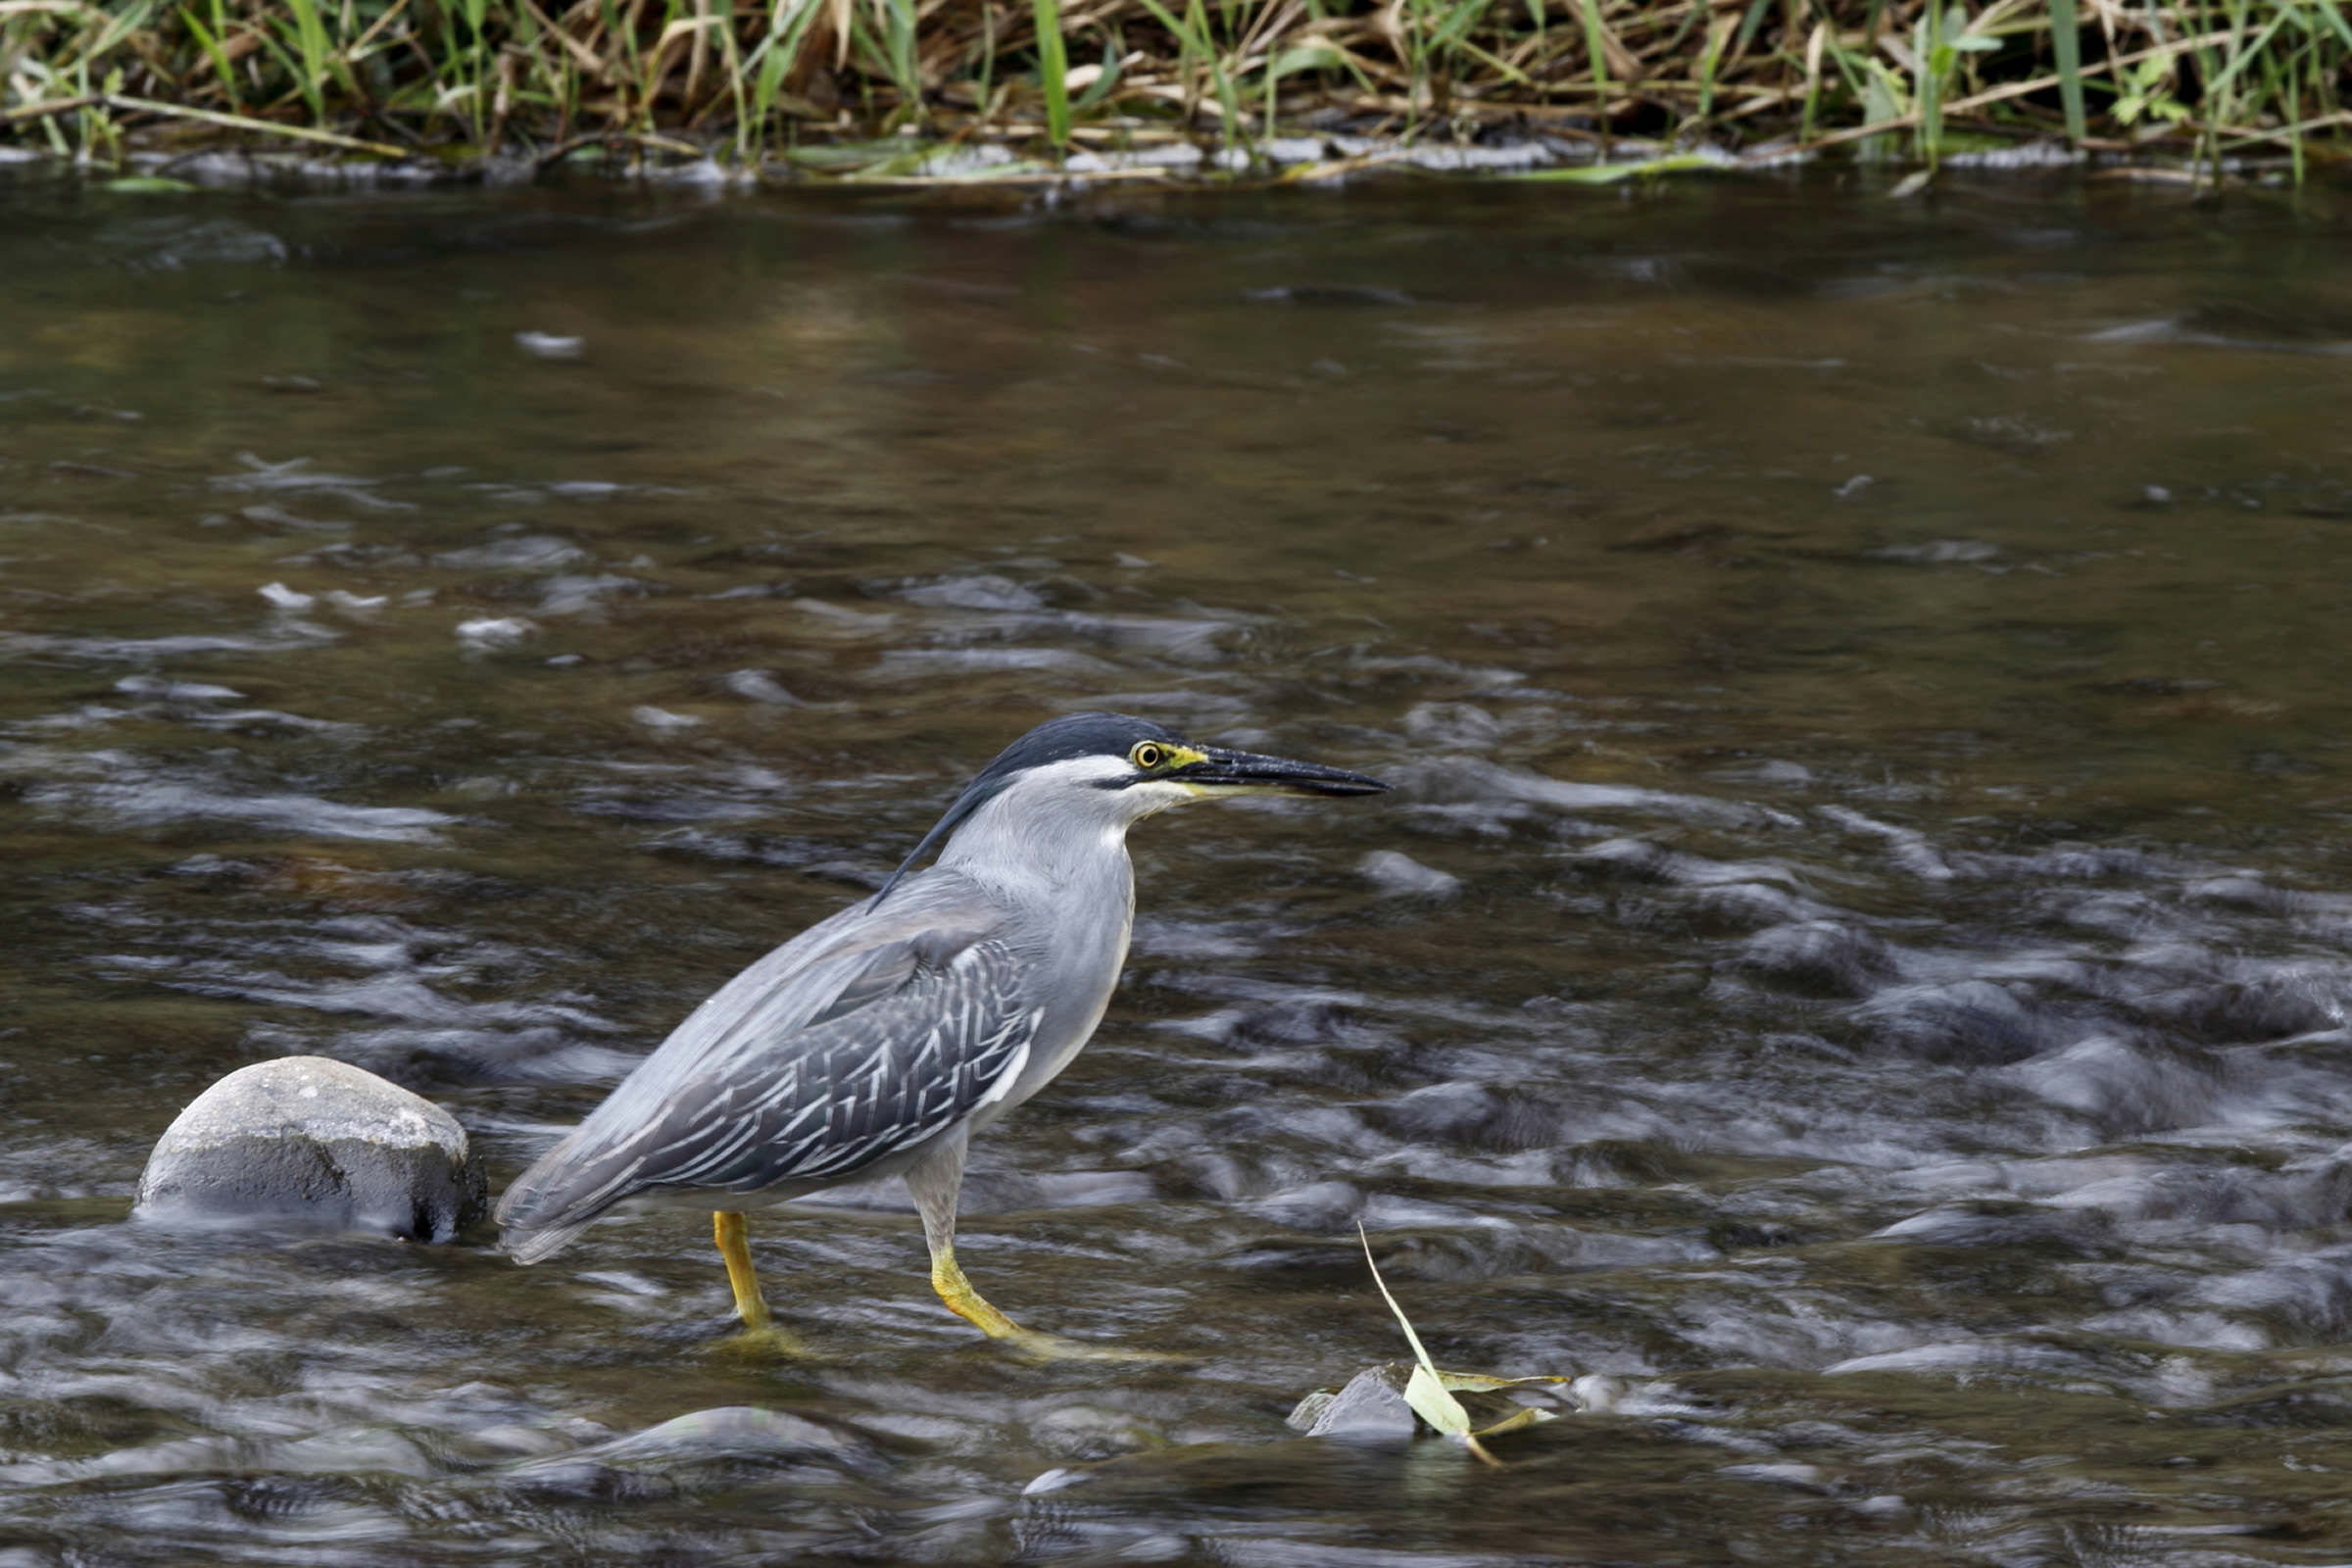
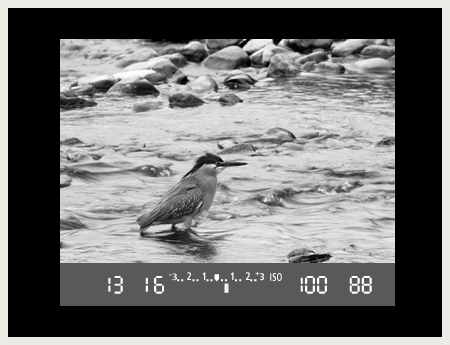
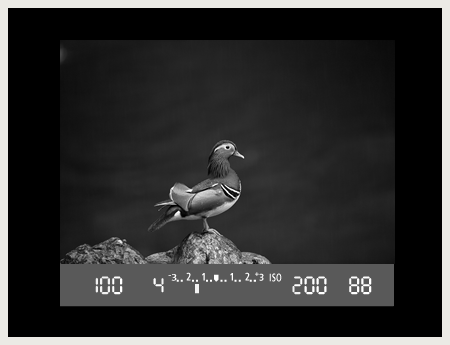
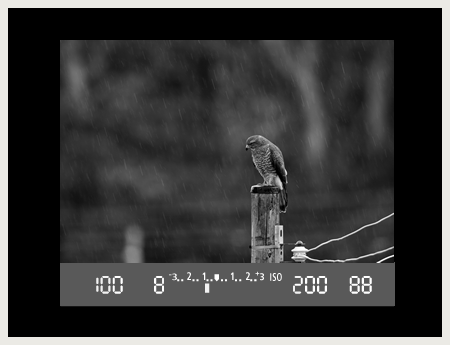
  • Aperture value: f/11
  • Shutter speed: 1/100 second
  • ISO speed: ISO100
  • Exposure compensation: -1
  • Focal length: 321mm
  • DSLR Camera (APS-C image format)

Share: “How to photograph wild birds: Lesson 19”

  • Share on Facebook
  • Share on twitter
  • Share on Google+
  • Pinterest
  • Send via LINE

How does shutter speed affect the photo?

Image

As I mentioned in the sidebar of Lesson 15, panning with a slow shutter speed makes the subject stand out, and can add a sense of dynamism with the blurring of the bird’s wings as it flies. By changing the shutter speed, the scene that you capture can appear completely different even though shooting at the same time and in the same place. How does the photograph change? Looking at the following examples, try and find the major tips in deciding what shutter speed to use. I have defined the shutter speeds as follows.

  • · Fast shutter speed = more than 1/1000 second
  • · Normal shutter speed = between 1/1000 second and 1/60 second
  • · Slow shutter speed = less than 1/60 second

Give expression to flowing water with a slow shutter speed

A group of Mandarin Ducks perch on some rocks in the middle of a river. It‘s early in the morning on a cloudy day. To prevent camera shake, I set a fast shutter speed and take the shot. This is A “typical” photograph taken with an orthodox method.

Aperture value:
f/5.6
Shutter speed:
1/1250 second
ISO speed:
ISO1600
Exposure compensation:
0
Focal length:
400mm
DSLR Camera (35mm full-frame image format)
Image
Viewfinder display
Mandarin Duck
Mandarin Duck
Mandarin Duck
Enlarge

This photo was taken in the same place and at the same time but with a slow shutter speed. The flowing water looks milky; you wouldn’t think it was the same place! The expression changes that much with a slow shutter speed.

Aperture value:
f/25
Shutter speed:
0.6 second
ISO speed:
ISO100
Exposure compensation:
+0.7
Focal length:
400mm
DSLR Camera (35mm full-frame image format)
Image
Viewfinder display
Mandarin Duck
Mandarin Duck
Mandarin Duck
Enlarge

Tips for shooting with a slow shutter speed

When shooting with a slow shutter speed, securely mount your camera on a tripod. Also, set the IS switch to OFF so the image stabilizer function will not mistakenly engage. To prevent camera shake, release the shutter with a 2-sec. self-timer or using a cable release or remote control. Naturally, the bird might breathe or make small movements ceaselessly. Take a number of shots and then select the best ones afterwards.

Image
Set the IS (Image Stabilizer) switch to OFF.
Image
For self-timer shooting, press the <DRIVE> button and rotate the Main Dial to select 2-sec. self-timer.

Expand your expression with the shutter speed

Image

Can a fast shutter speed appear slow?

As I was taking this shot in the soft light of an evening with high cloud cover, I set the aperture to f/18 and the shutter speed to 1/5 of a second. However, since there was little reflection of the water’s surface because of the low light, the flowing water does not have a silky white appearance.

Aperture value:
f/18
Shutter speed:
1/5 second
ISO speed:
ISO100
Exposure compensation:
-0.7
Focal length:
500mm
DSLR Camera (APS-C image format)
Image
Viewfinder display
Striated Heron
Striated Heron
Striated Heron
Enlarge

I took this shot in the same place as the photo above. Since the Striated Heron moved to a slightly deeper spot, the water’s surface was reflected and appears white. Even though the shutter speed was faster than for the previous photo, since the impression of the white water surface is stronger, the flowing water seems cloudier and makes the photo look as though it was taken with a slower shutter speed. When creating expression with flowing water, you need to pay attention not only to slowing the shutter speed, but also to the background in the shot.

Aperture value:
f/16
Shutter speed:
1/13 second
ISO speed:
ISO100
Exposure compensation:
+0.7
Focal length:
500mm
DSLR Camera (APS-C image format)
Image
Viewfinder display
Striated Heron
Striated Heron
Striated Heron
Enlarge

Freezing the movement of tail feathers

I photographed a Grey Wagtail along the riverside in the early afternoon on a cloudy day. I took the shot in Av mode with a large aperture, but I set a slow shutter speed of 1/60 of a second. I thought it would be good taking the shot as normal. But since it was a slower shutter speed, I was able to express the momentary flick of the bird’s tail feathers.

Aperture value:
f/5.6
Shutter speed:
1/60 second
ISO speed:
ISO800
Exposure compensation:
0
Focal length:
700mm equivalent (used a 1.4x extender at 500mm)
DSLR Camera (35mm full-frame image format)
Image
Viewfinder display
Grey Wagtail
Grey Wagtail
Grey Wagtail
Enlarge

The location of this photo is different from the photograph above, but the shutter speed of 1/60 of a second is the same. I would like you to pay attention to the tail feathers in both of the photos. The blurring is the same, but since the tail feathers overlap in the dark area of this photo, the blur is difficult to make out and it looks as if there are no tail feathers. If you wanted to take this photo with the tail feathers completely still, you should try to set the higher shutter speed than 1/250 of a second.

Aperture value:
f/5.6
Shutter speed:
1/60 second
ISO speed:
ISO200
Exposure compensation:
-0.3
Focal length:
700mm equivalent (used a 1.4x extender at 500mm)
DSLR Camera (35mm full-frame image format)
Image
Viewfinder display
Grey Wagtail
Grey Wagtail
Grey Wagtail
Enlarge

Expressing splashes of water

Since this water place is a bit dark, you need to set the shutter speed to between 1/160 to 1/1000 of a second under the condition of an ISO speed of ISO400 and Av mode with an f/4 aperture value. If you are lucky, the drops of water that fly about when a bird is bathing can be expressed in two ways, either as something fluid or something frozen. If you want to freeze the water drops completely, you should increase the ISO speed and use a fast shutter speed. If you want to show more movement, you should decrease the ISO speed or narrow the aperture and select a slower shutter speed, but be careful not to overdo it or the whole shot will be blurry and the subject will be unclear.

Aperture value:
f/4
Shutter speed:
1/125 second
ISO speed:
ISO400
Exposure compensation:
-1
Focal length:
500mm
DSLR Camera (APS-C image format)
Image
Viewfinder display
Varied Tit
Varied Tit
Varied Tit
Enlarge

Expressing raindrops

A Mandarin Duck stands in front of a dark background. I wanted to show the rain so I tried the shot with the shutter speed at 1/100 of a second. You get the idea that it’s raining and the duck is wet with rain, but the all-important raindrops are so small that you cannot see them. Normally, to capture individual raindrops falling from the sky you should take the shot with a shutter speed of more than 1/250 of a second. To show the drops more like a sheet of rain, you should set the speed somewhere between 1/30 of a second to 1/100 of a second. If you make it slower than that, it will flow together too much and you won’t be able to tell what you are shooting.
Note: This is an estimation since conditions change depending on the amount of light and other factors.

Aperture value:
f/4
Shutter speed:
1/100 second
ISO speed:
ISO200
Exposure compensation:
-1.3
Focal length:
500mm
DSLR Camera (35mm full-frame image format)
Image
Viewfinder display
Mandarin Duck
Mandarin Duck
Mandarin Duck
Enlarge

For this shot, I had the same conditions as above, but even though I used the same shutter speed of 1/100 of a second, you can clearly see the rain. The look of the photo changes with the size of the raindrops and the intensity of the rainfall. To show the rain more, I would like to pan the shot with a shutter speed of around 1/60 of a second, but I have to beware of camera shake and blurring the subject by slowing the shutter speed.

Aperture value:
f/8
Shutter speed:
1/100 second
ISO speed:
ISO200
Exposure compensation:
-0.7
Focal length:
1000mm equivalent (used a 2x extender at 500mm)
DSLR Camera (35mm full-frame image format)
Image
Viewfinder display
Grey-faced Buzzard-eagle
Enlarge

Adjust the shutter speed so increasing ISO speed is unnecessary

It was a cloudy evening. Since this Black-winged Stilt was with its chicks, I aimed to get the shot from inside the car. Since the birds were not moving around much, I didn’t have to increase the ISO speed more than necessary or set a faster shutter speed, so I took the shot with the ISO speed set at ISO400, the aperture at f/5.6, and the shutter speed at 1/500 of a second. When I shoot from the car window, if the subject is not moving around much, I can effectively control camera shake at 1/500 of a second. If you know the shutter speed at which you can control camera shake, you can get the shot without increasing the ISO speed more than necessary.

Aperture value:
f/5.6
Shutter speed:
1/500 second
ISO speed:
ISO400
Exposure compensation:
-0.3
Focal length:
700mm equivalent (used 1.4x extender at 500mm)
DSLR Camera (APS-C image format)
Image
Viewfinder display
Black-winged Stilt
Black-winged Stilt
Black-winged Stilt
Enlarge


mr. tozuka’s sidebar


Let’s master “blind touch!”

When you hear the term “blind touch” the action of typing on a keyboard while looking at the monitor and not the keys likely comes to mind. It’s the same for a camera. When you want to change settings while you are shooting, do you lower your camera and adjust the settings while checking the LCD monitor or function buttons?

Just like when using a computer, the action of changing settings while looking through the viewfinder and without checking the LCD monitor is called “blind touch.”

The advantage of blind touch is reducing missed opportunities. If you take your eyes off of a spectacular scene to adjust the settings on the LCD monitor, you will miss that “one-time chance.” The buttons on the camera are fixed in terms of where you press (what you can set). And since many cameras these days display the various settings in the viewfinder display, you can make adjustments while looking through the viewfinder and without checking the LCD monitor each time. As you get to know and become familiar with the location of each button and its function through regular use, you will be better equipped to capitalize on those “one-time chances.”