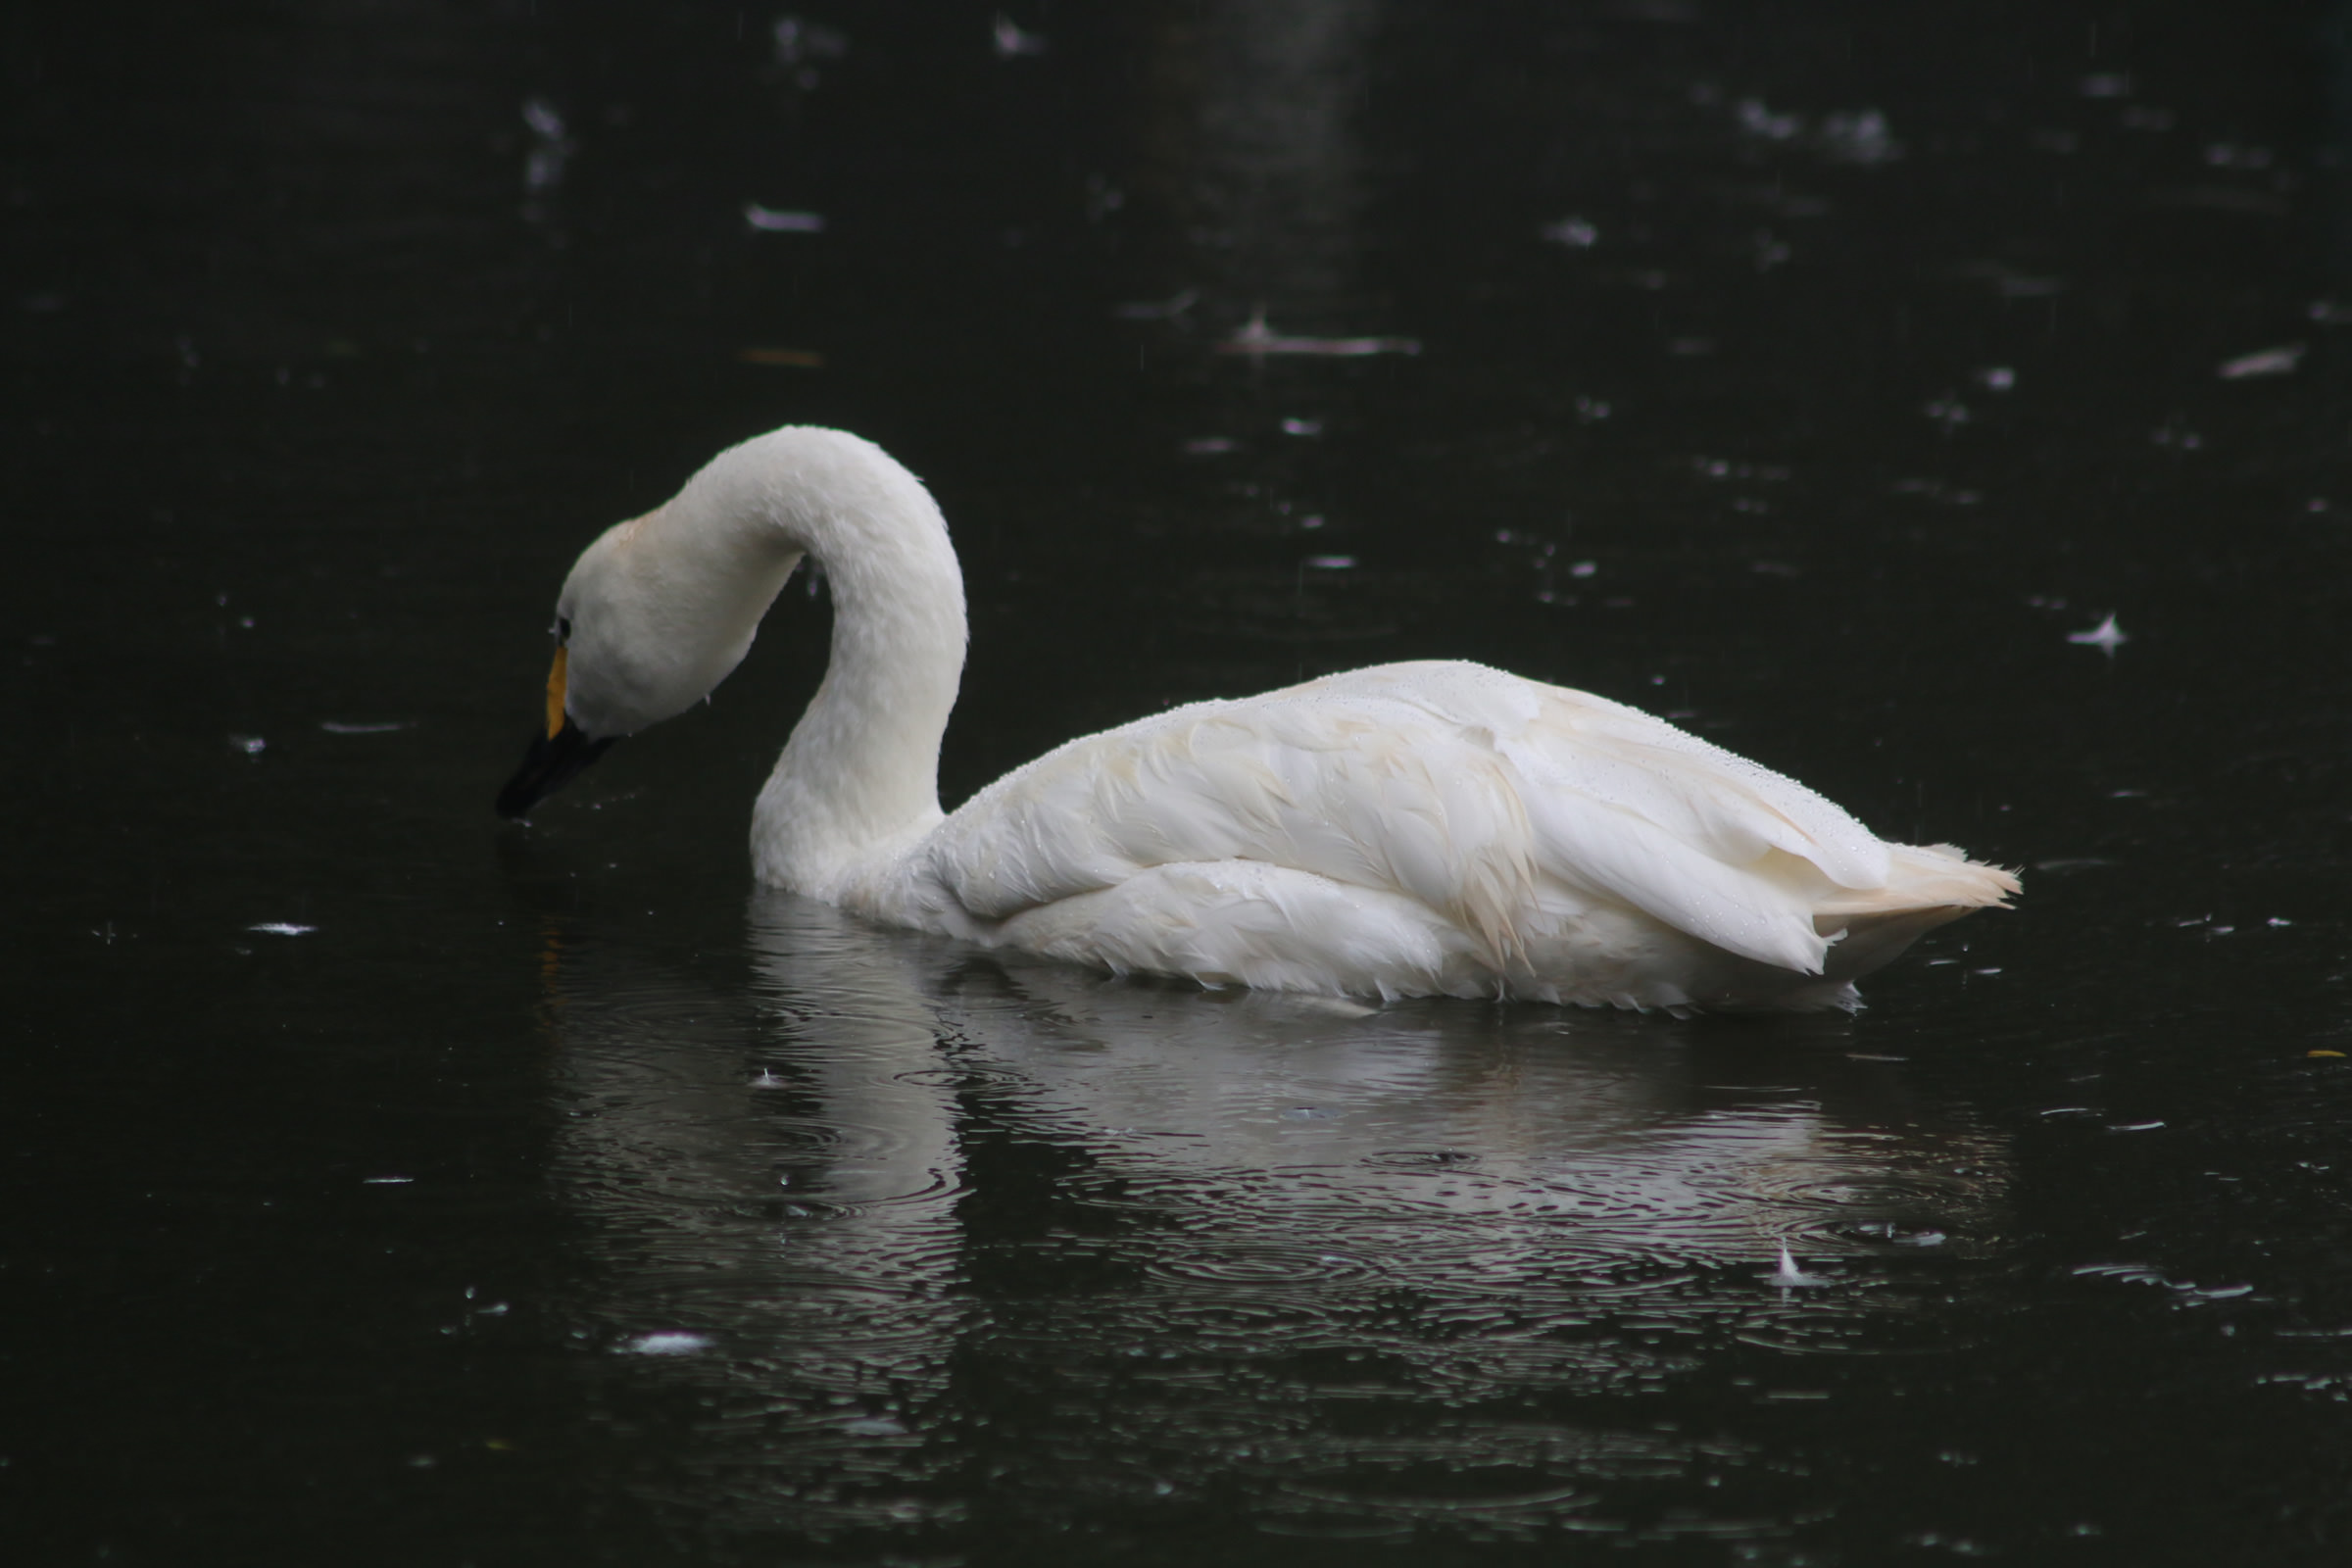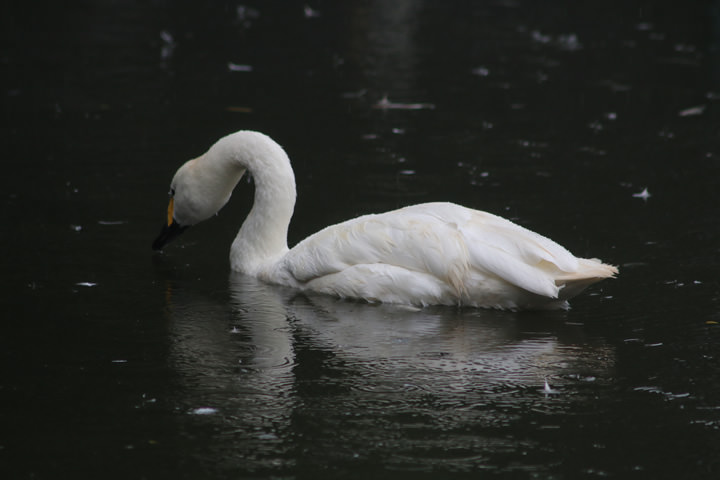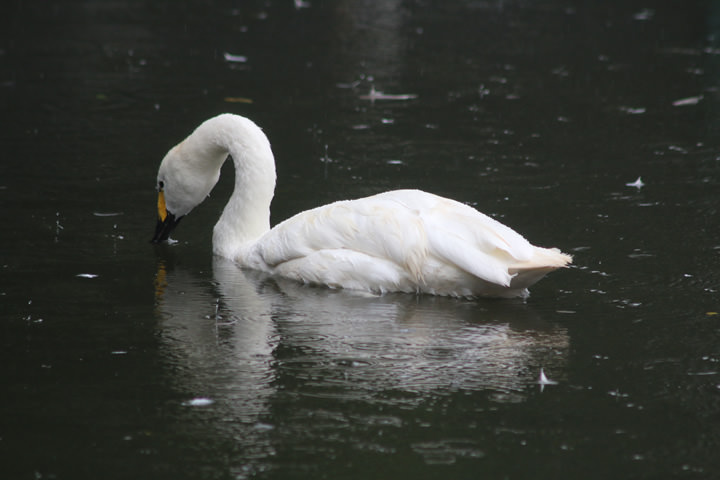

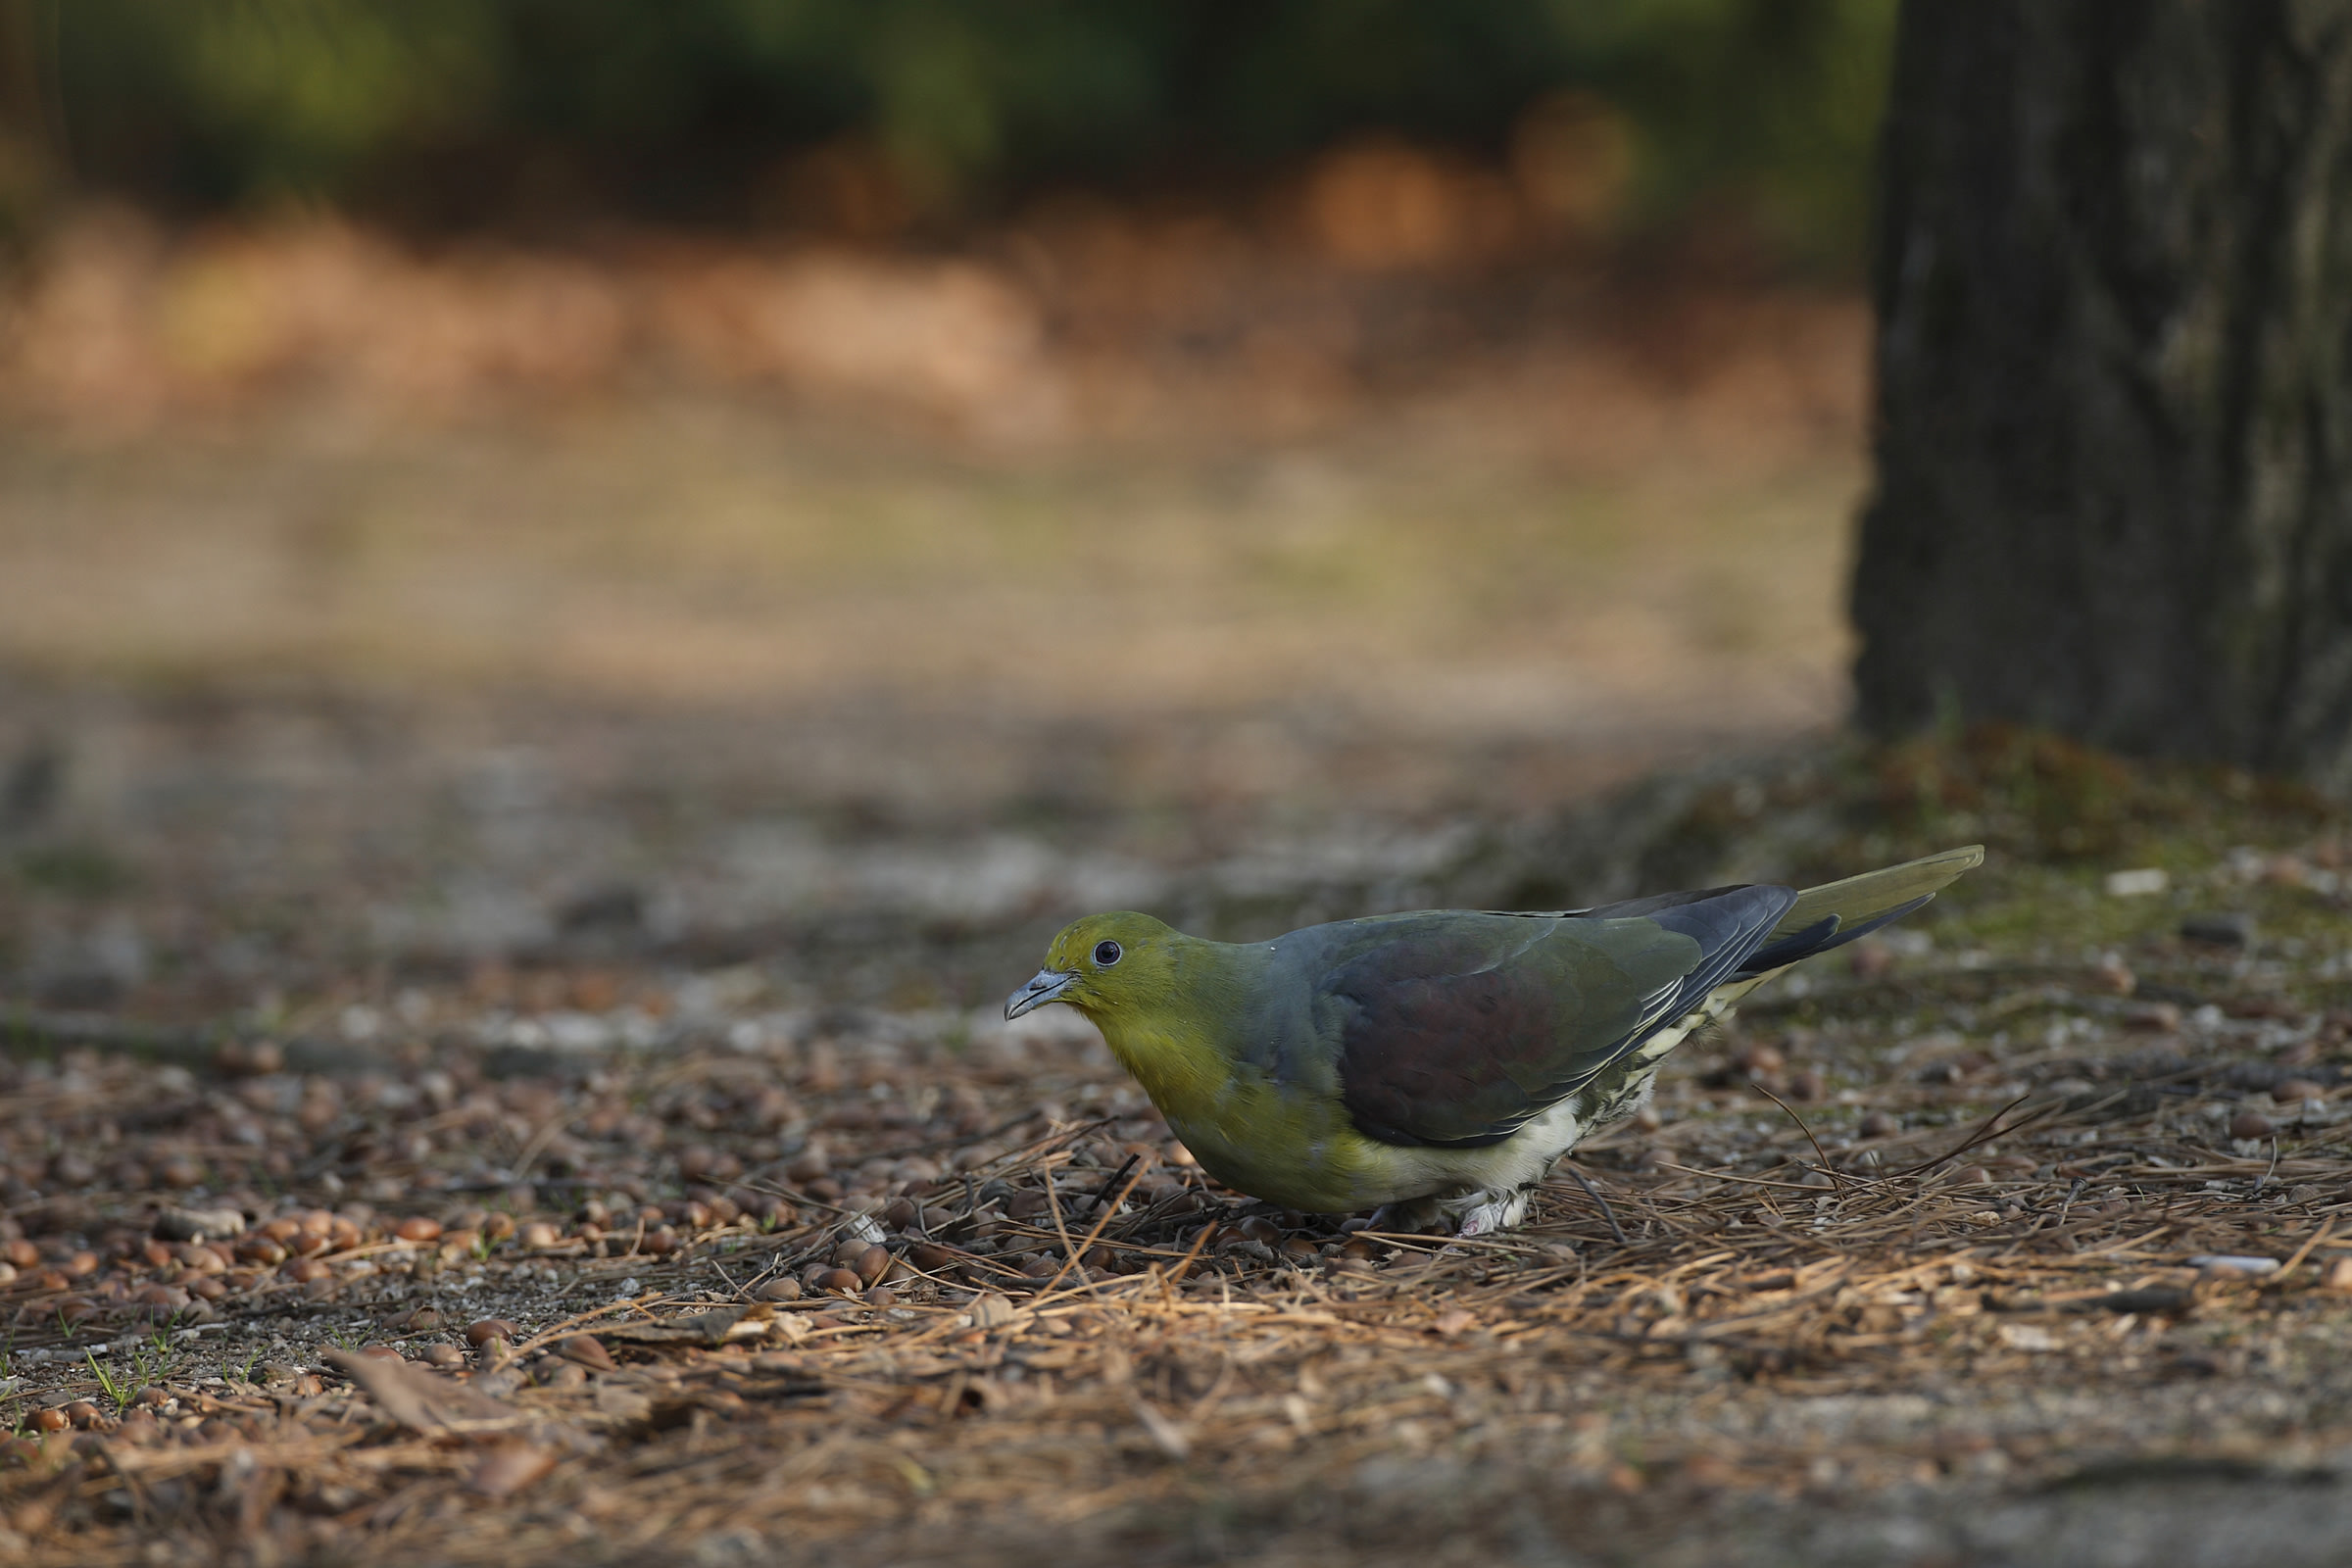
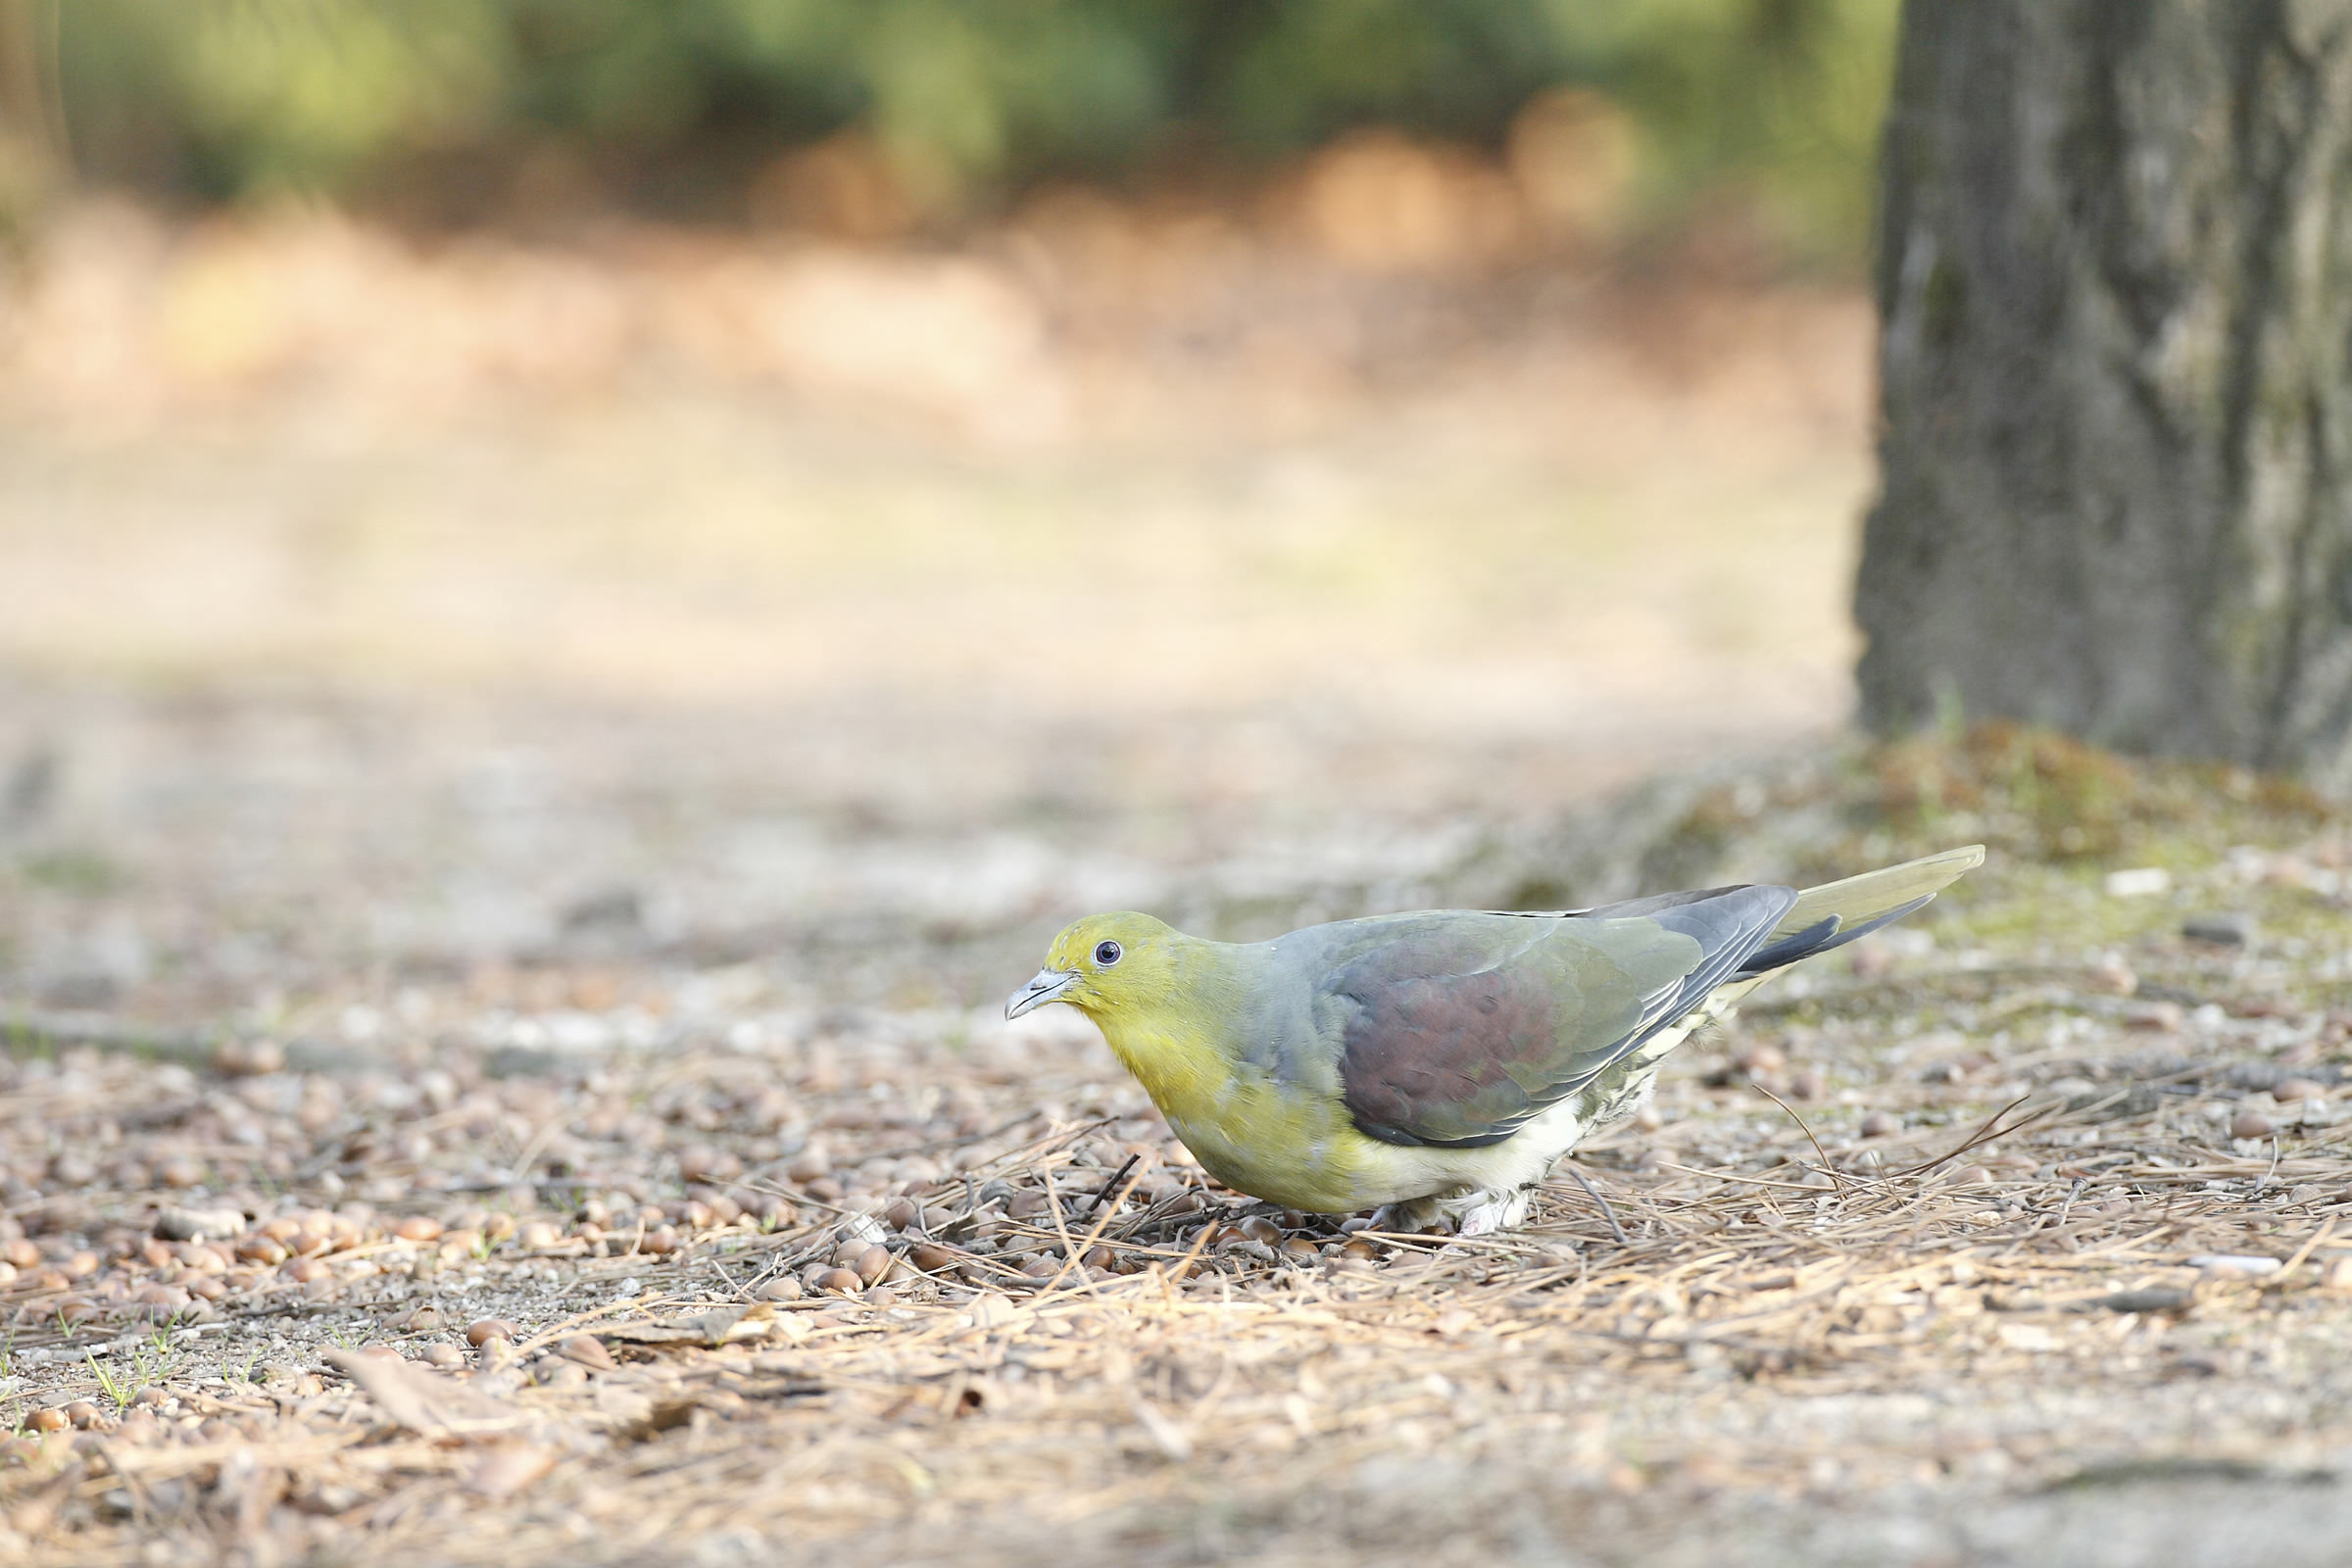
When shooting photos of wild birds, because you should make every effort not to startle them, flash photography should never be used. I used to have trouble trying to get good photos when shooting in dark locations until I learned that I could adjust the brightness level. When I shot this photo without making any adjustments, the swan appeared drab. But when I over-exposed the shot slightly, the swan looked stunning.
how to
photograph
wild birds
Learning how to set the exposure to get dramatically better shots
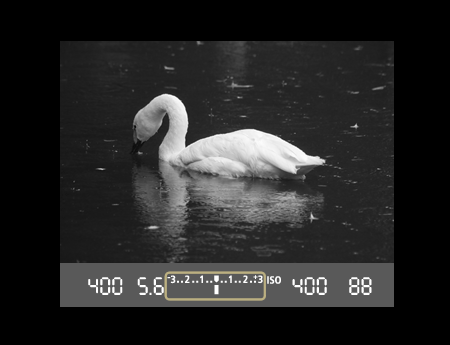
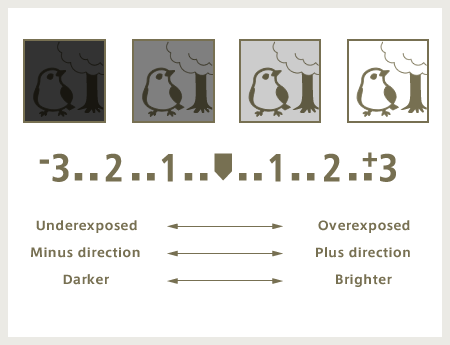
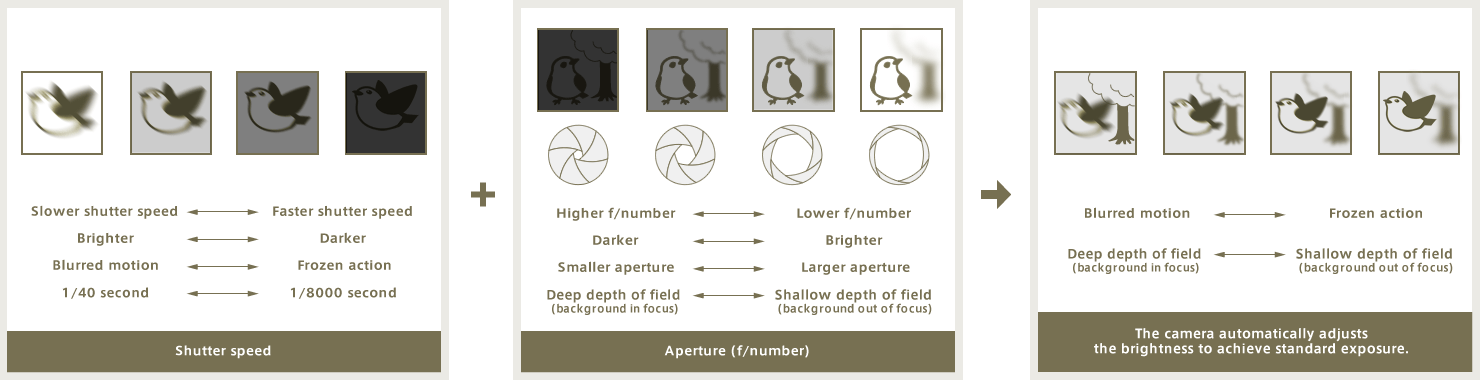
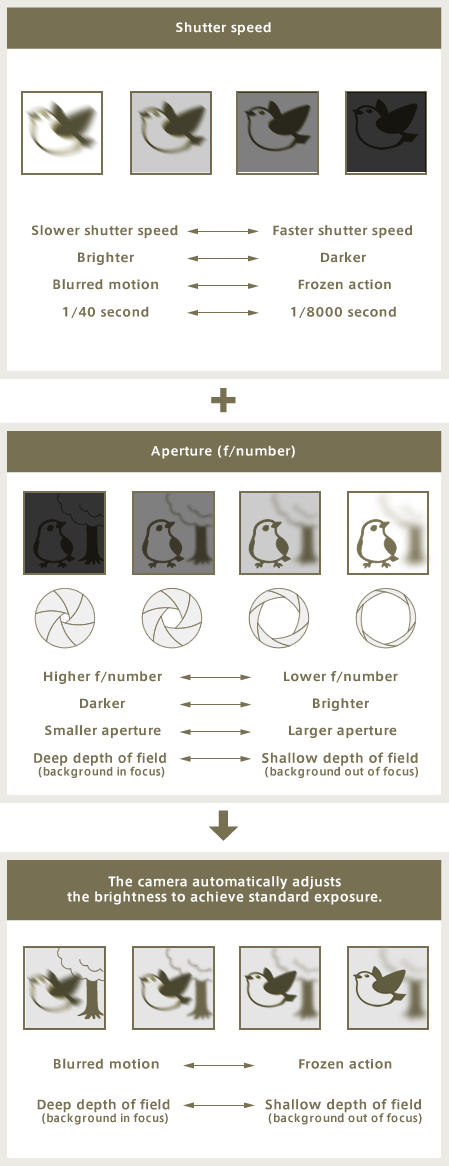
I tried taking various shots at different aperture (f/number) settings, shutter speeds and ISO speeds, but all the photos I took of a white bird against a cloudy sky came out looking gray.
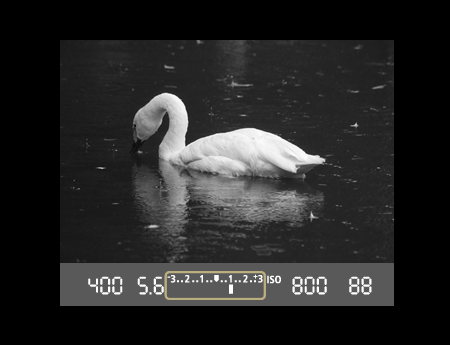
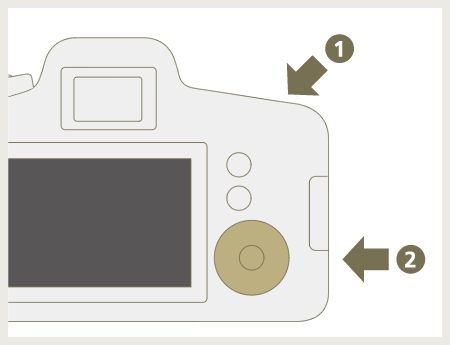
In that case, Let's use the exposure compensation function!

With a standard exposure setting, the camera adjusts the brightness to avoid creating an unacceptable image. But aiming for mid-range brightness might not always be the best choice, which is why every photographer has to determine what they think works best for them. In my opinion, the amount of over-exposure in this shot is perfectly acceptable.
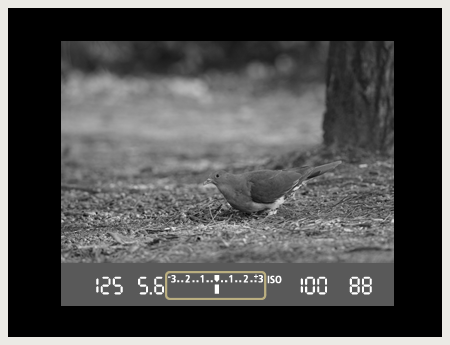
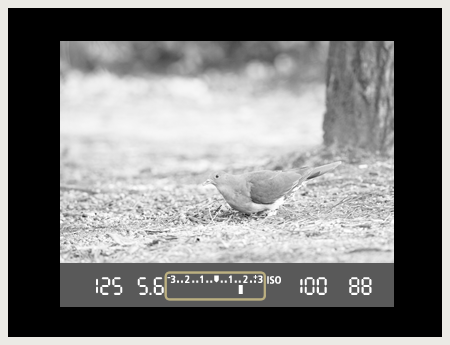
Image data
- Aperture value: f/5.6
- Shutter speed: 1/125 second
- ISO speed: ISO100
- Exposure compensation: +1.7
- Focal length: 500mm
- DSLR Camera (35mm full-frame format)