

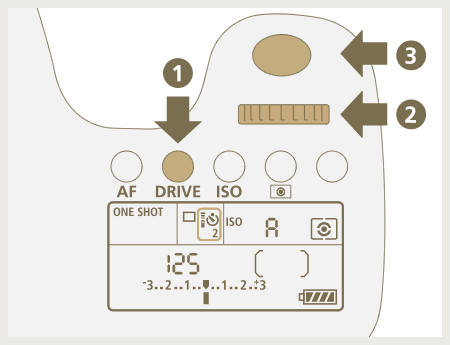
 , and then push the DRIVE button once more.
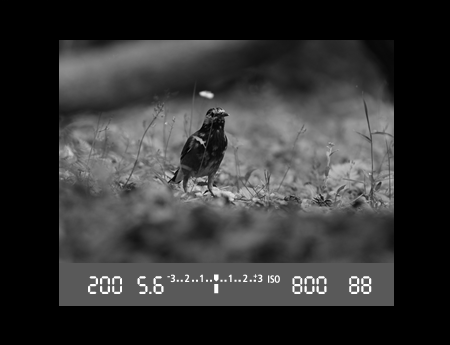
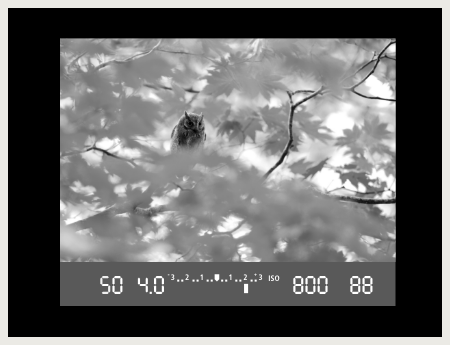
I took a photo of a White-cheeked Starling walking in the shade of a tree. To create blur in front of the bird, I put the camera close to the ground and released the shutter. Since the bird was moving, it was difficult to get it in focus. By using blur, I was able to get a photo with a different feeling than usual.
how to
photograph
wild birds
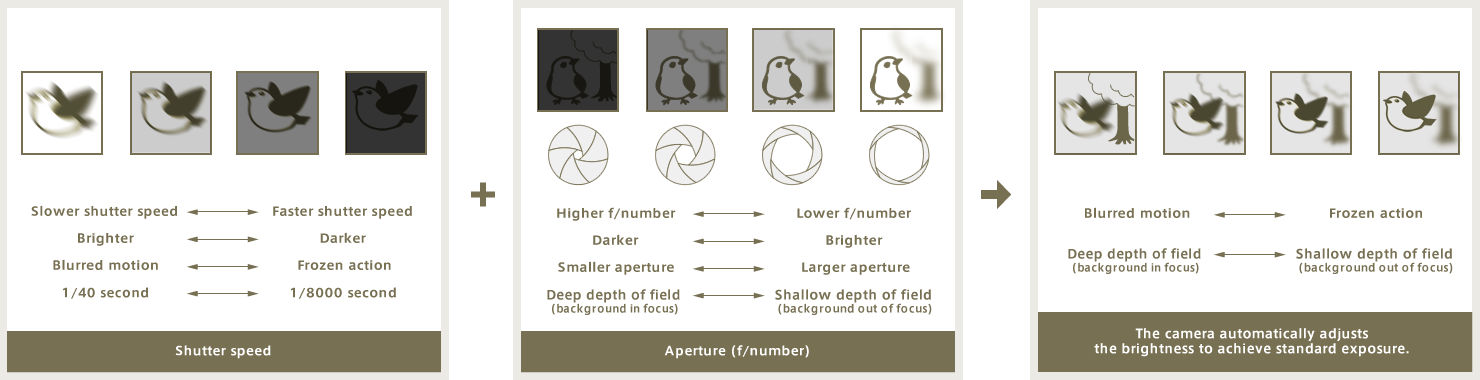
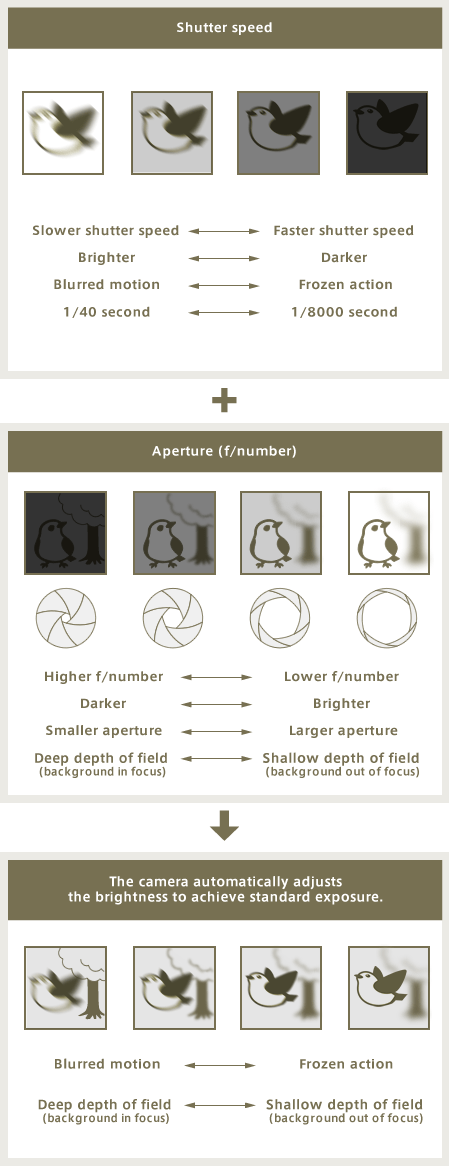
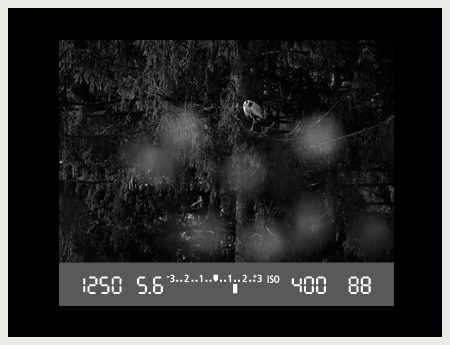
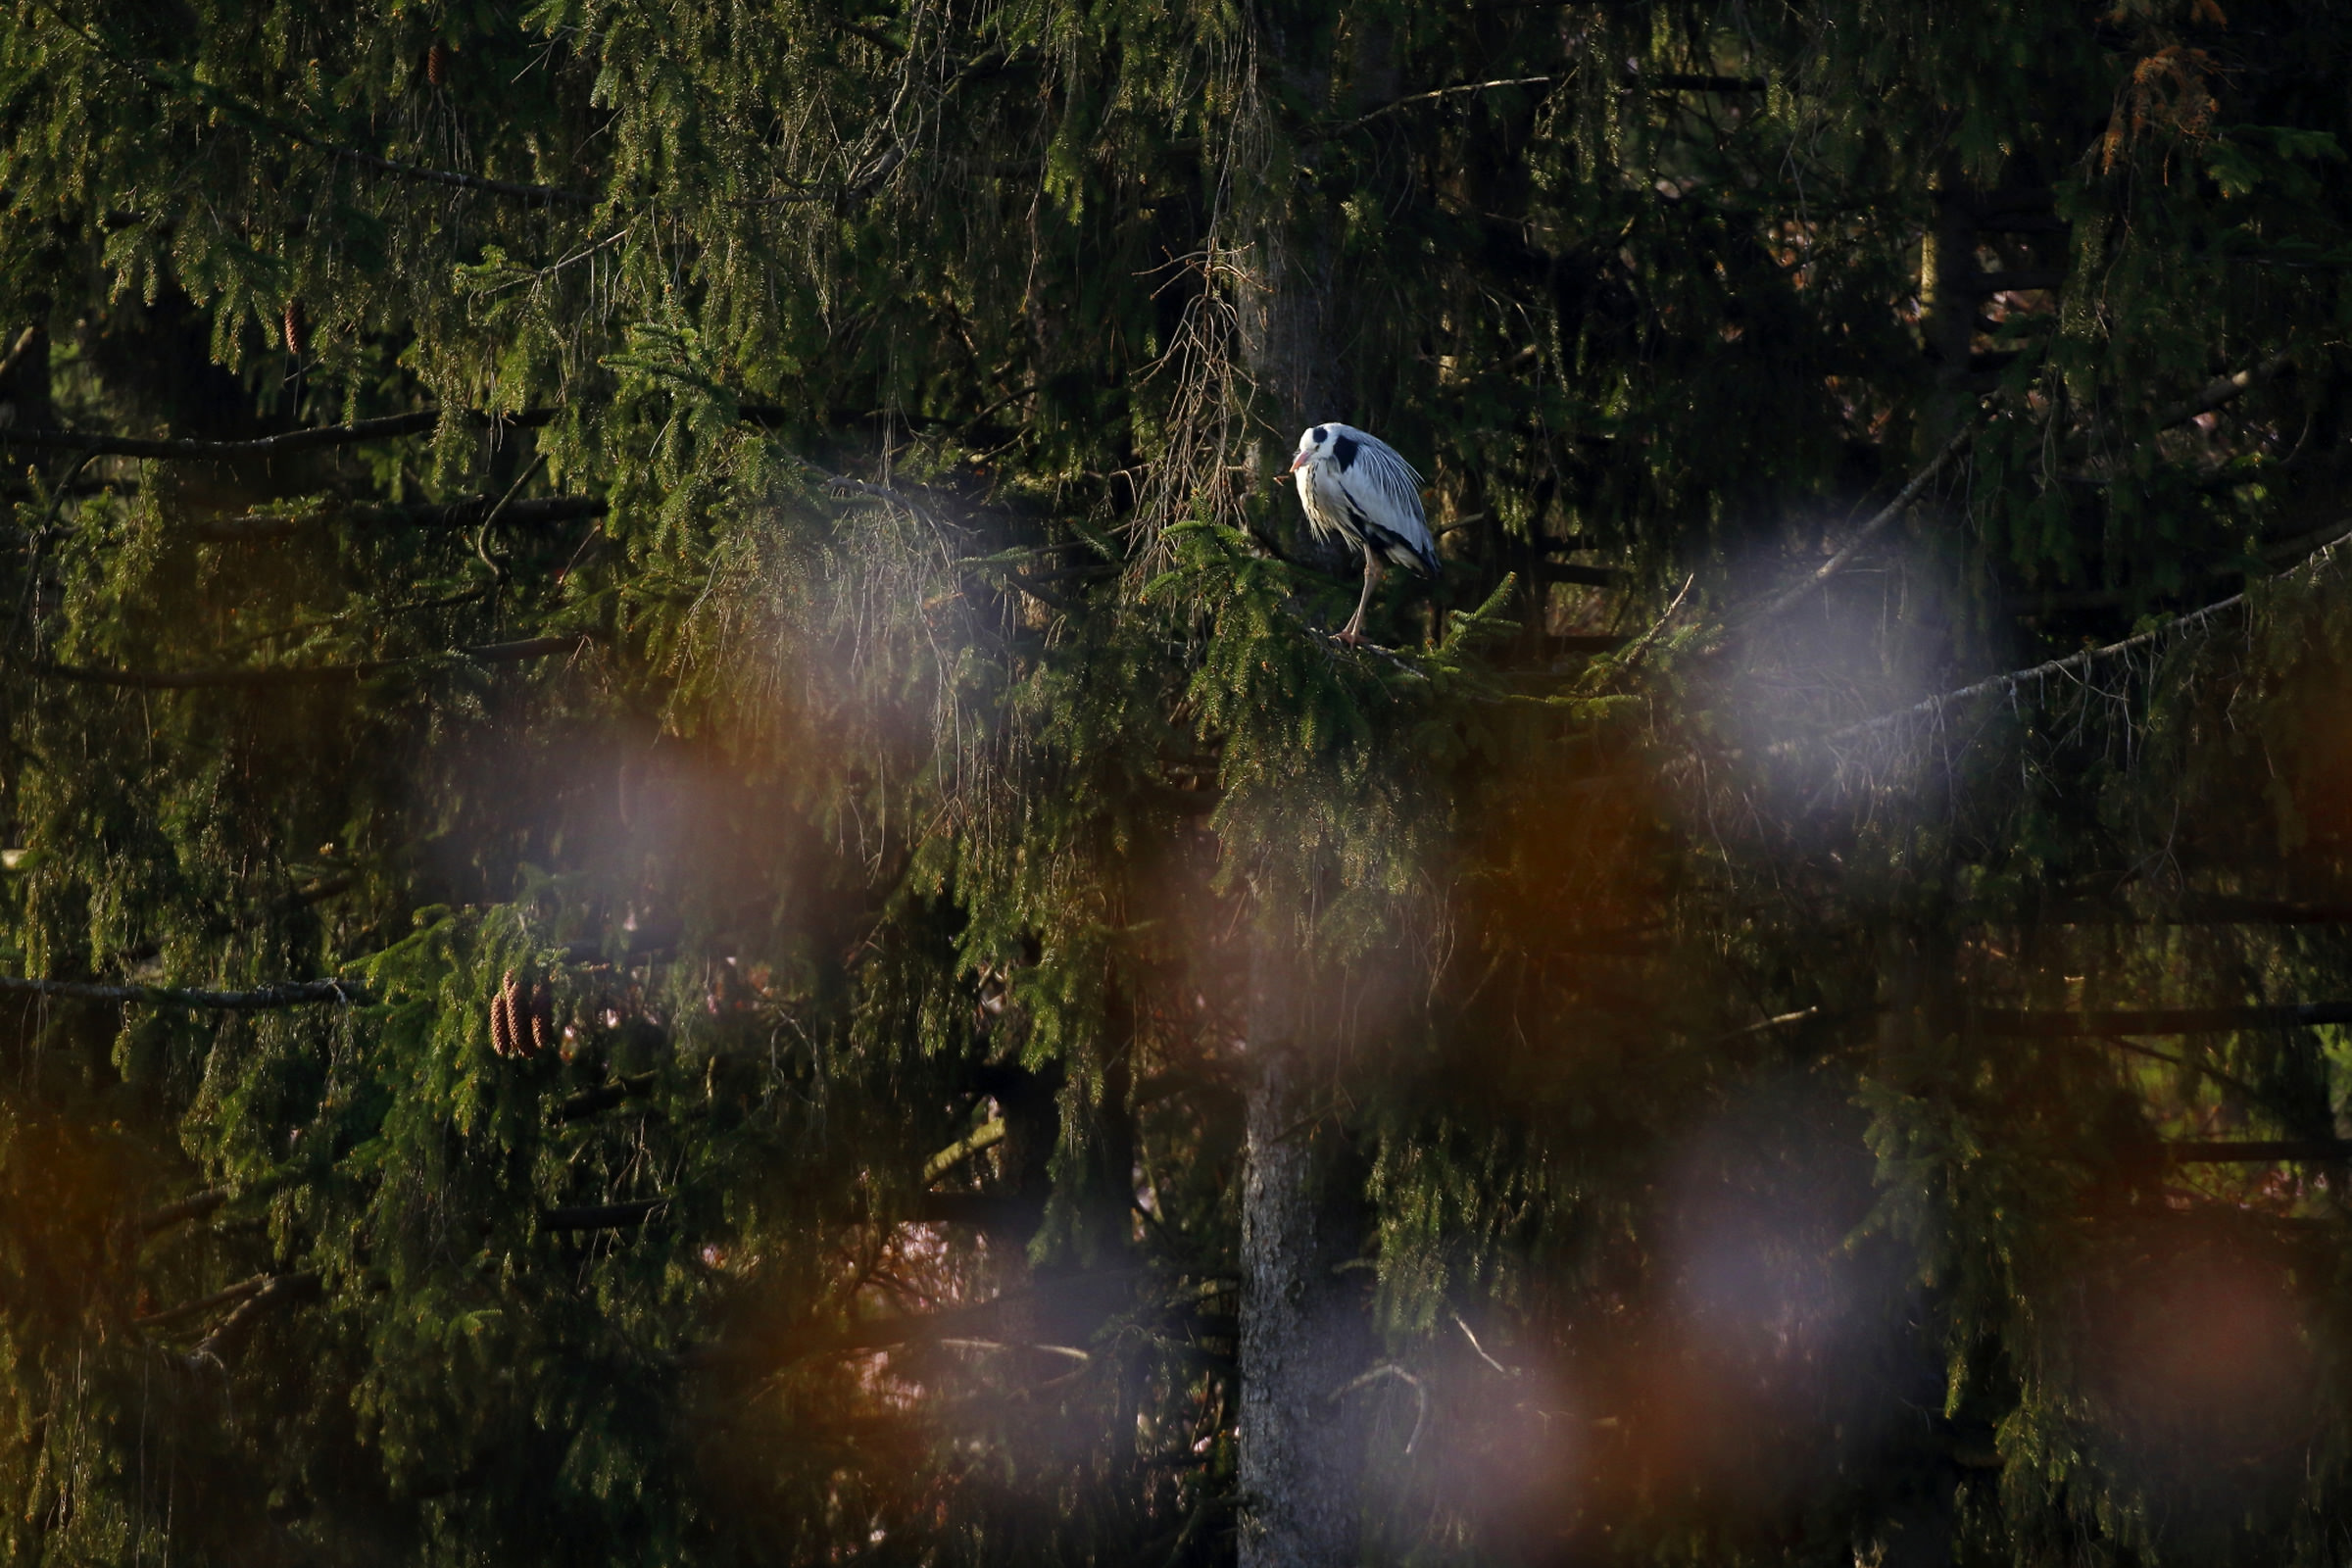
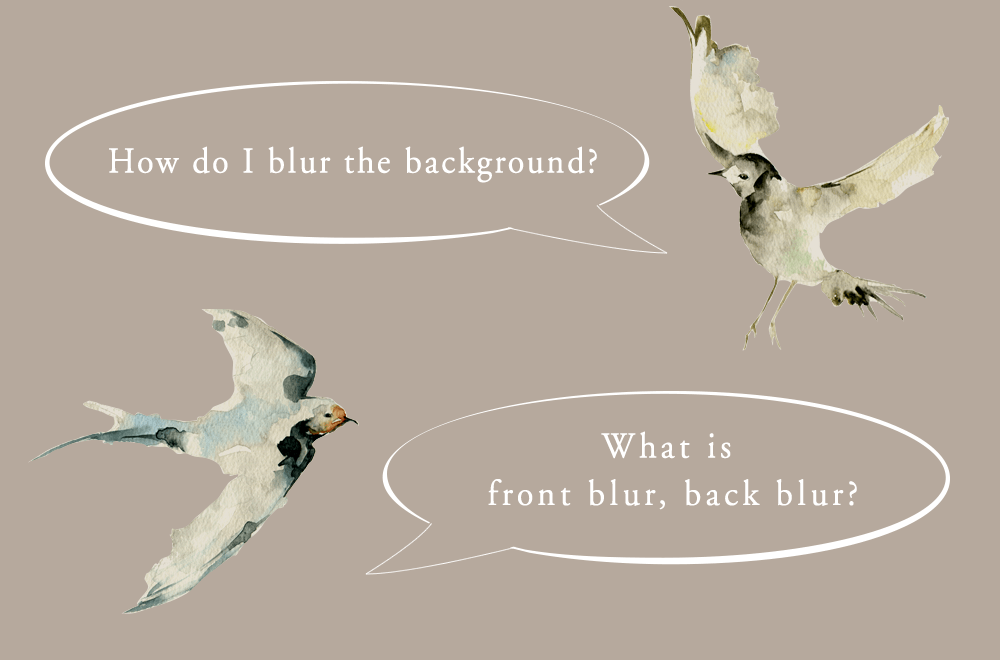
Let’s use blur skillfully!
By intentionally blurring the surroundings, the subject stands out. The impression given varies greatly depending on the colors in the scene and the way you use blur. You will improve the artistic quality of your photographs significantly by learning to use blur effectively.
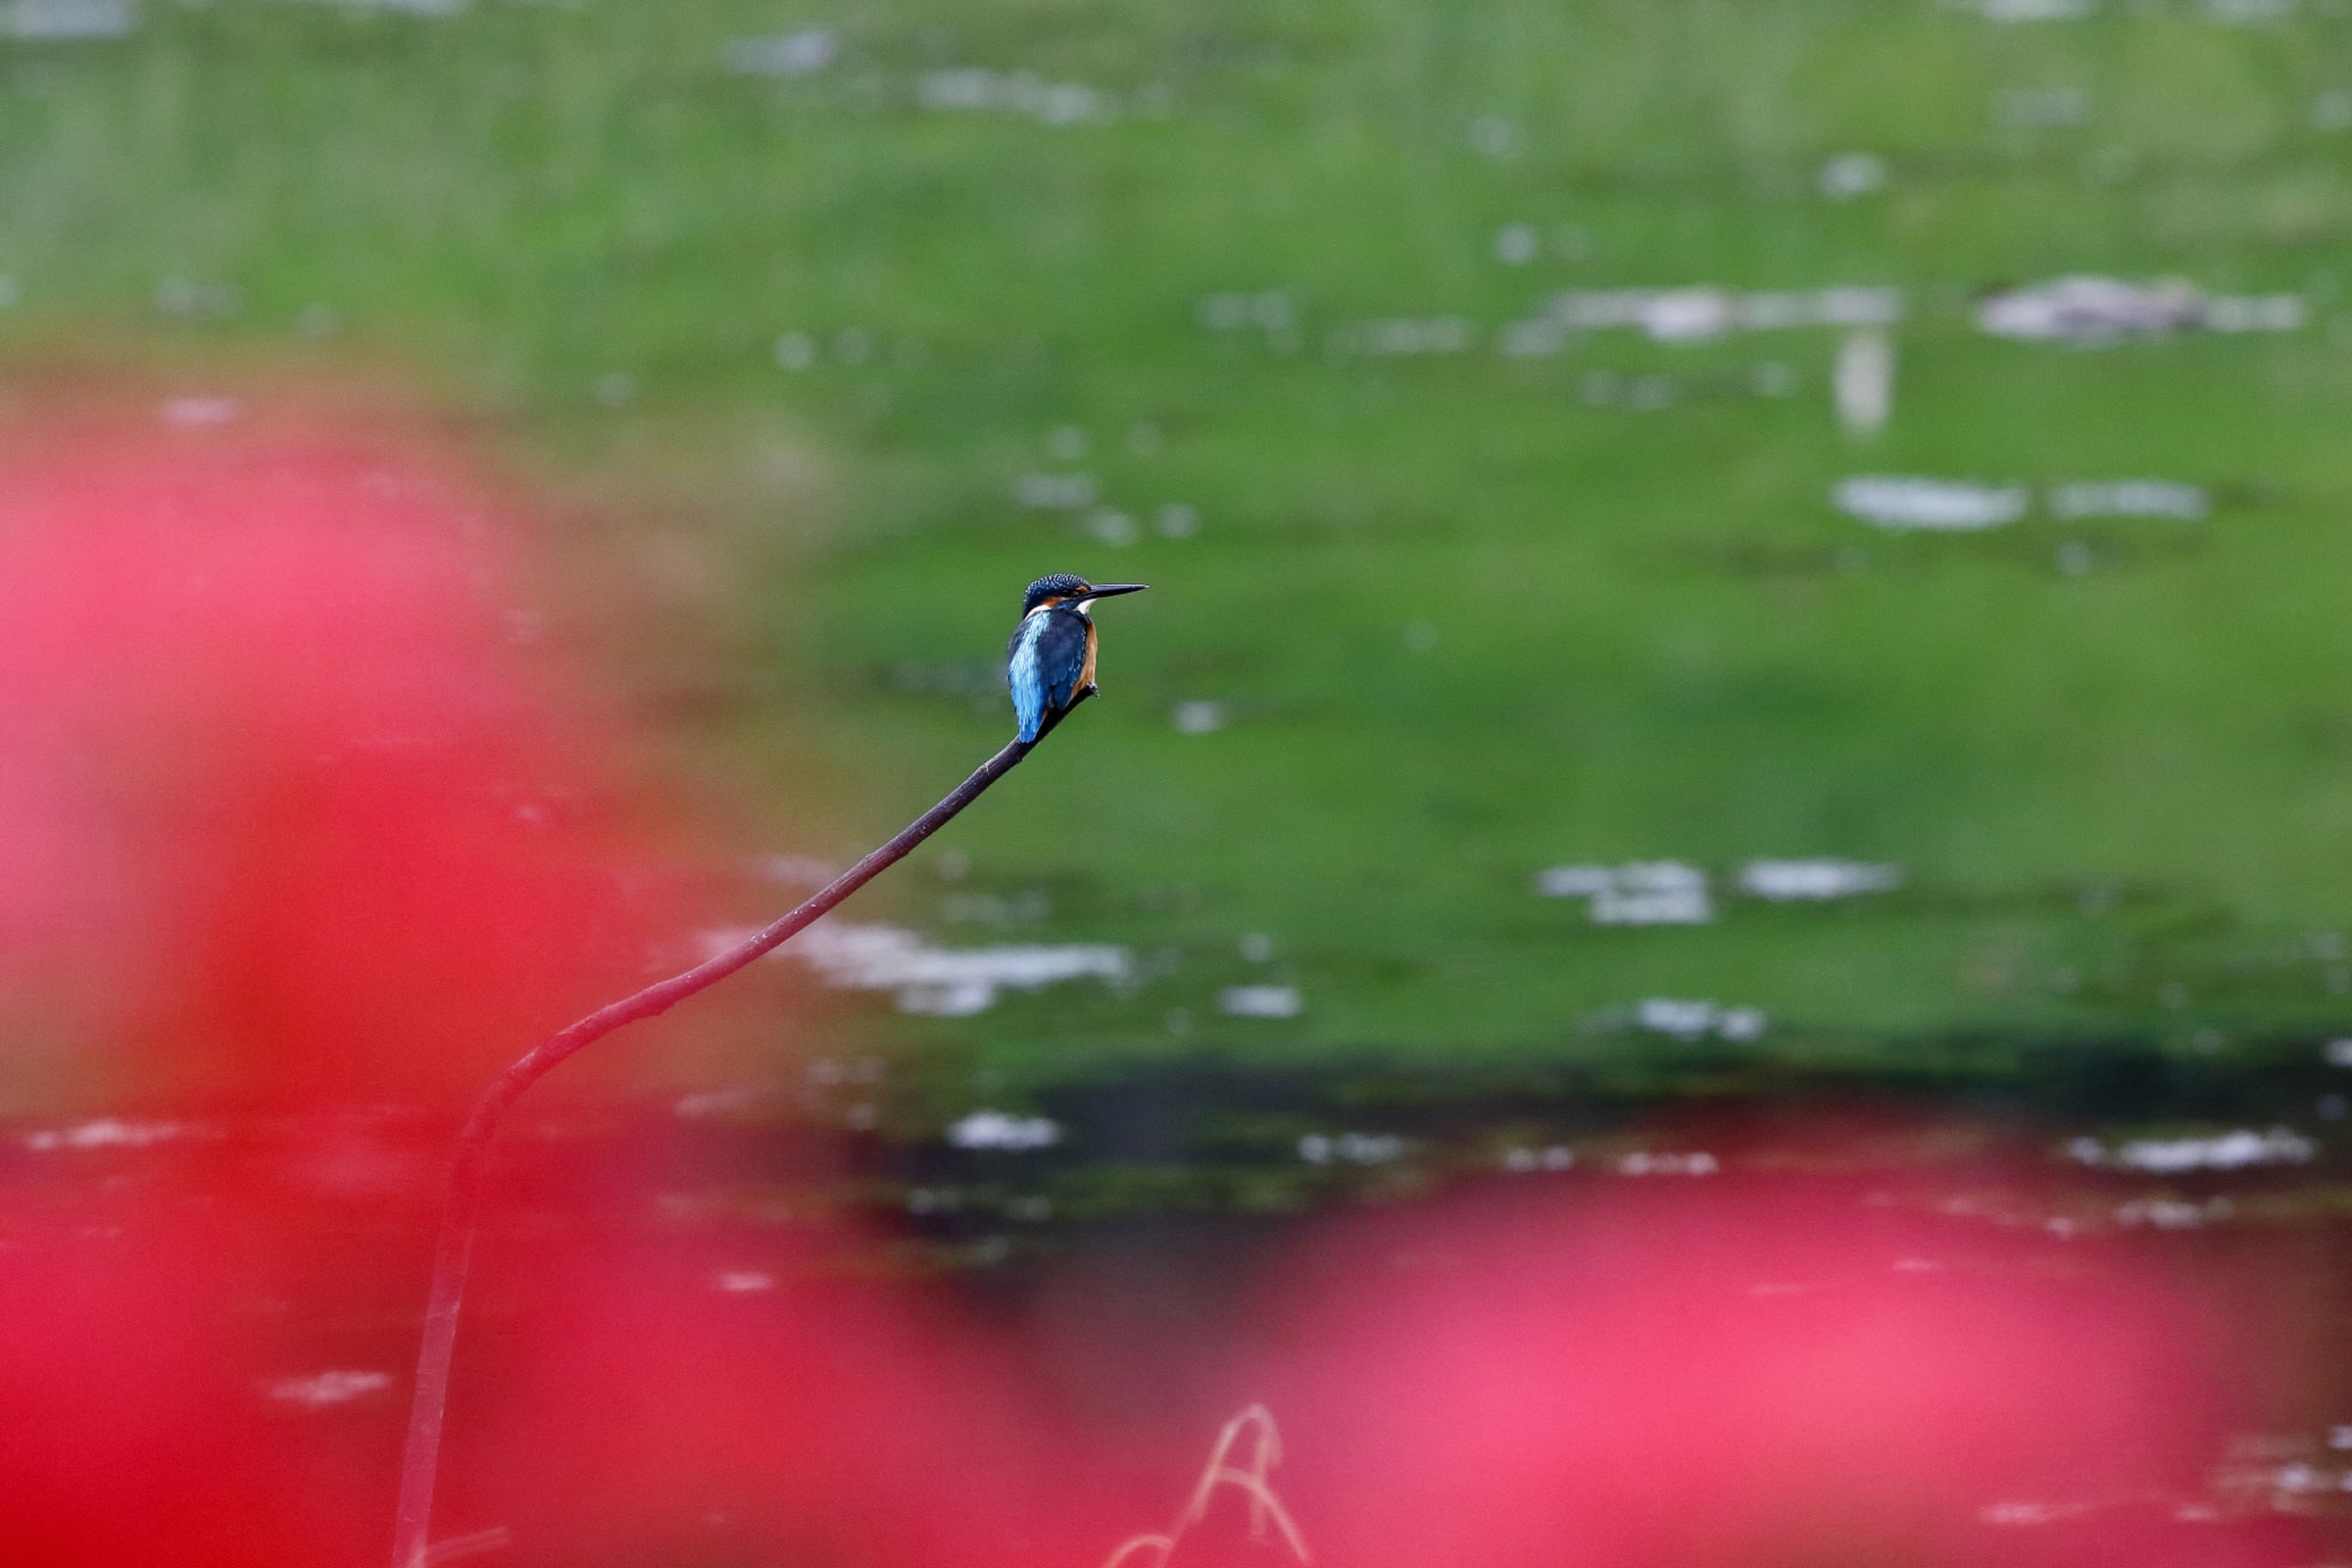
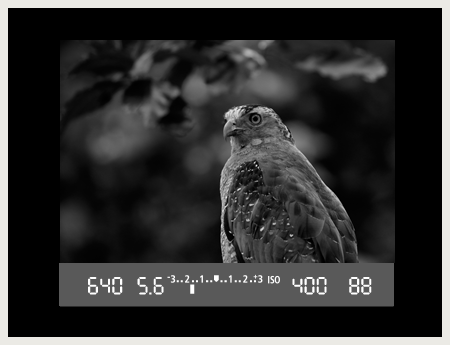
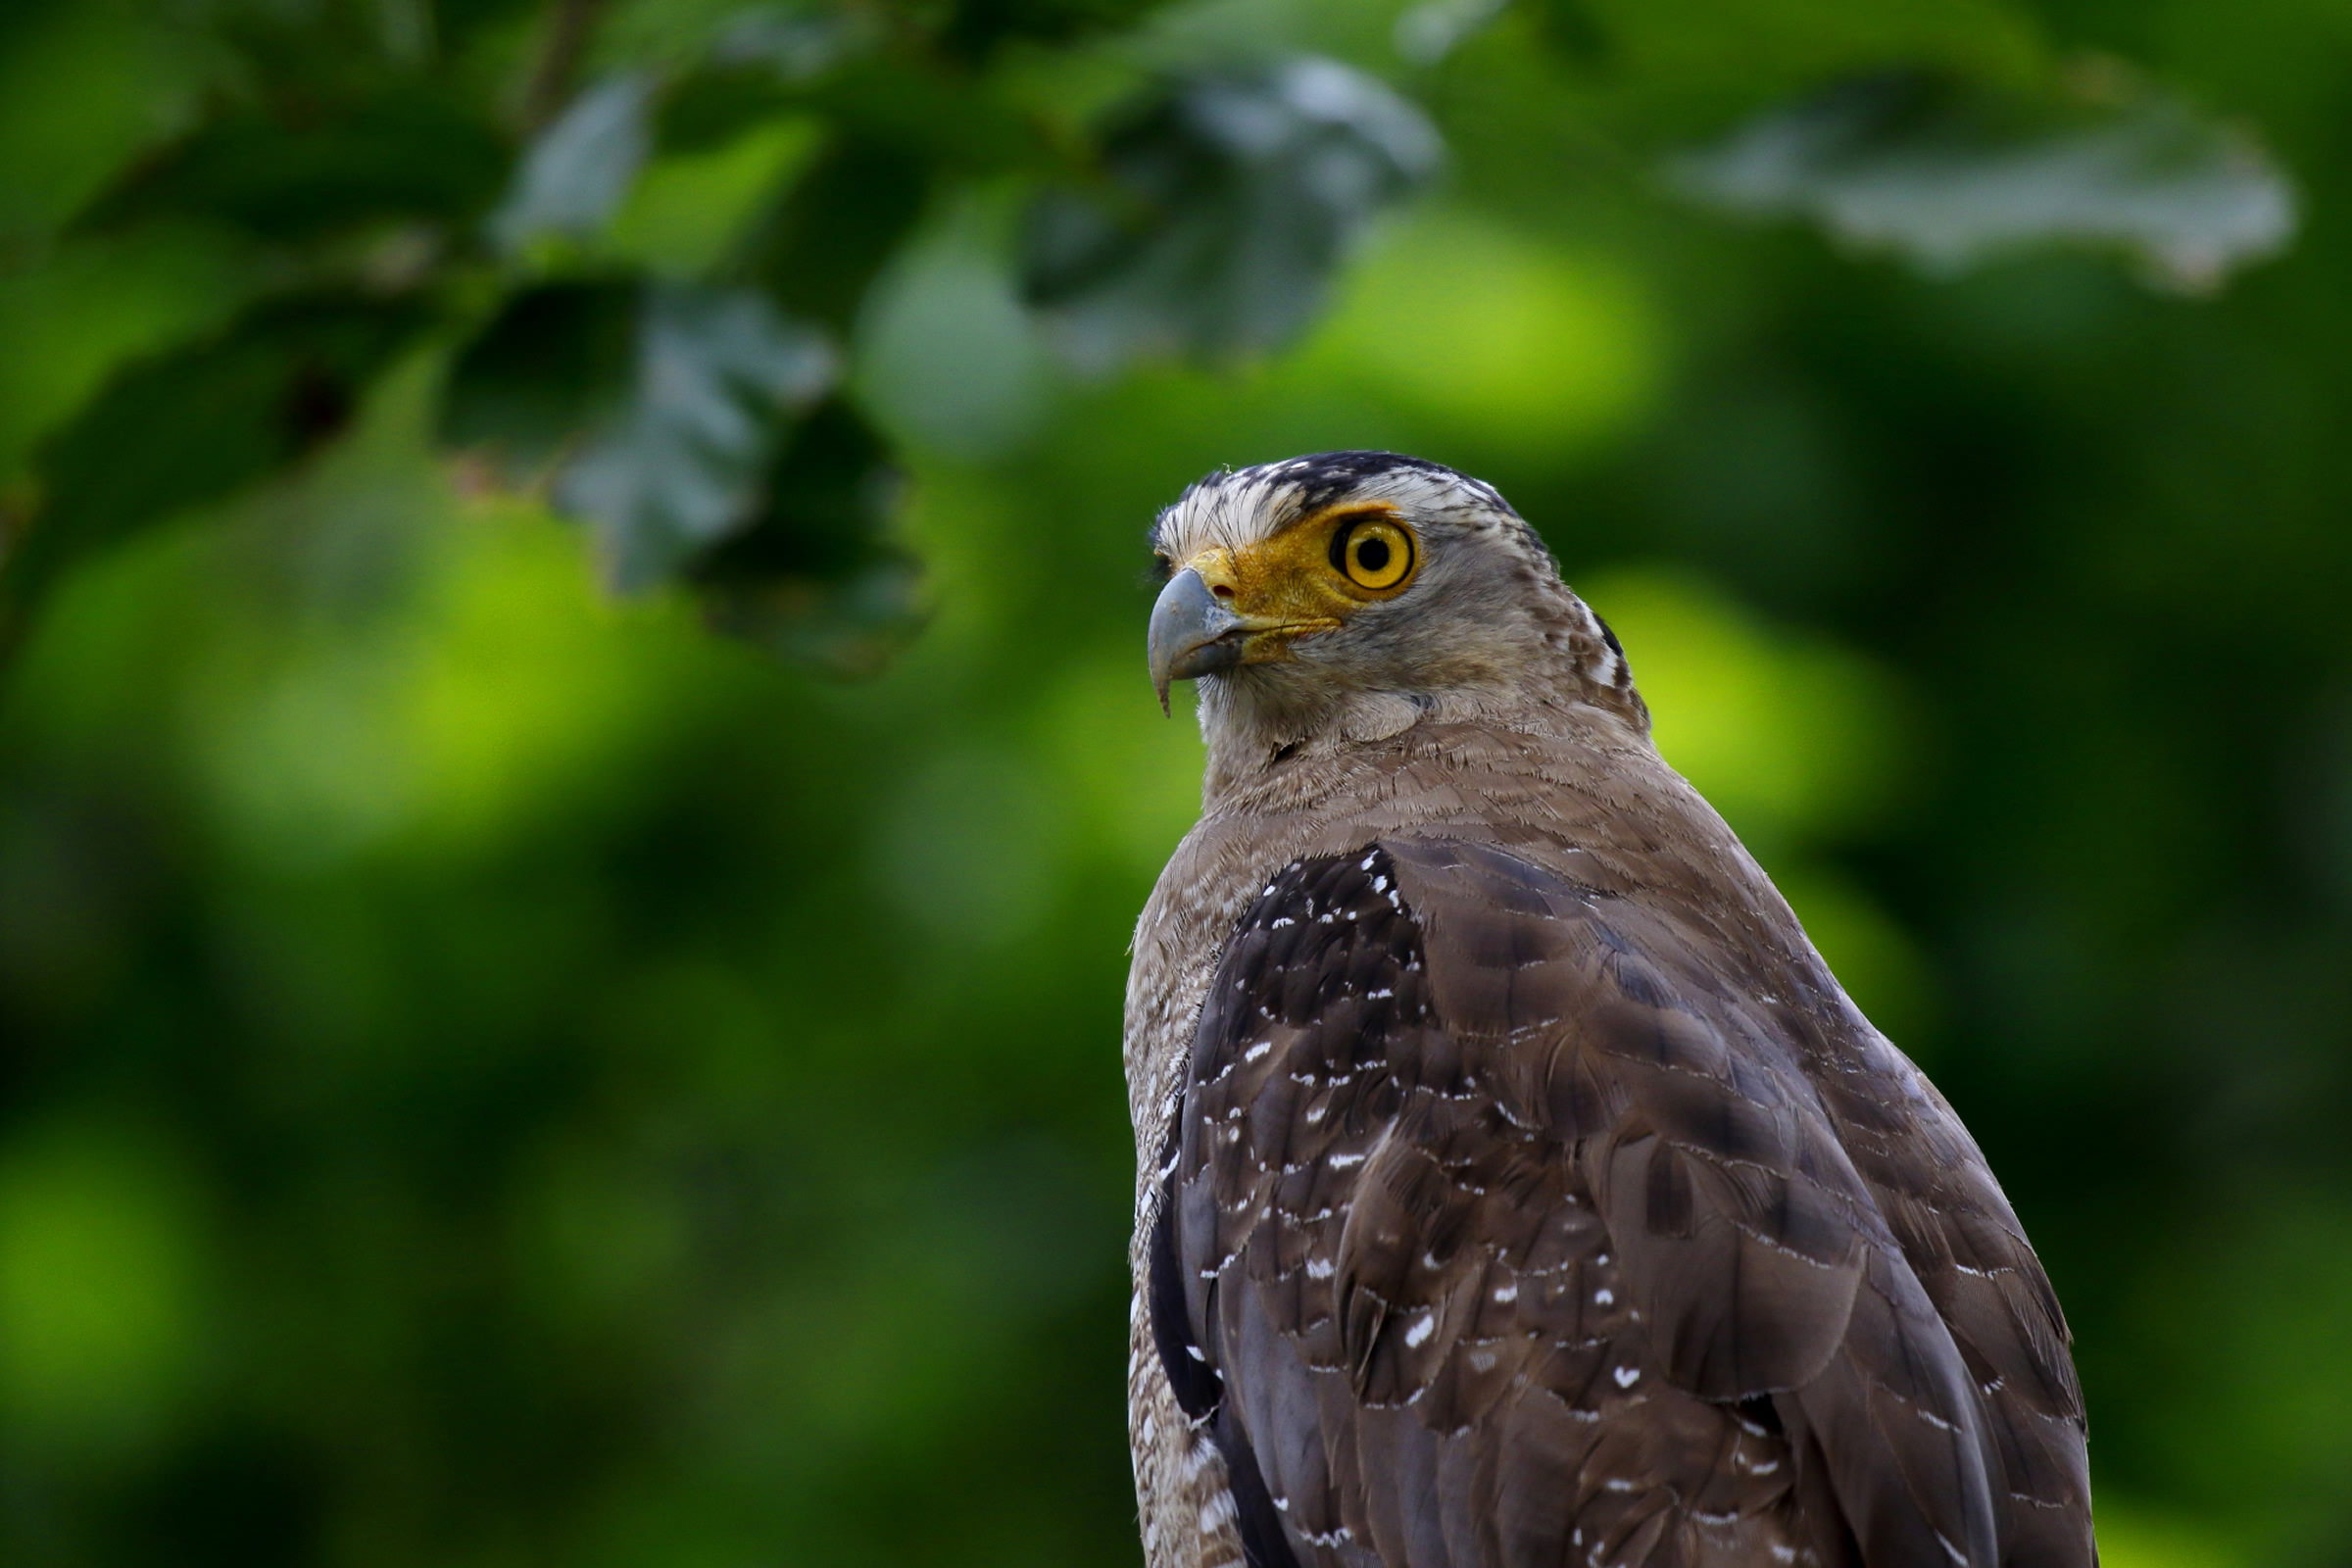
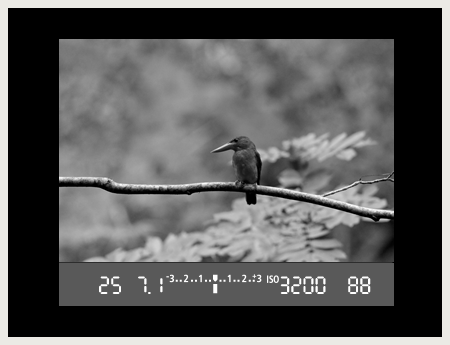
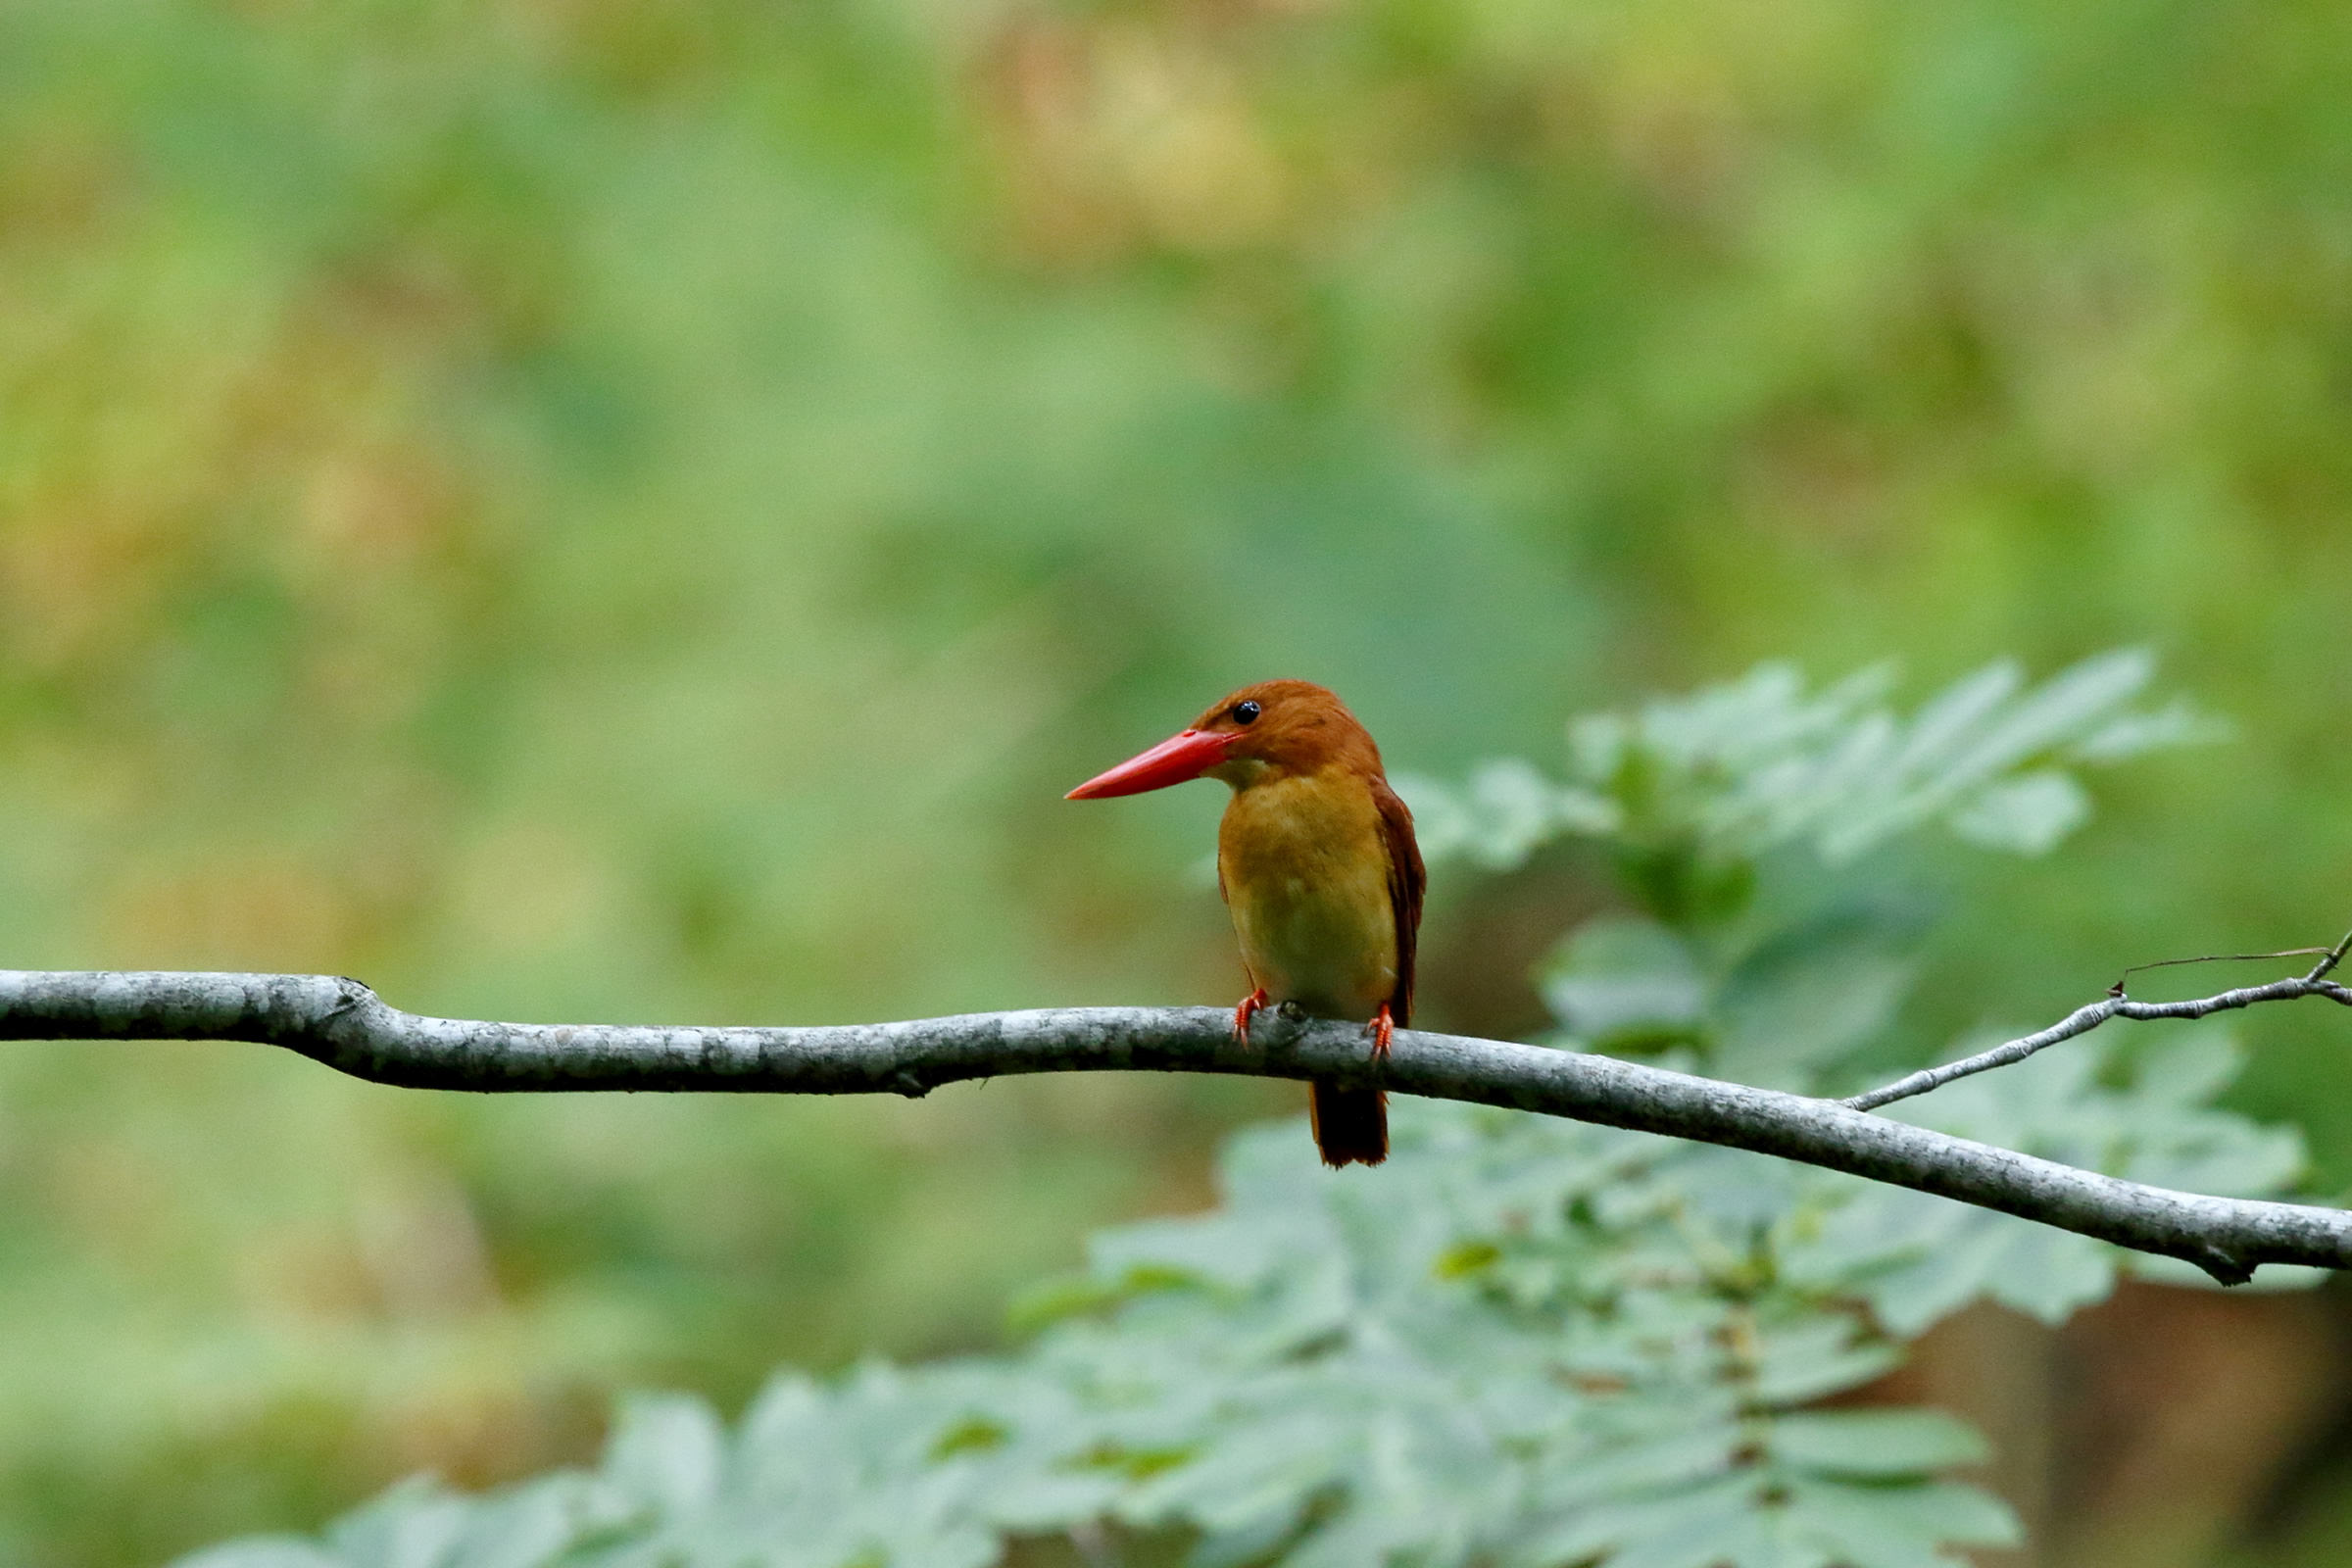
A Common Kingfisher was perched on the branch of a tree lodged in a pond. It was a cloudy day and the sky was dark even then, threatening rain. Looking at the surroundings closely, I noticed some red spider lilies blooming nearby. Creeping toward the Kingfisher I put some spider lilies in front of the bird to create a red front blur in the frame. I set the ISO speed to ISO1600 and the shutter speed to 1/500 of a second to prevent camera shake.
Image data
- Aperture value: f/8
- Shutter speed: 1/500 second
- ISO speed: ISO1600
- Exposure compensation: -0.3
- Focal length: 700mm equivalent (used a 1.4x extender at 500mm)
- DSLR Camera (APS-C image format)