


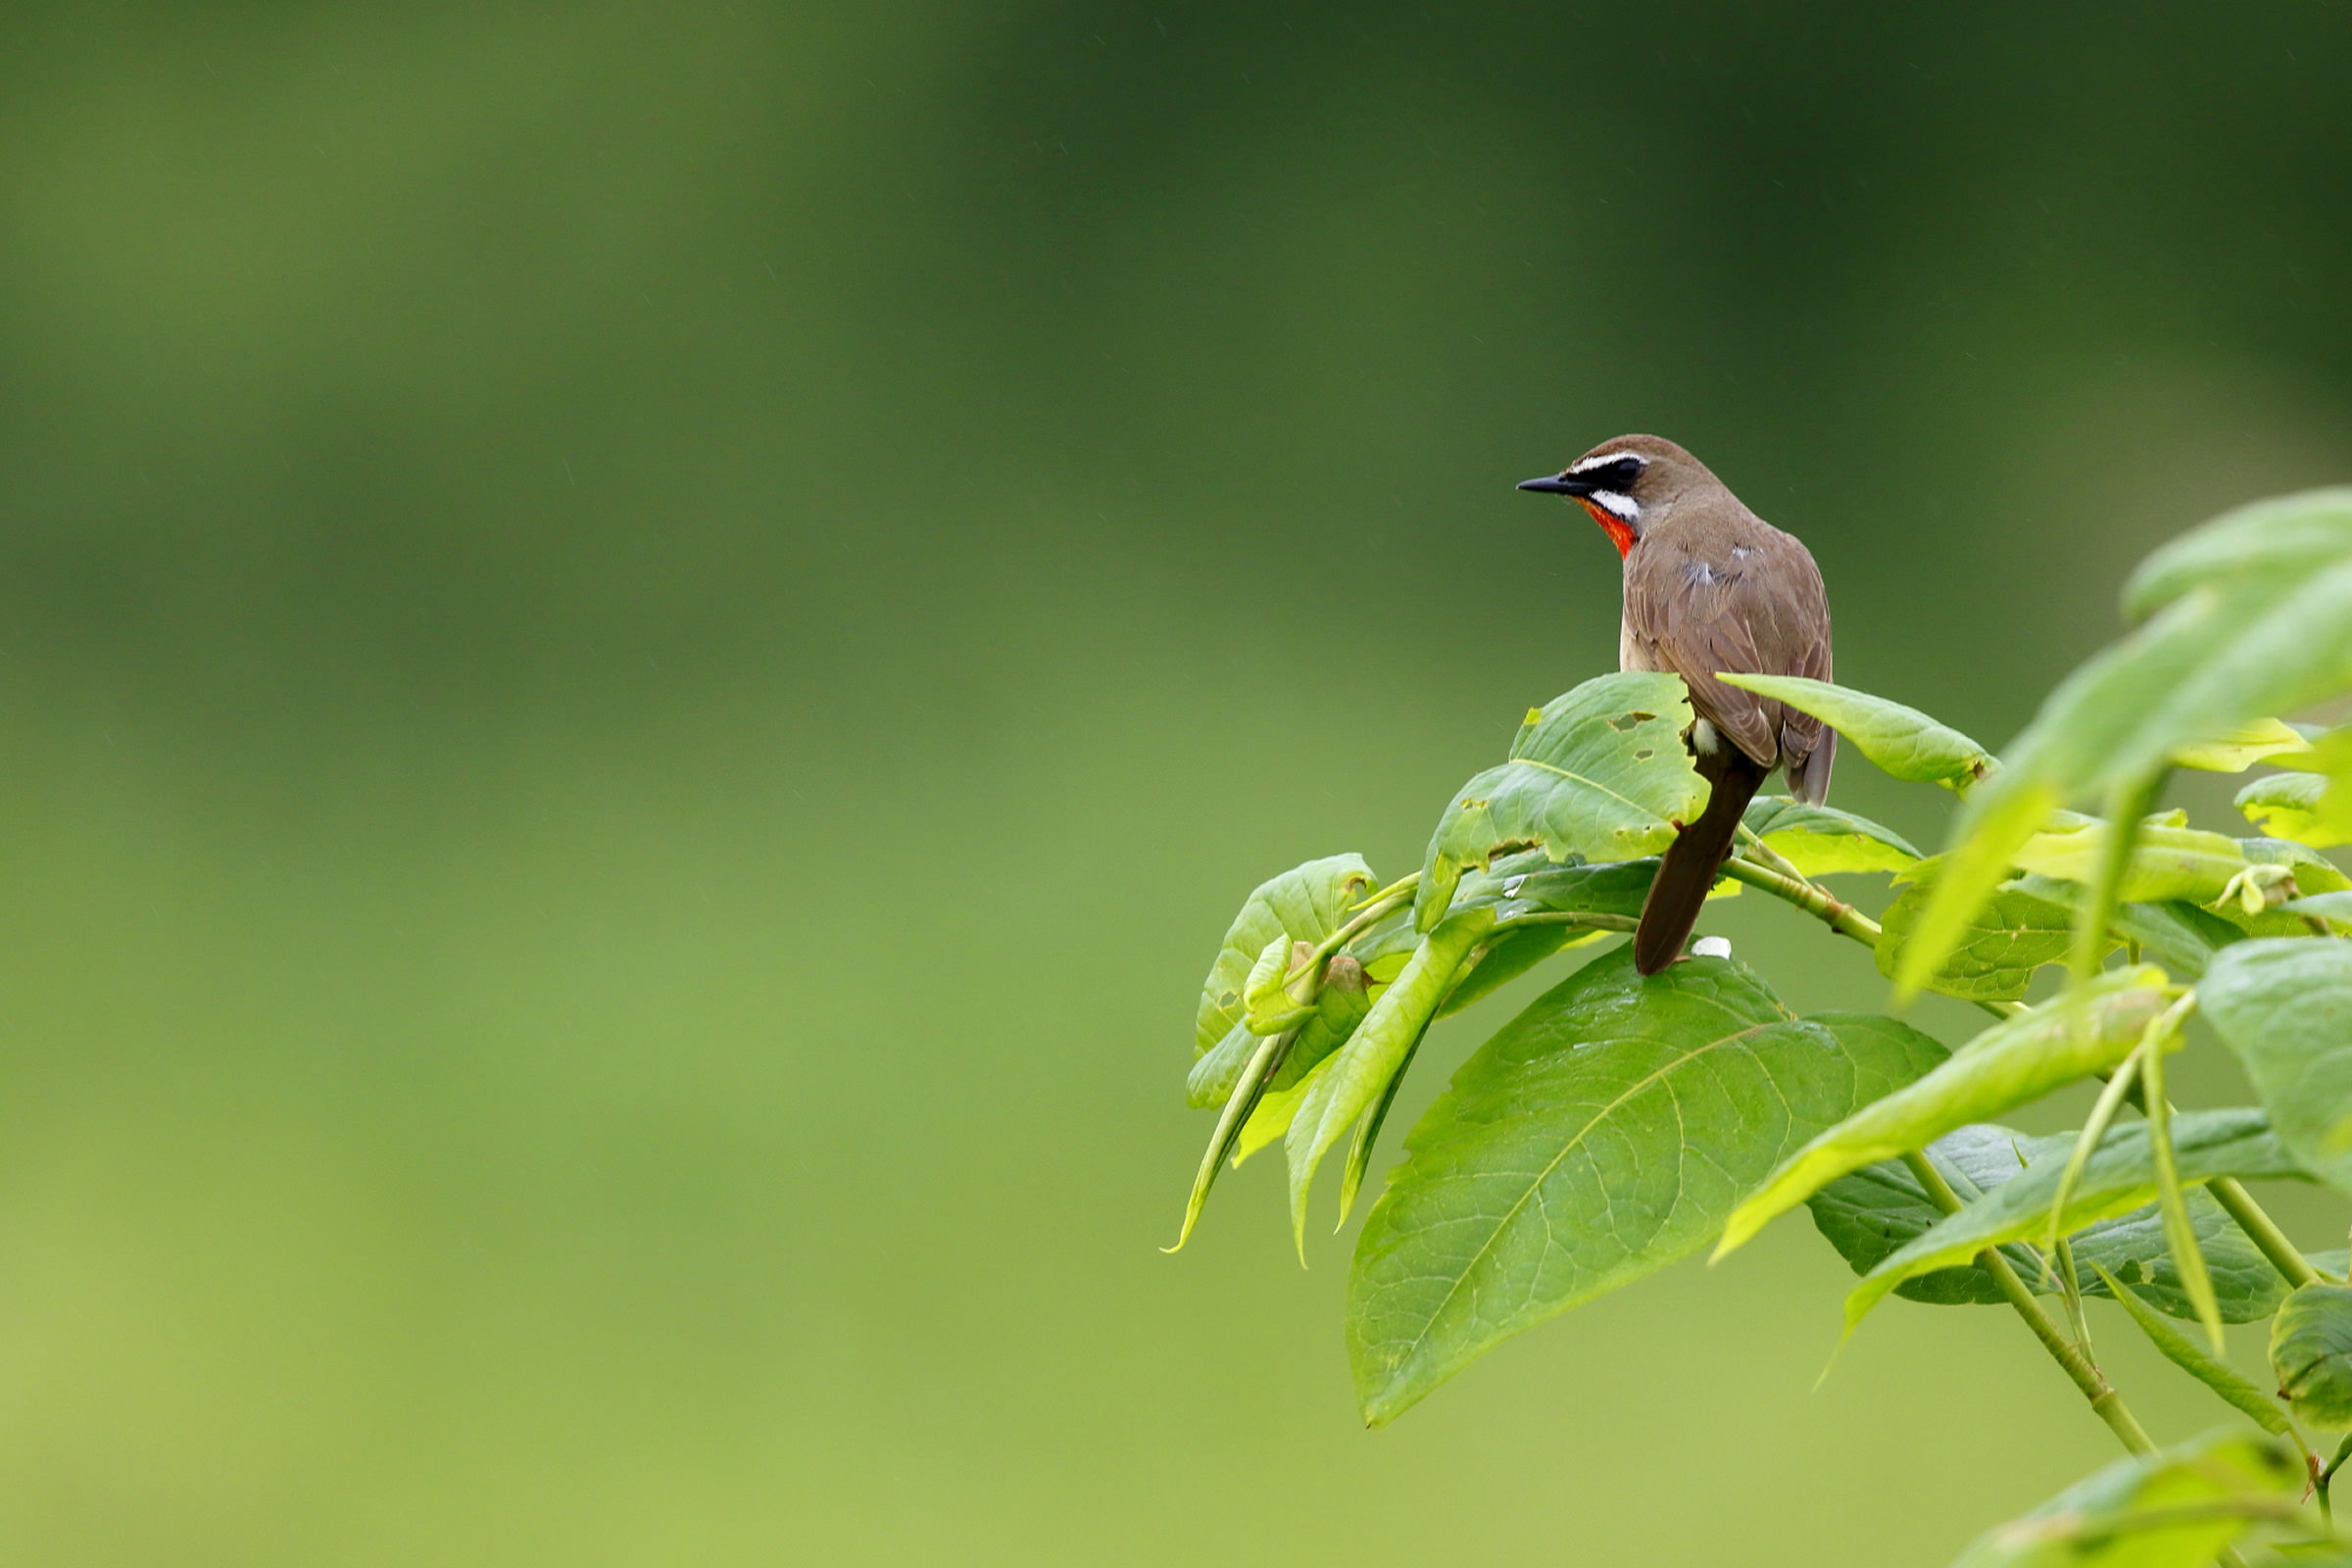

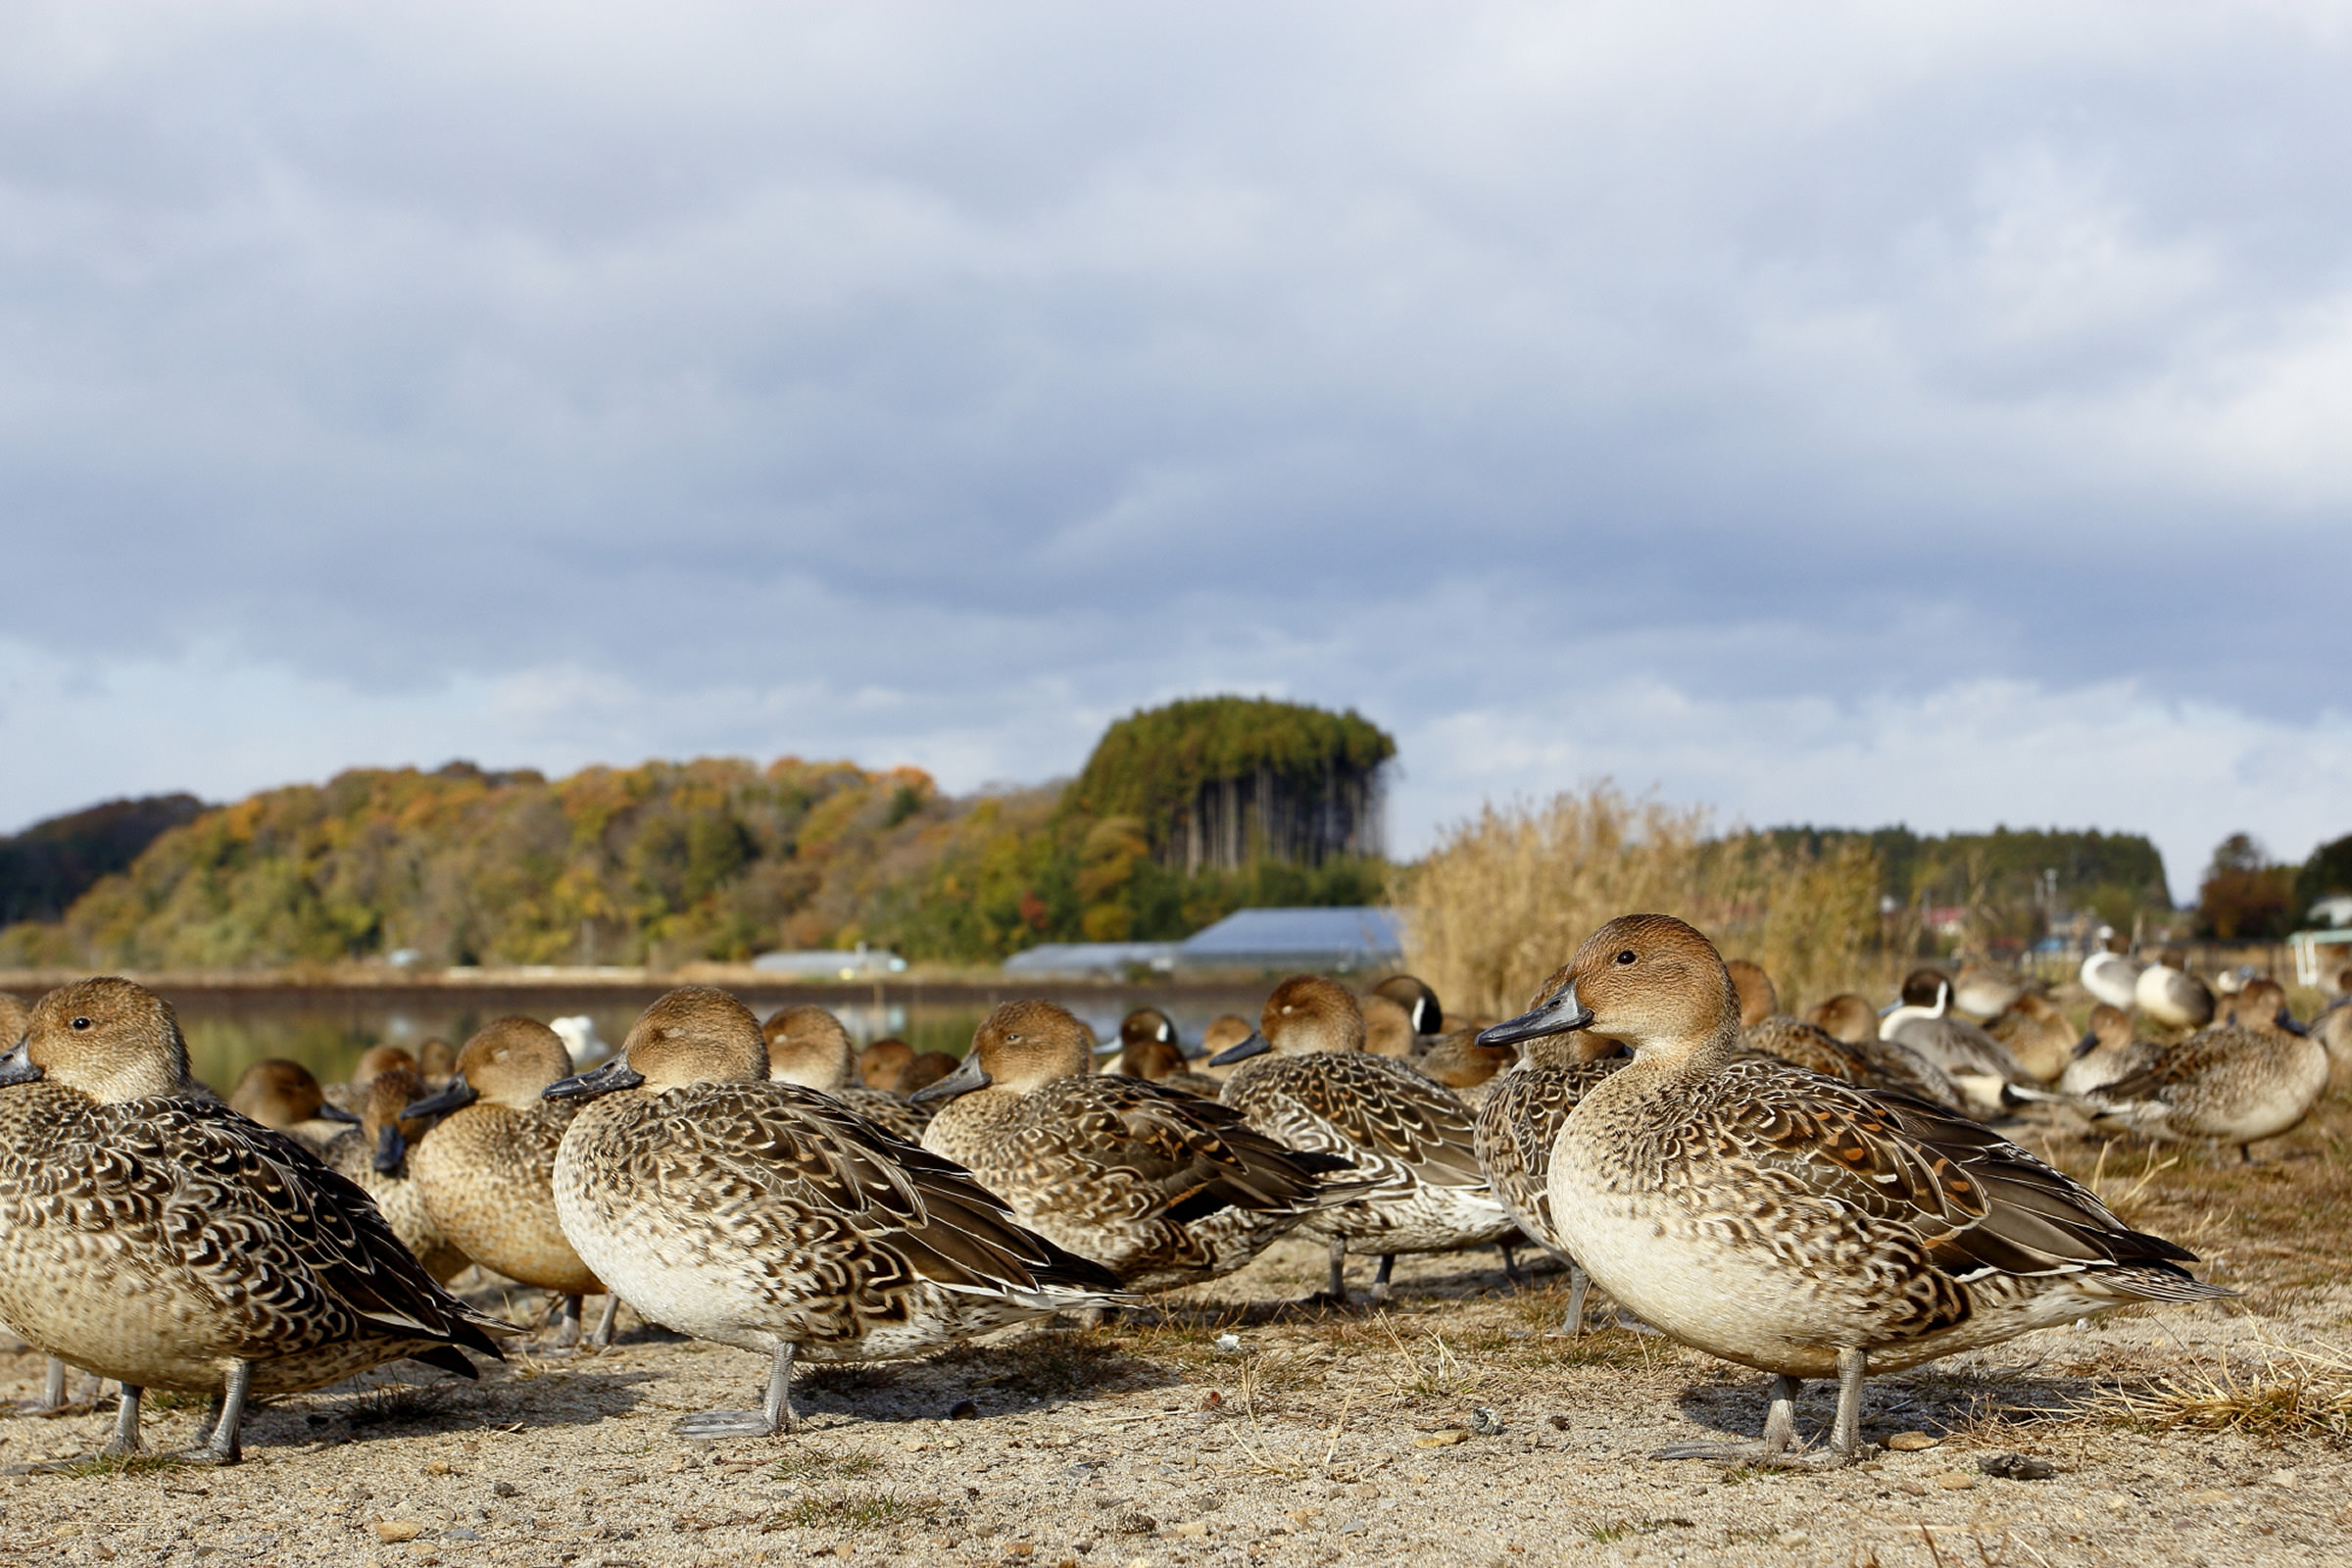
I spotted a Brown-eared Bulbul sitting in a tree. Thinking about the balance with the tree branches, I wanted to position the bird slightly off center, and since it was moving its head around, after I decided on the composition, I moved the focus point to where the bird was (setting Single-point AF for the AF area), and took the shot while maintaining the focus.
how to
photograph
wild birds
Let’s manipulate the focus using random AF points
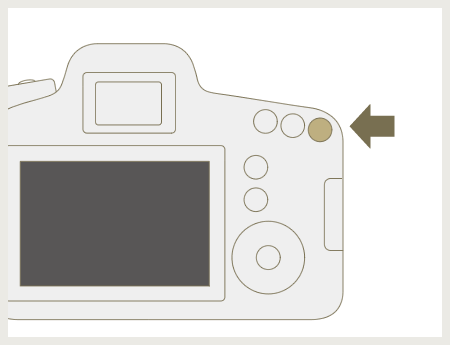
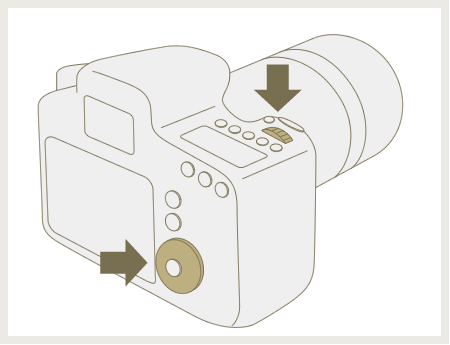
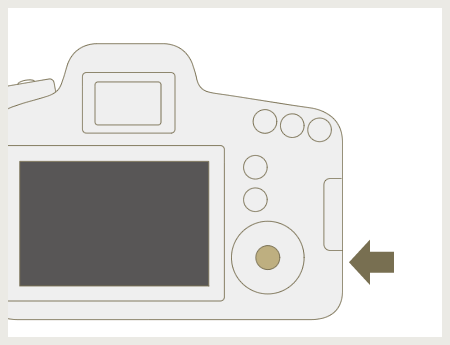
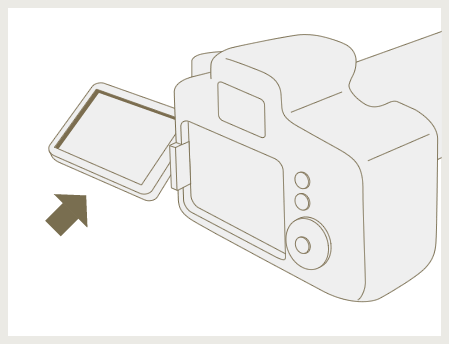
In the lessons up to now, the AF points (focusing with single AF point, and focusing with groups of AF points) have all been set in the center of the frame, but you can actually move the AF point(s) off the center. Let me explain what you can do by moving the AF point(s).
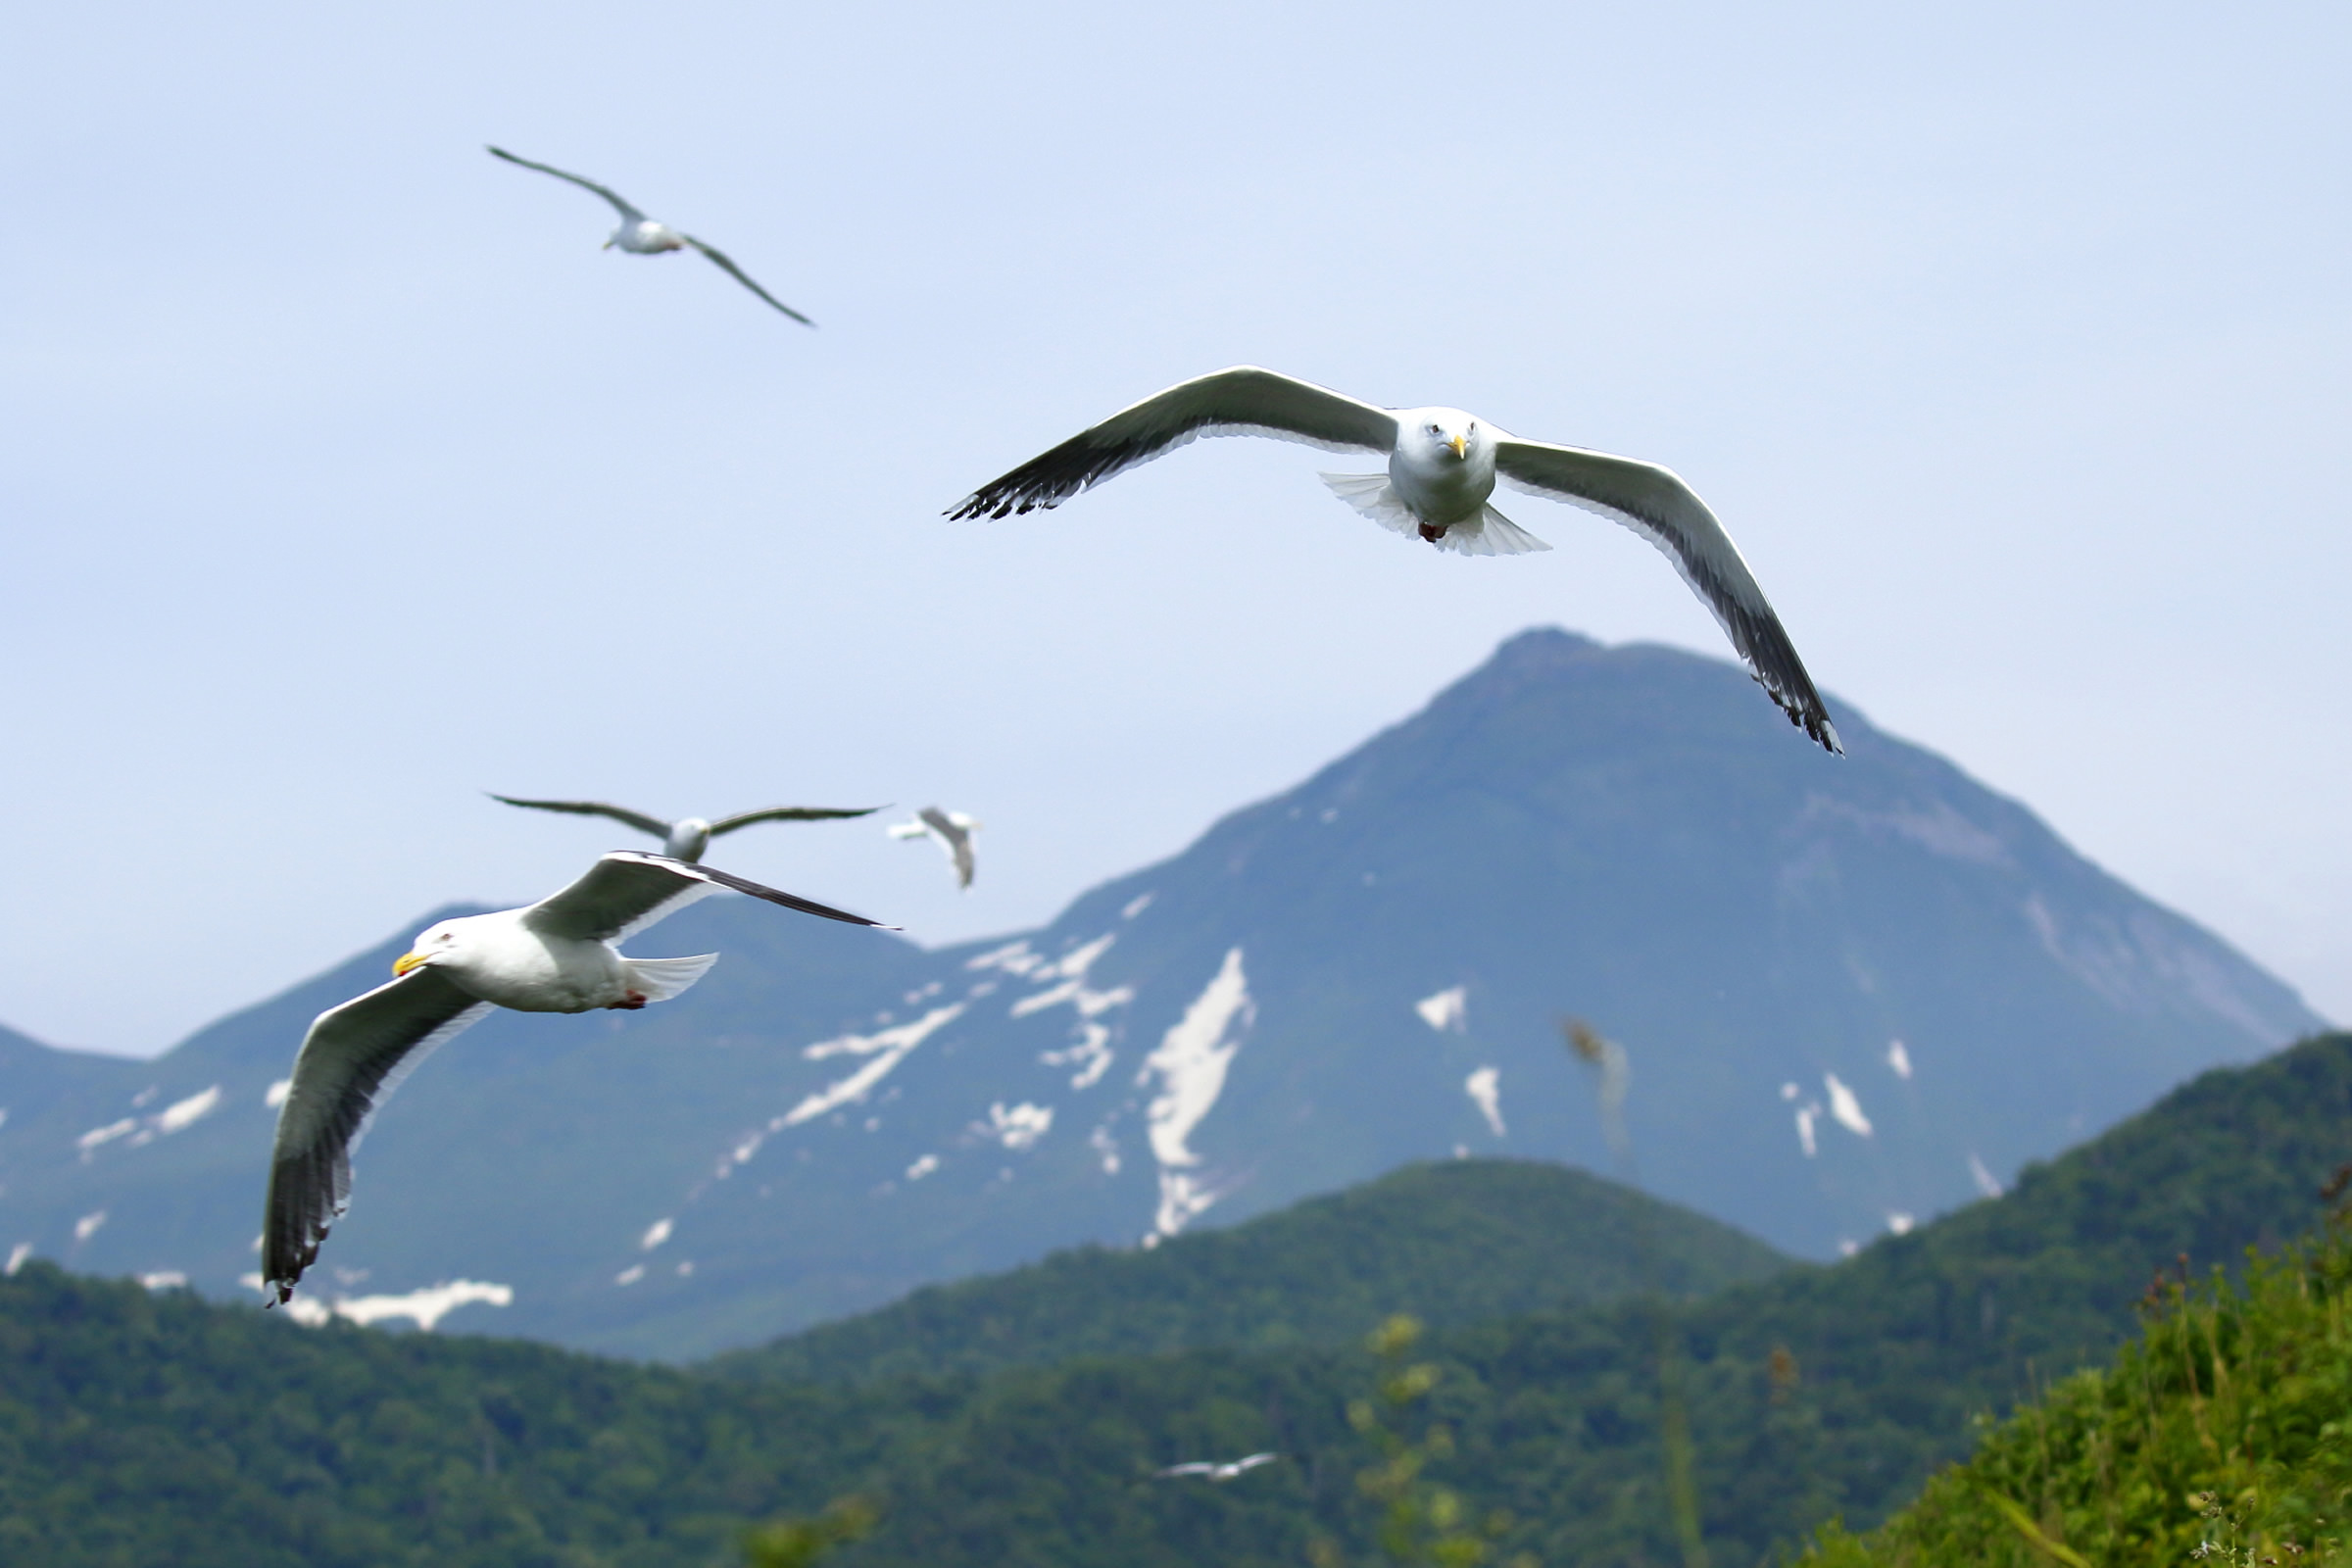
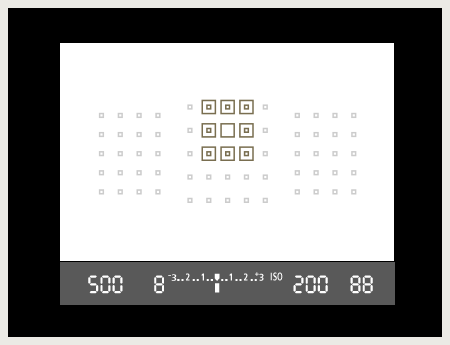
I discovered the flight path of a flock of Gulls. It was a good setting with mountains in the background, but if I focused on the center, the great surrounding scenery would be lost. So, after I arranged the composition, I set the AF Point Expansion (8 Points) (Manual selection, surrounding points) to capture the flying Slaty-backed Gulls in the best position.
Image data
- Aperture value: f/5.6
- Shutter speed: 1/1250 second
- ISO speed: ISO400
- Exposure compensation: 0
- Focal length: 100mm
- DSLR Camera (APS-C image format)