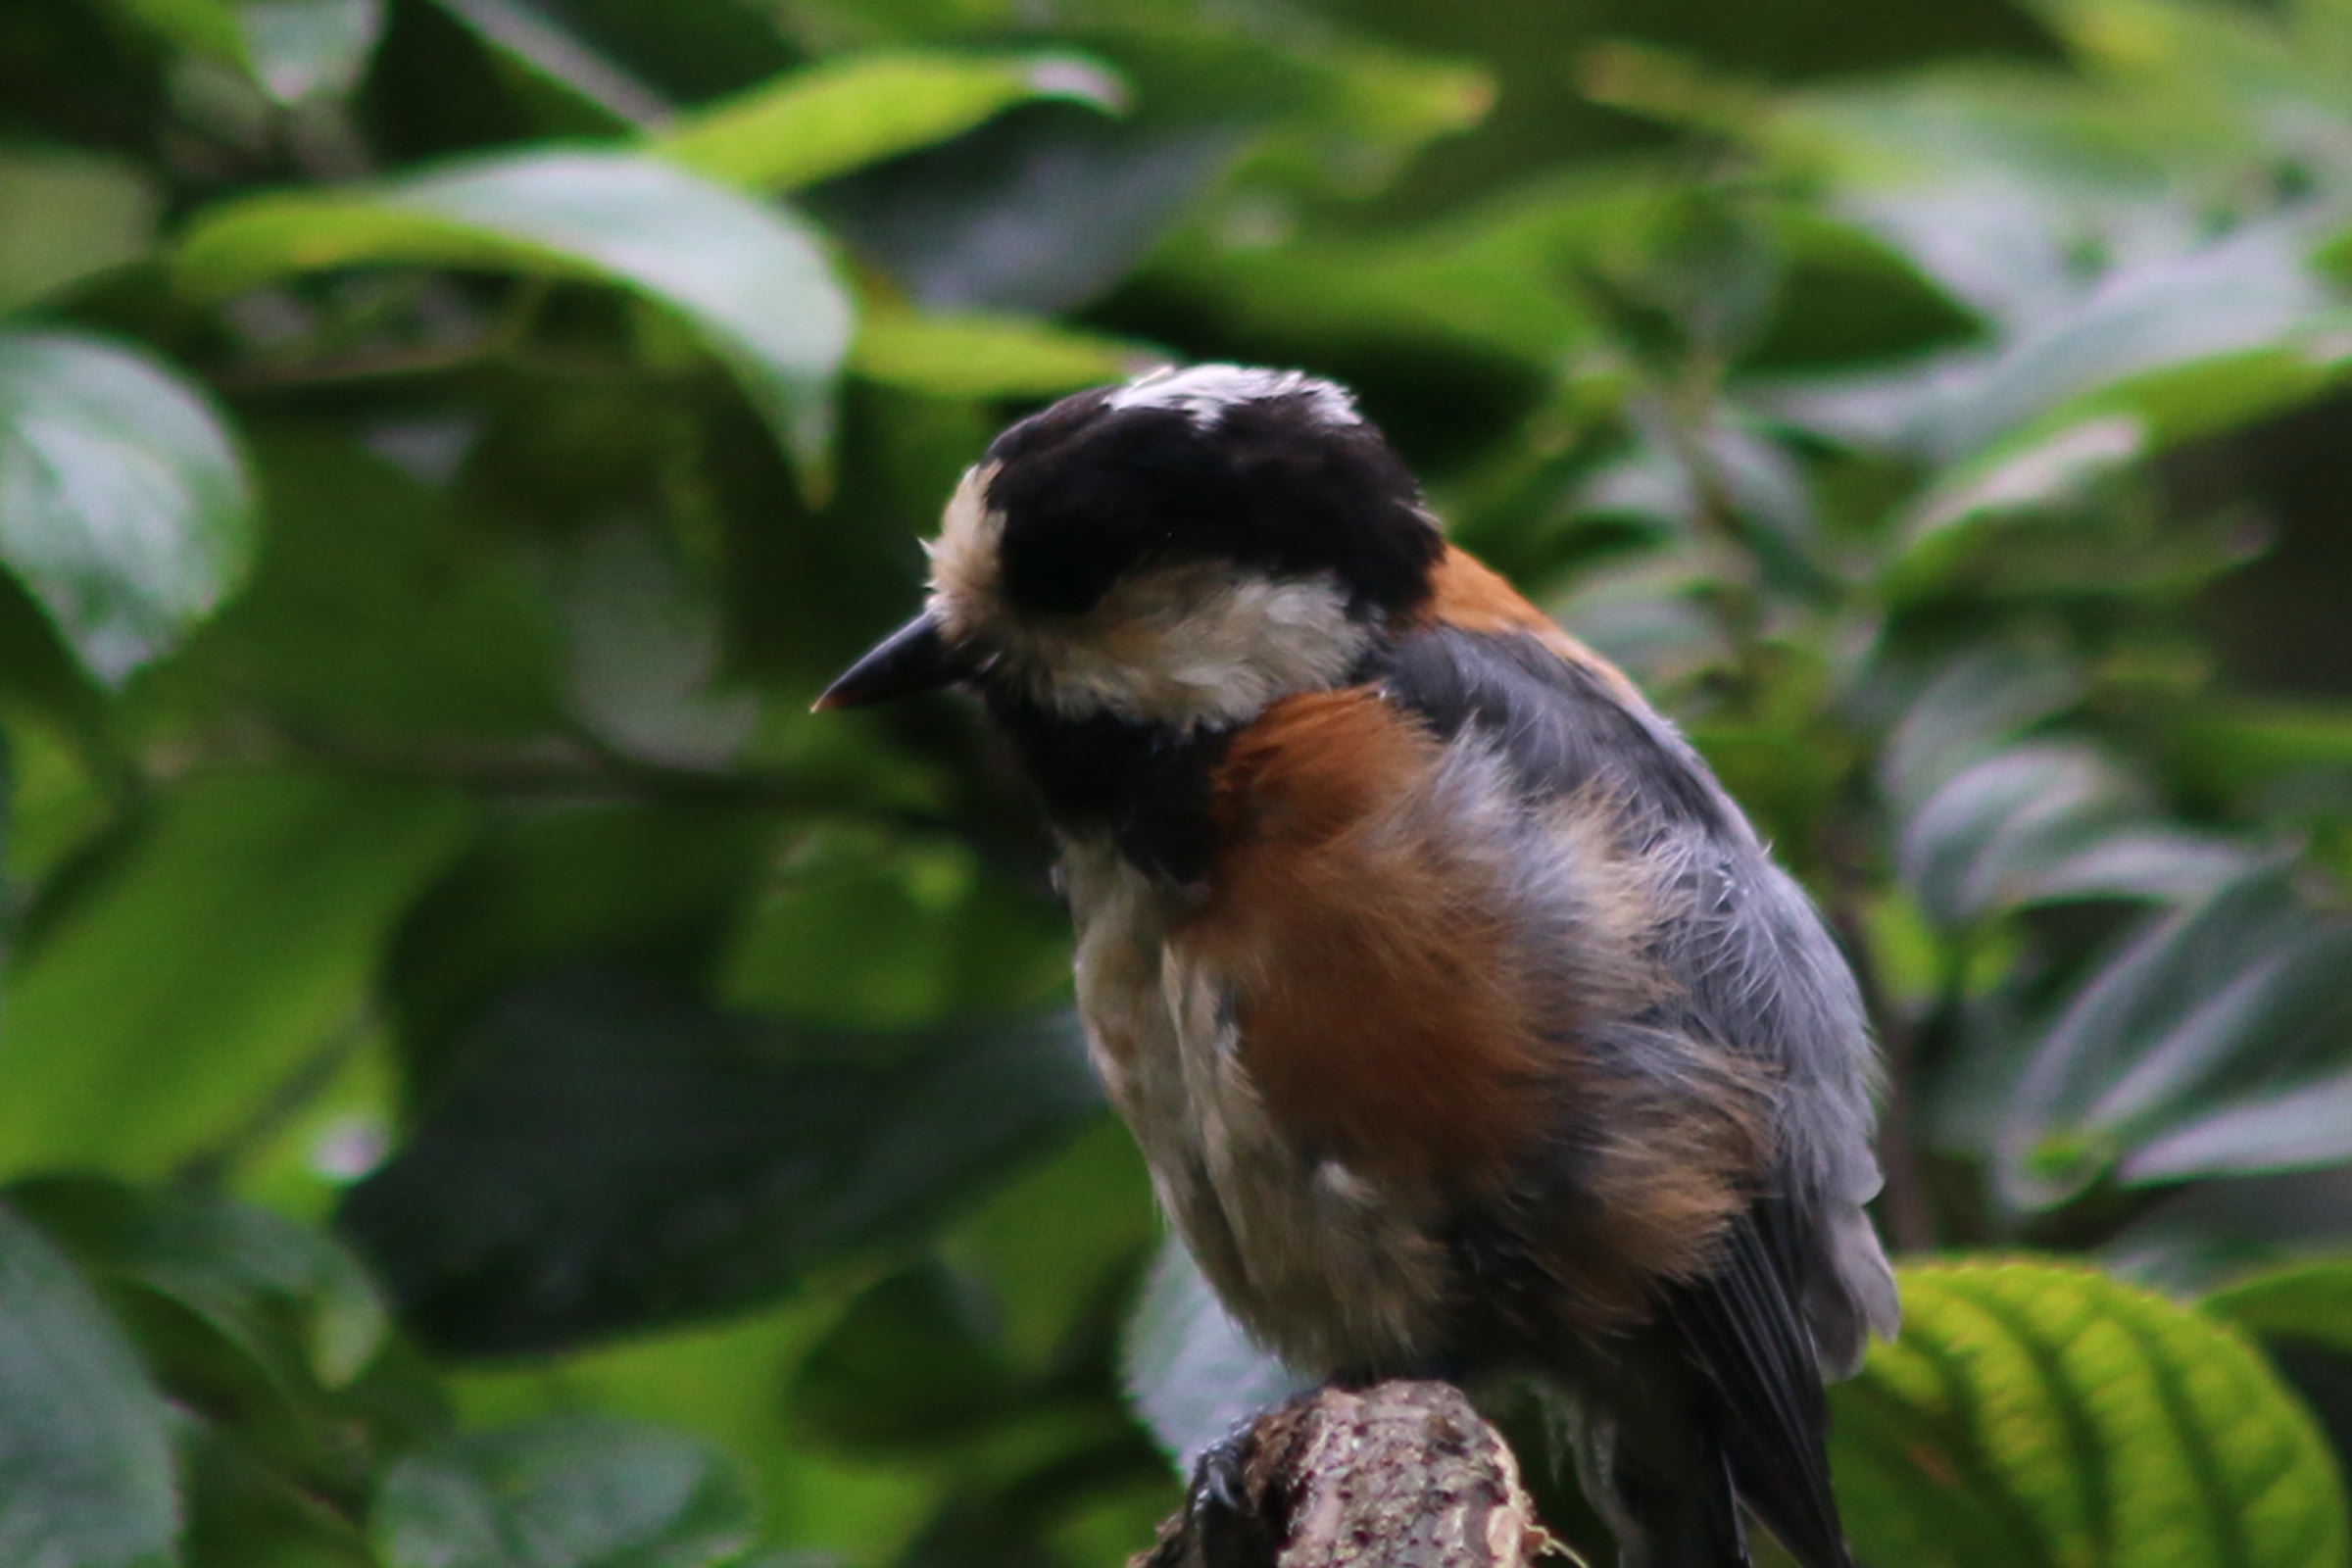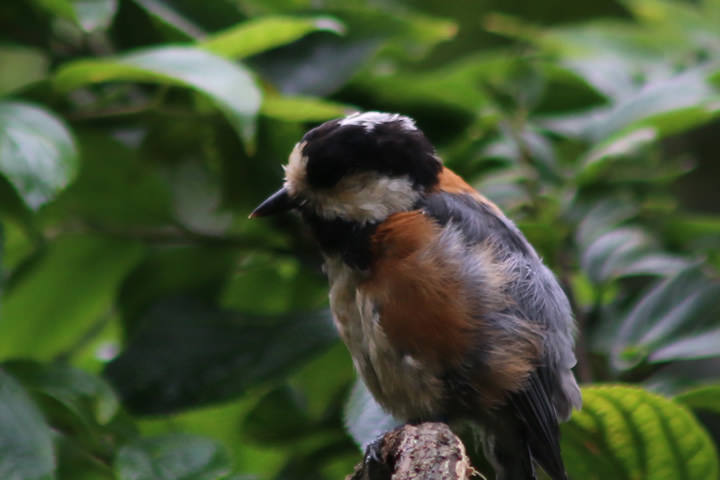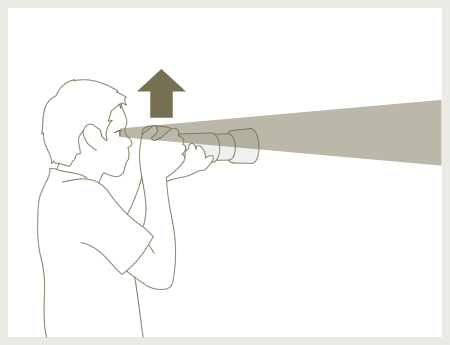

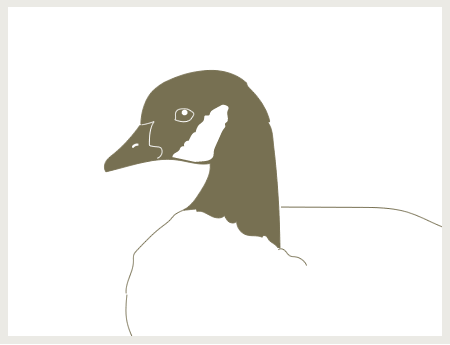
I am first-time digital SLR camera user. I tried taking pictures according to your instructions, but I found it very hard to focus on the eyes. When I use a telephoto lens, even the smallest movements completely change the composition of the photograph.
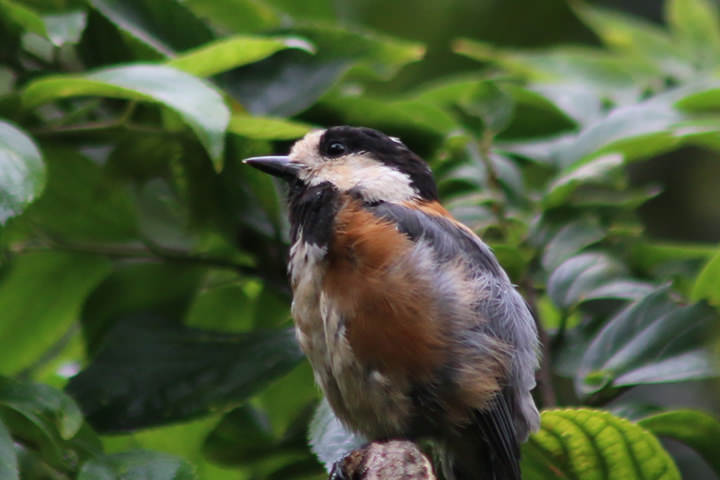
After several attempts, I finally got a picture with a catch light. The catch light makes all the difference.
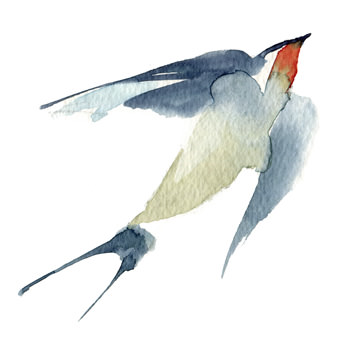
how to
photograph
wild birds
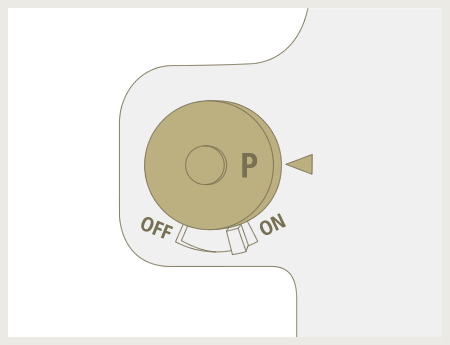
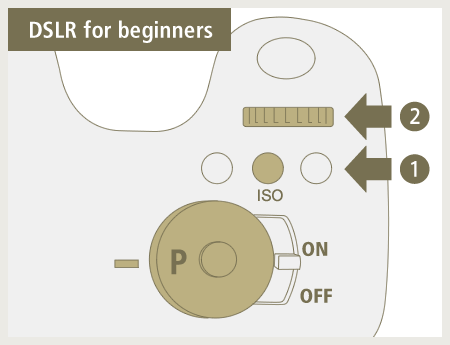
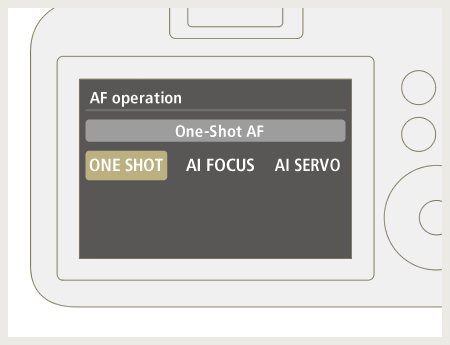
The Program Mode is ideal for first-time photographers.
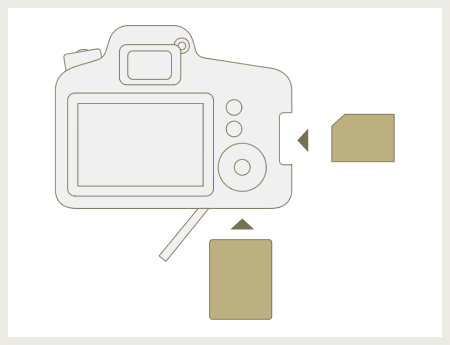
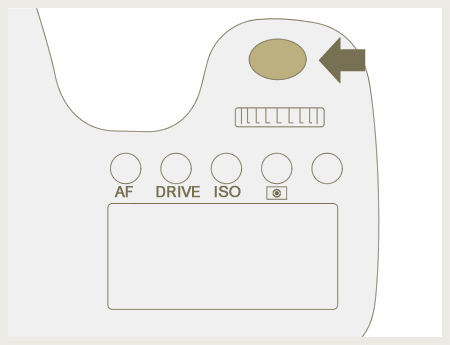
Once you've got your camera and lens ready, you should be ready to start taking pictures. What should you do next? Today, digital cameras are equipped with advanced features, making it easier than ever to take great photographs. Jump right in and check your images on the camera's LCD display. If you don't like the results, you can try changing the settings and see what happens. The important thing is to keep snapping away!

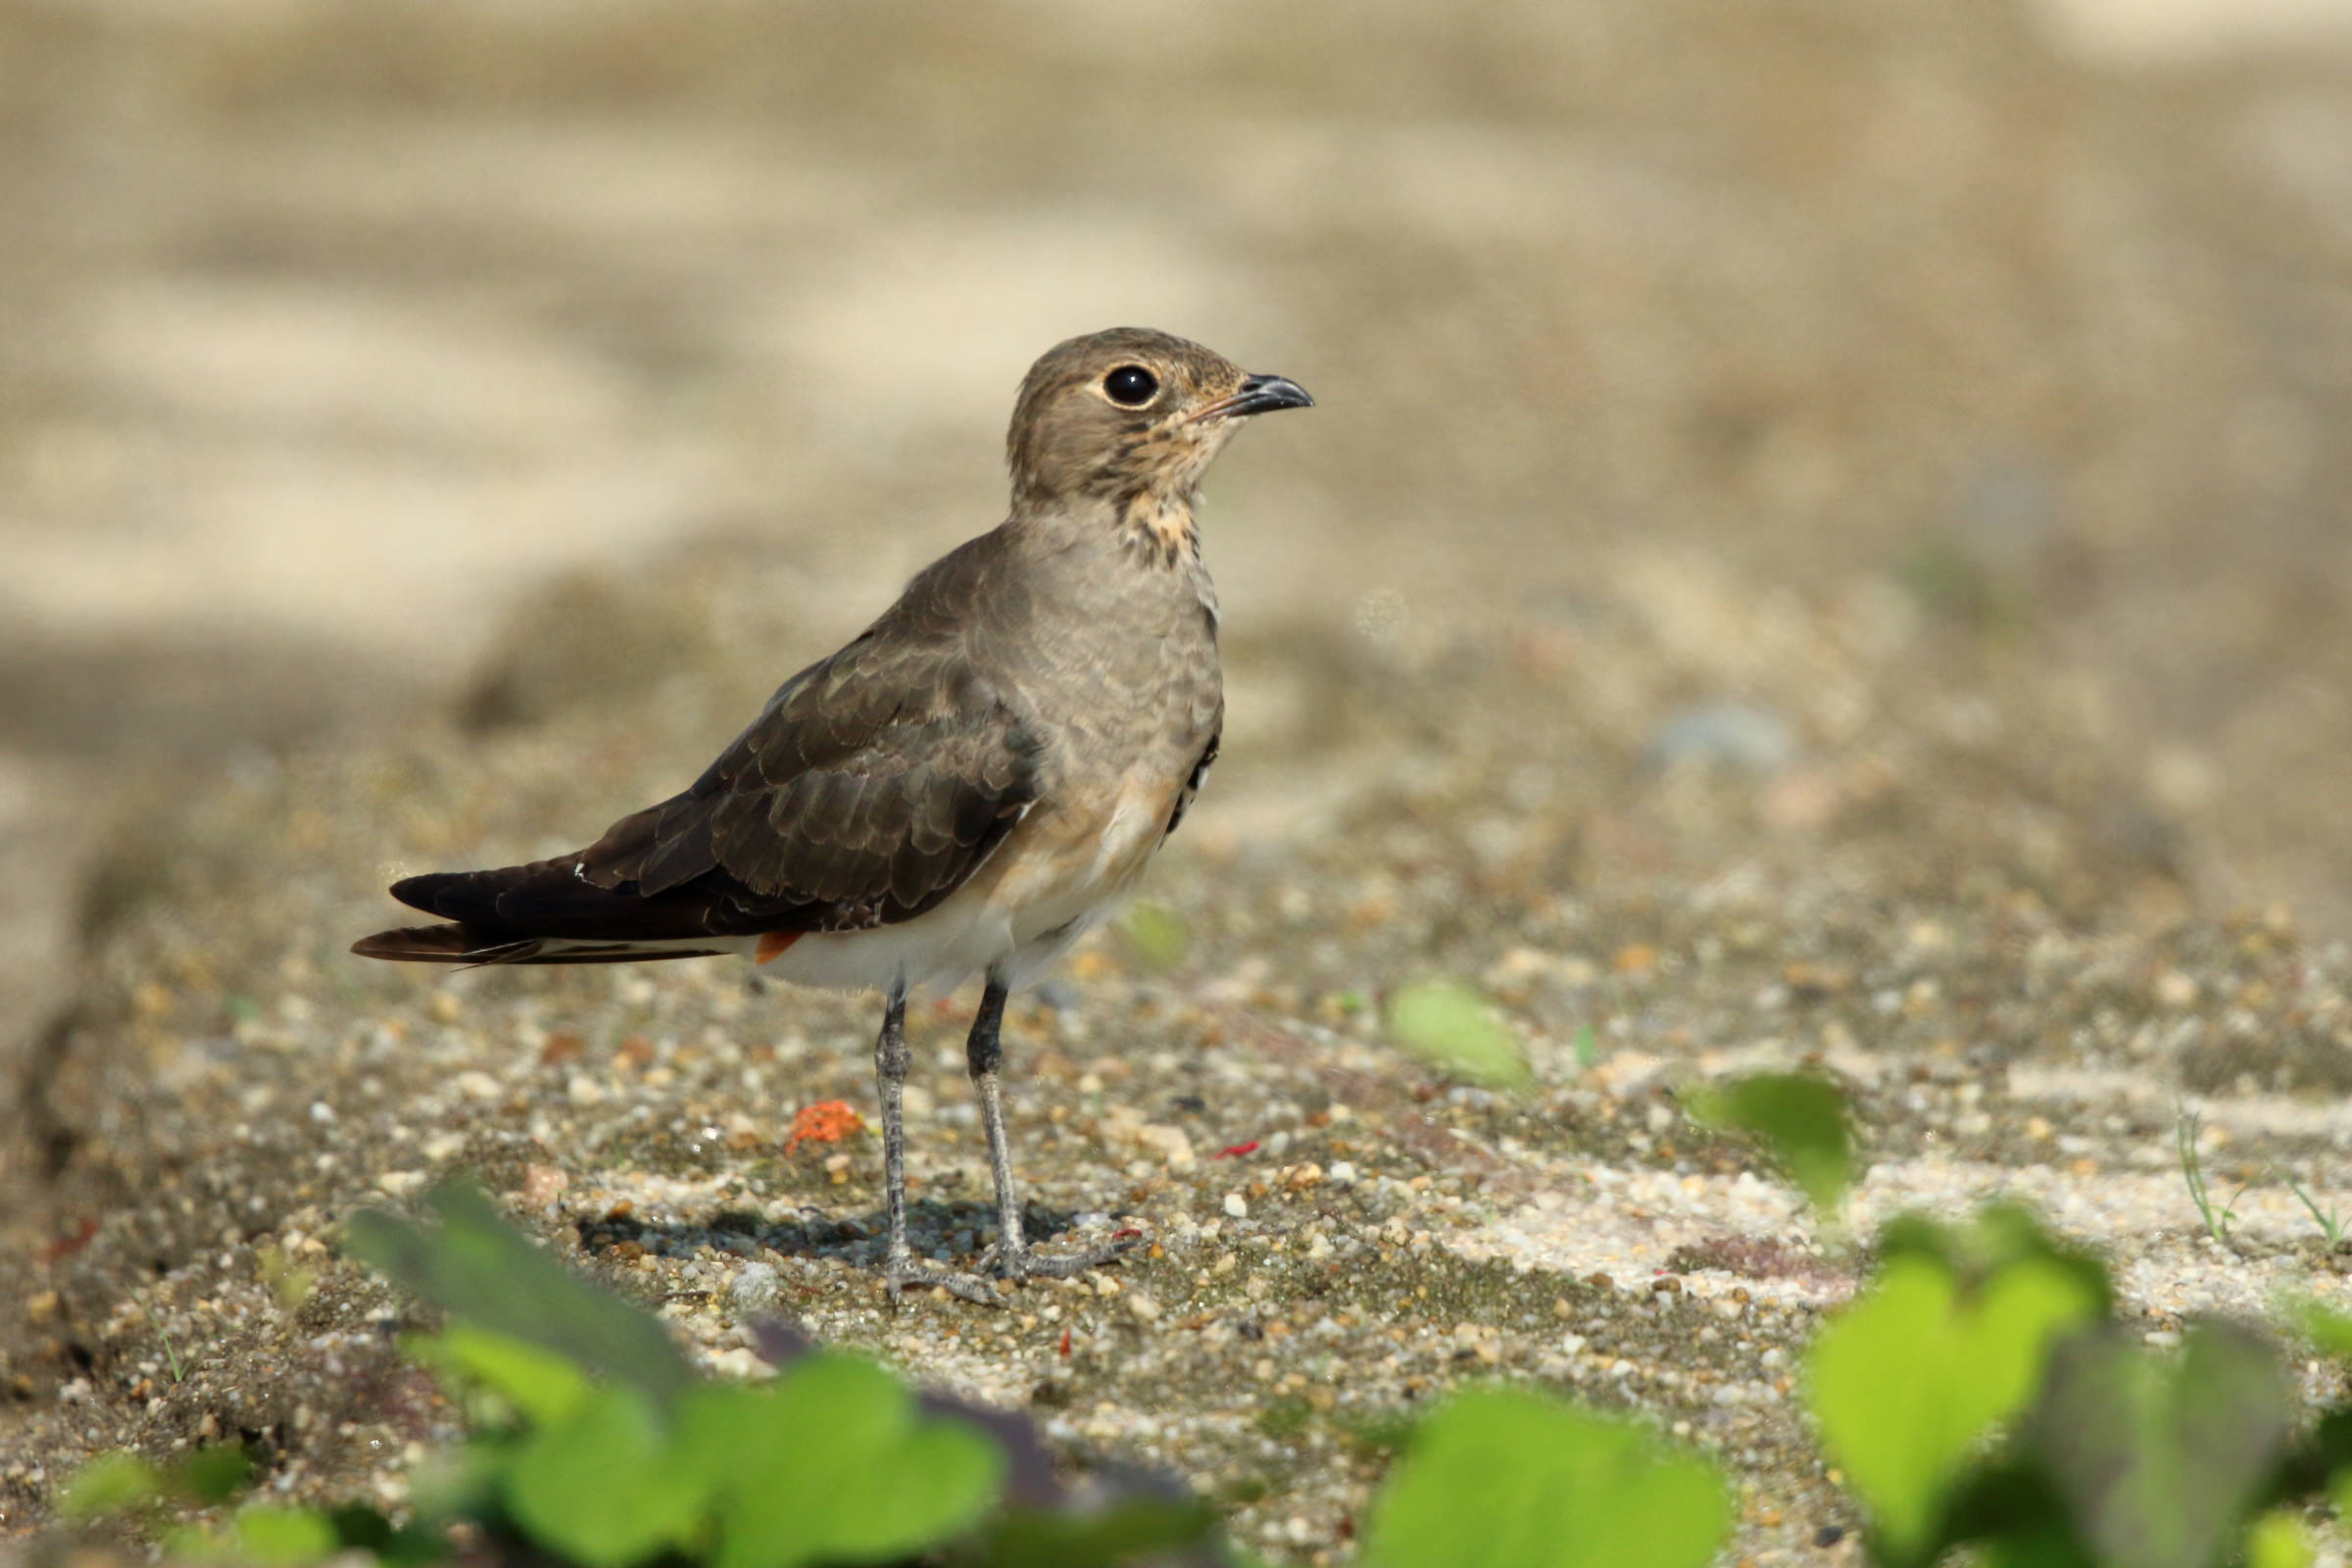
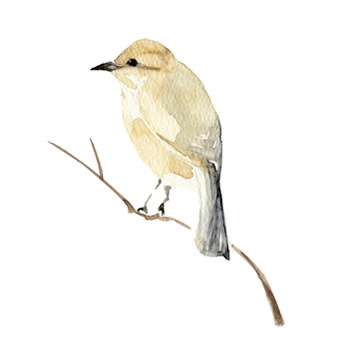
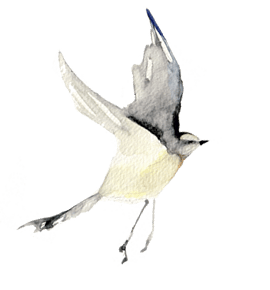
I found and Oriental Pratincole while it was taking a rest at a farm on its long journey. If I use a short focal length lens, the oriental pratincole will blend in with the background and it will be difficult to see. Its body color also camouflages it. What is the best strategy? I got closer to it and took a photo with a blurred background by using an ultra telephoto lens with a low depth of field. It worked, and created a sharp image. I focused on its eyes and captured a catch light in its eyes. As a result, I got a vivid image.
Image data
- Aperture value: f/5.6
- Shutter speed: 1/4000 second
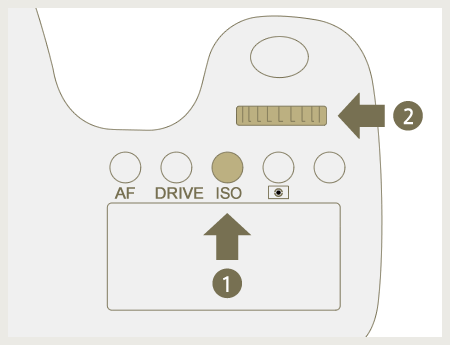
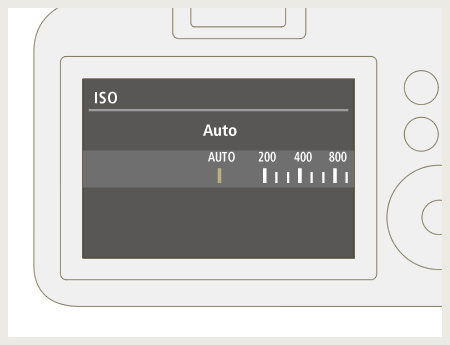
- ISO speed: ISO400
- Exposure compensation: 0
- Focal length: 700mm
- DSLR Camera (APS-C image format)