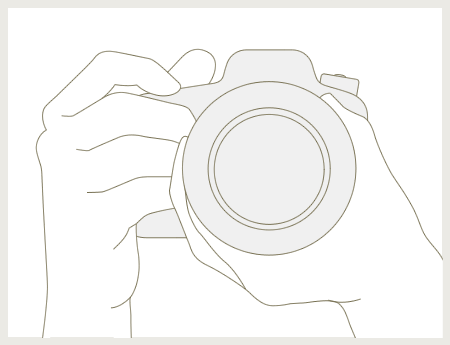


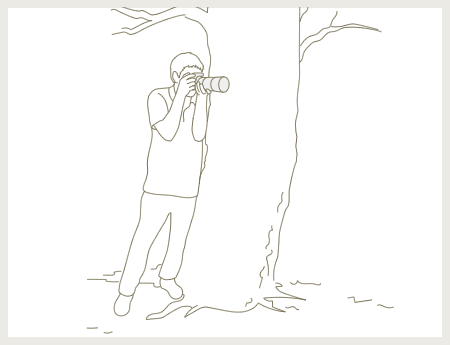
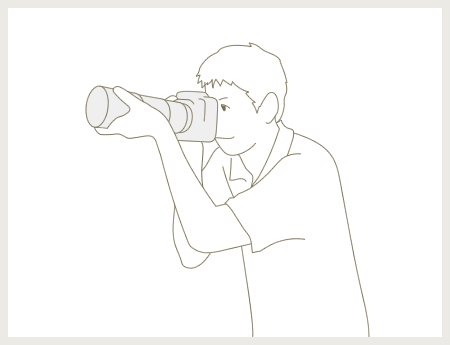
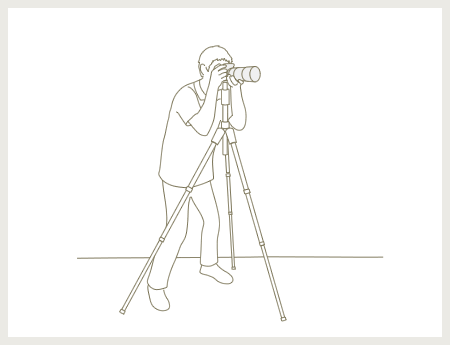
When I first learned the proper way to hold a camera, it seemed like a cramped posture. But once I gave it a try, I realized how stable the camera was. At first, I didn't want to hold the camera against my face and lean against a tree, but after I heard Mr. Tozuka's comment that I could “wipe the LCD display later,” I just went ahead and did as he told me.
how to
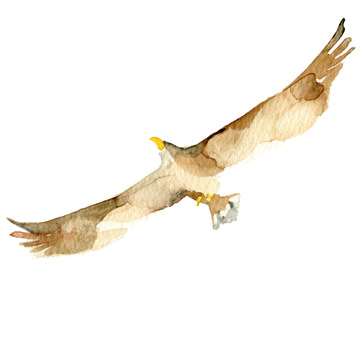
photograph
wild birds
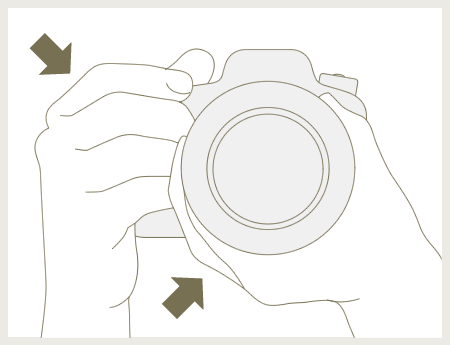
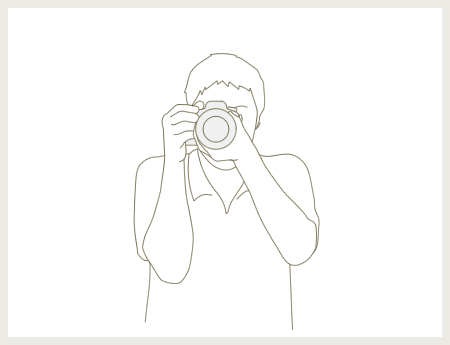
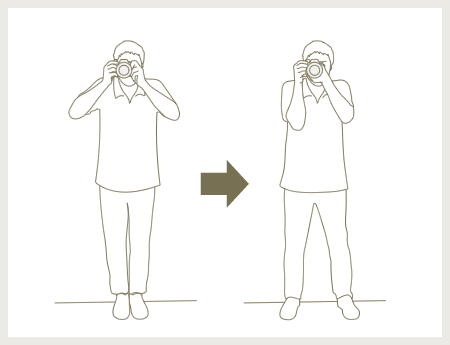
Hold the camera still to minimize camera shake
My photograph was blurry. Why?
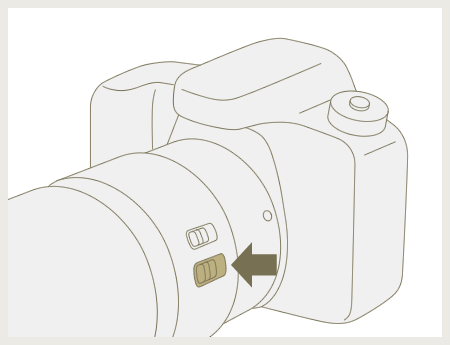
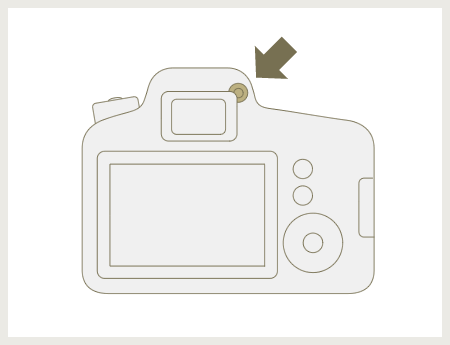
How you hold the camera is very important consideration. If you don't hold it properly, your photos may appear blurred or tilted. If you use a high-magnification telephoto lens, you may see the effects of camera shaking in your photograph.
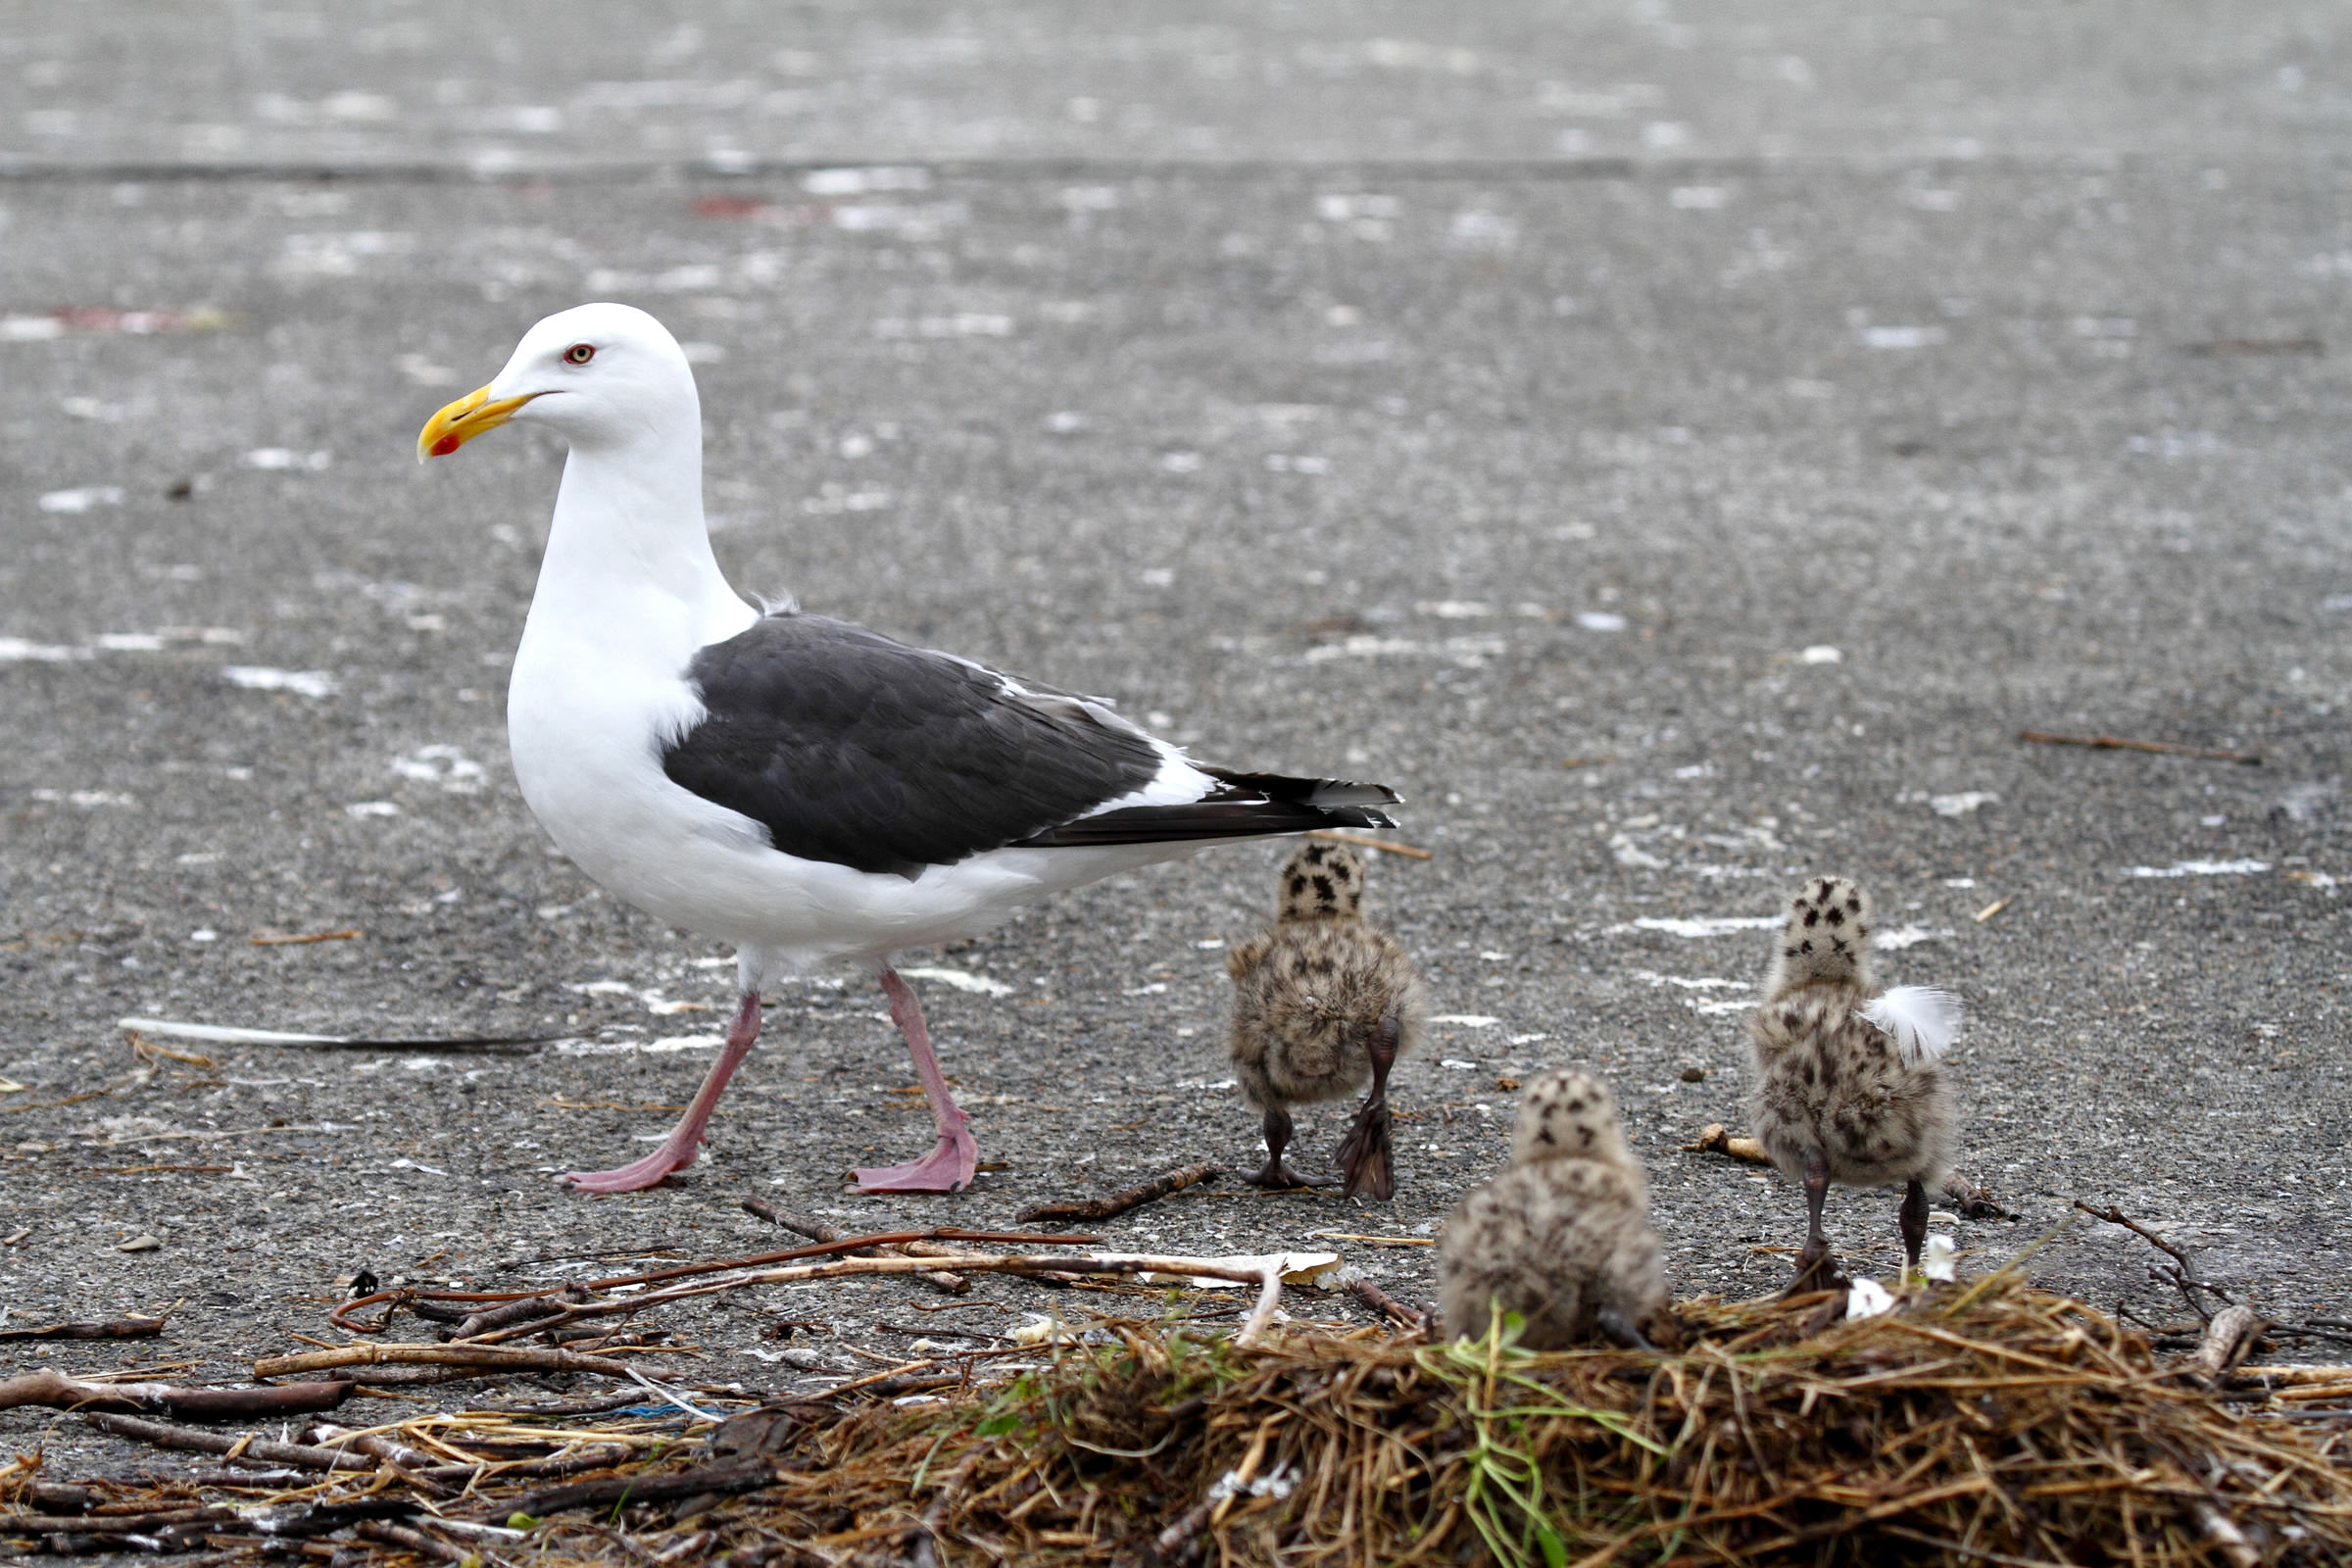
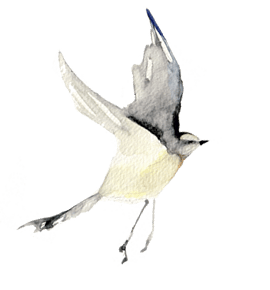
I found a Slaty-backed Gull feeding on the bank. I took just a few photographs and I left, because if I stayed longer close to baby birds, they could run away. If they get separated from their parents, they may be caught by crows.
Image data
- Aperture value: f/5.6
- Shutter speed: 1/500 second
- ISO speed: ISO400
- Exposure compensation: 0
- Focal length: 160mm
- DSLR Camera (APS-C image format)