how to
photograph
wild birds

Let’s take photos that utilize light effectively (front light / back light / side light)

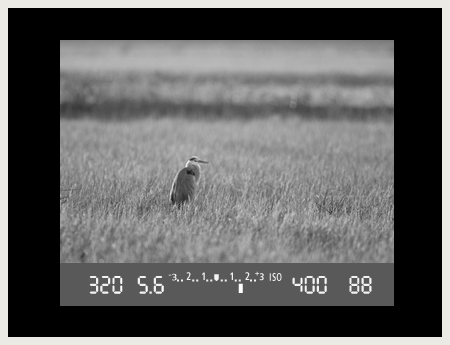
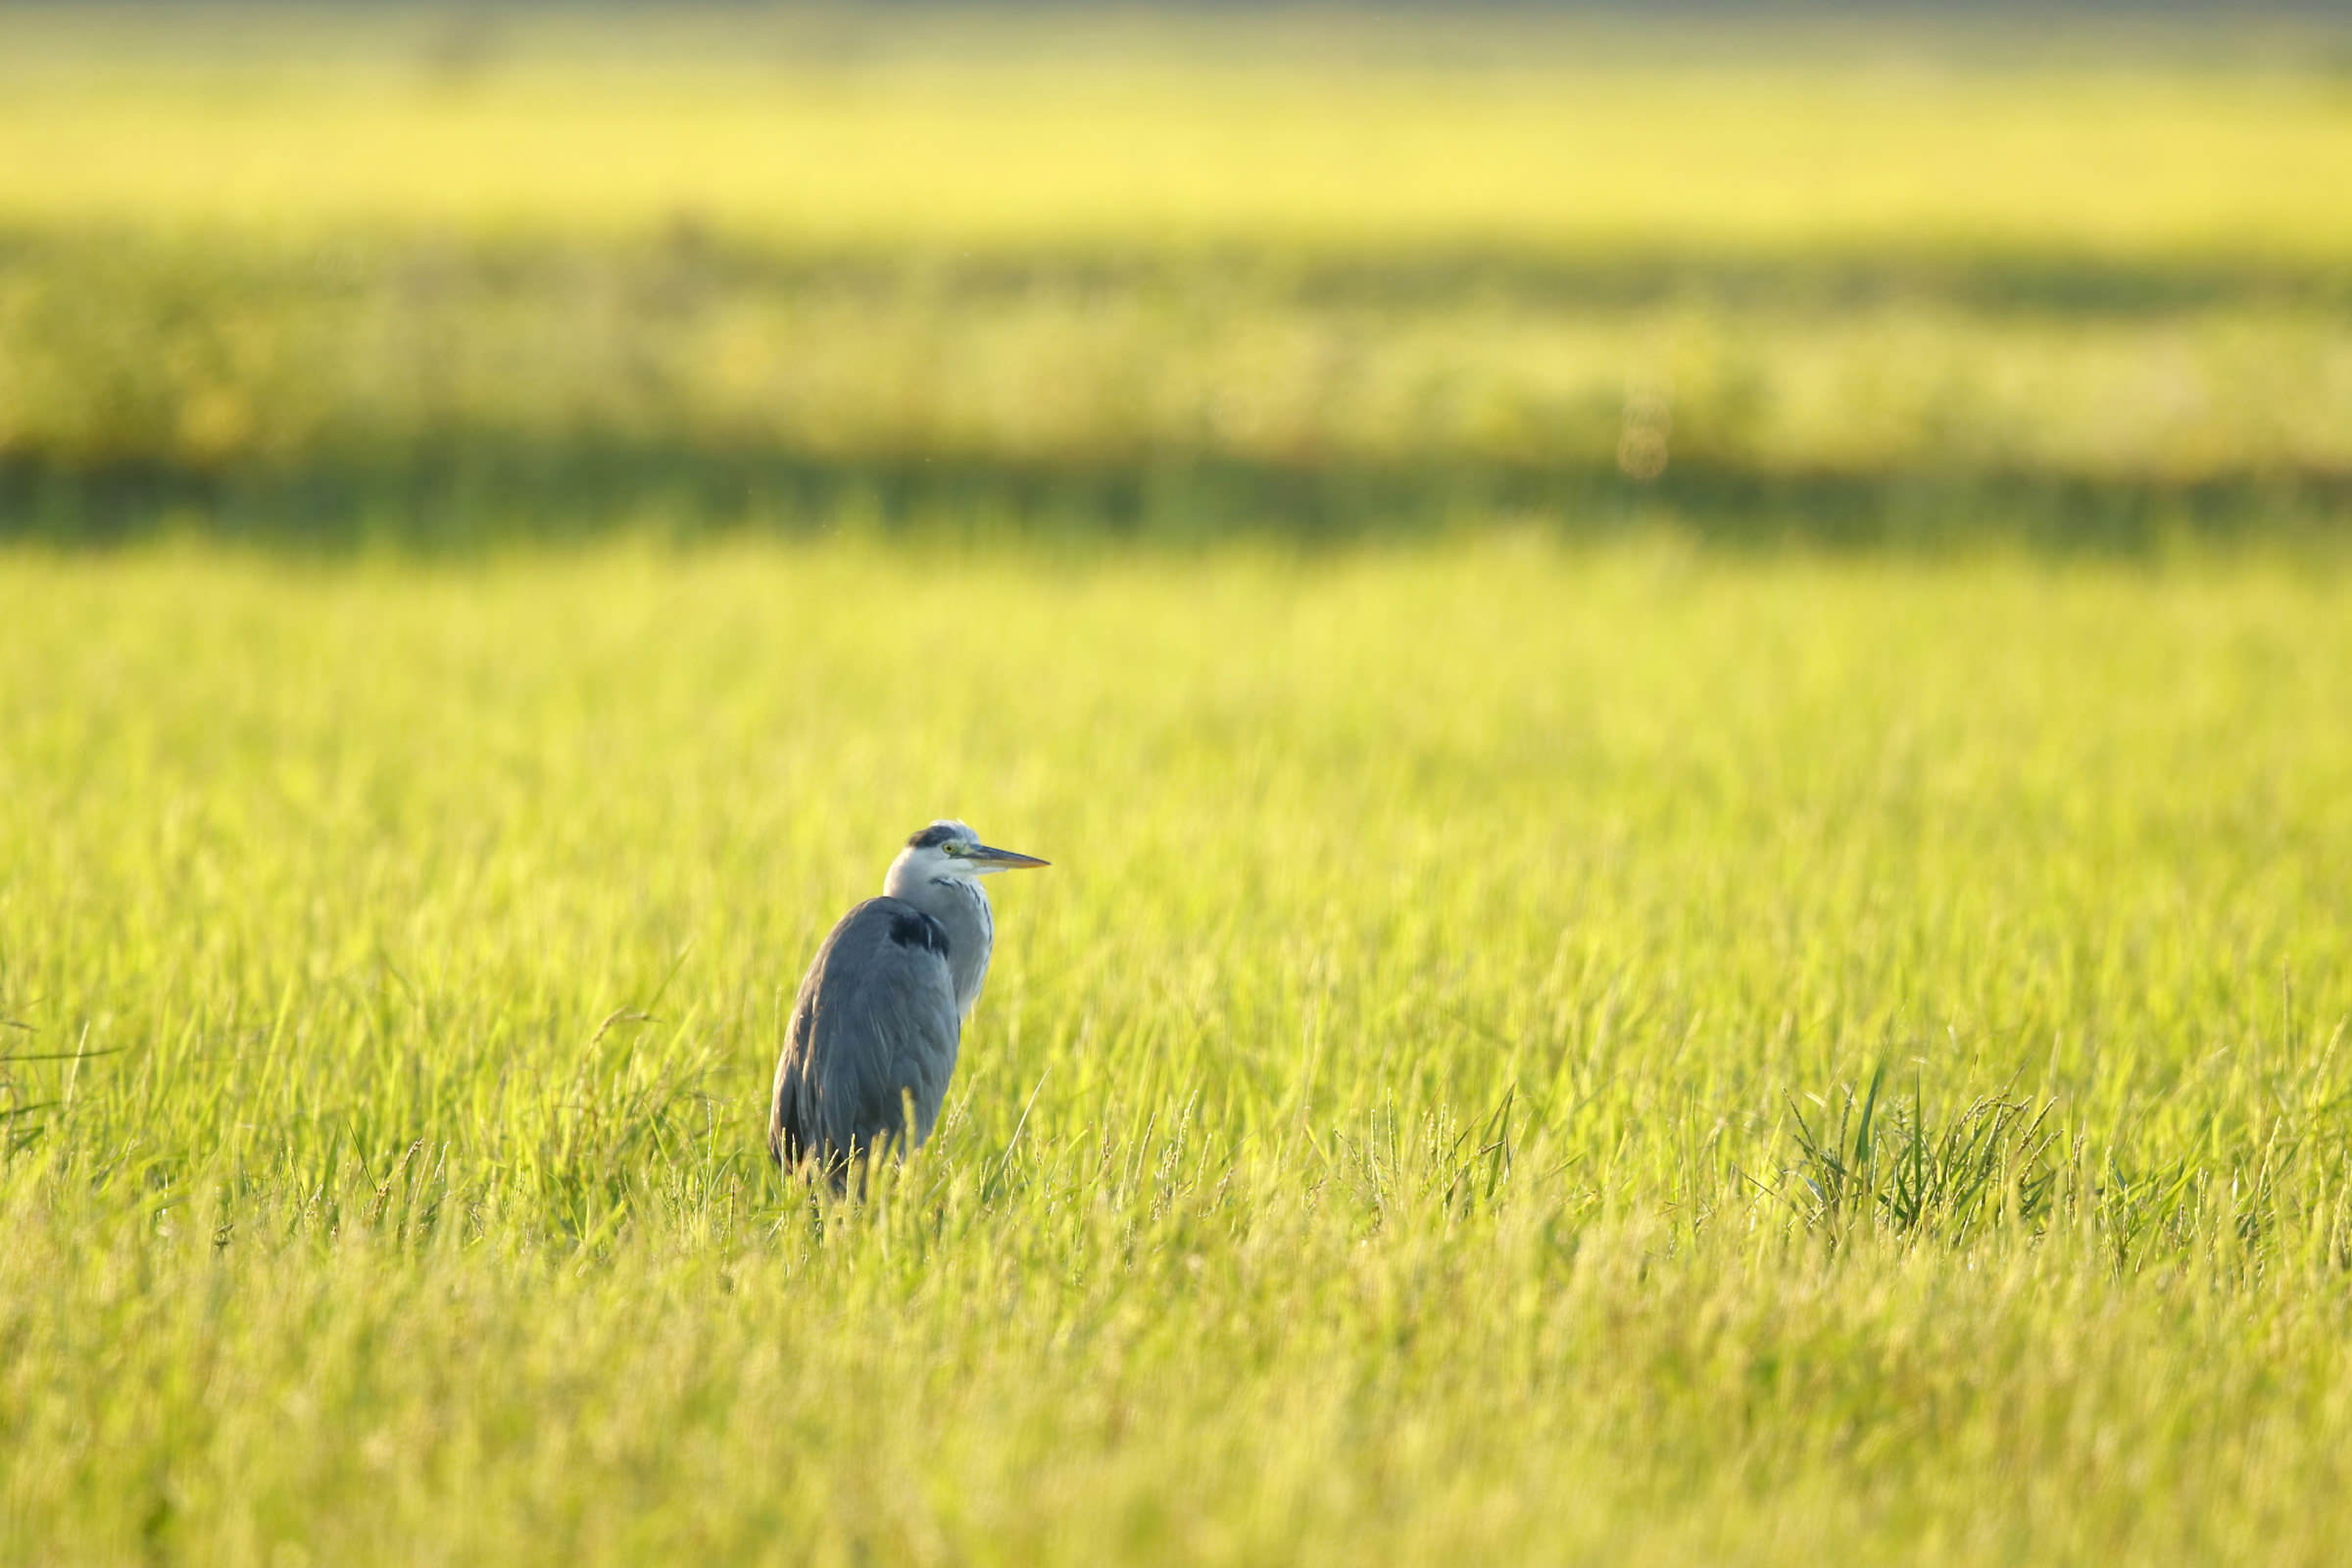
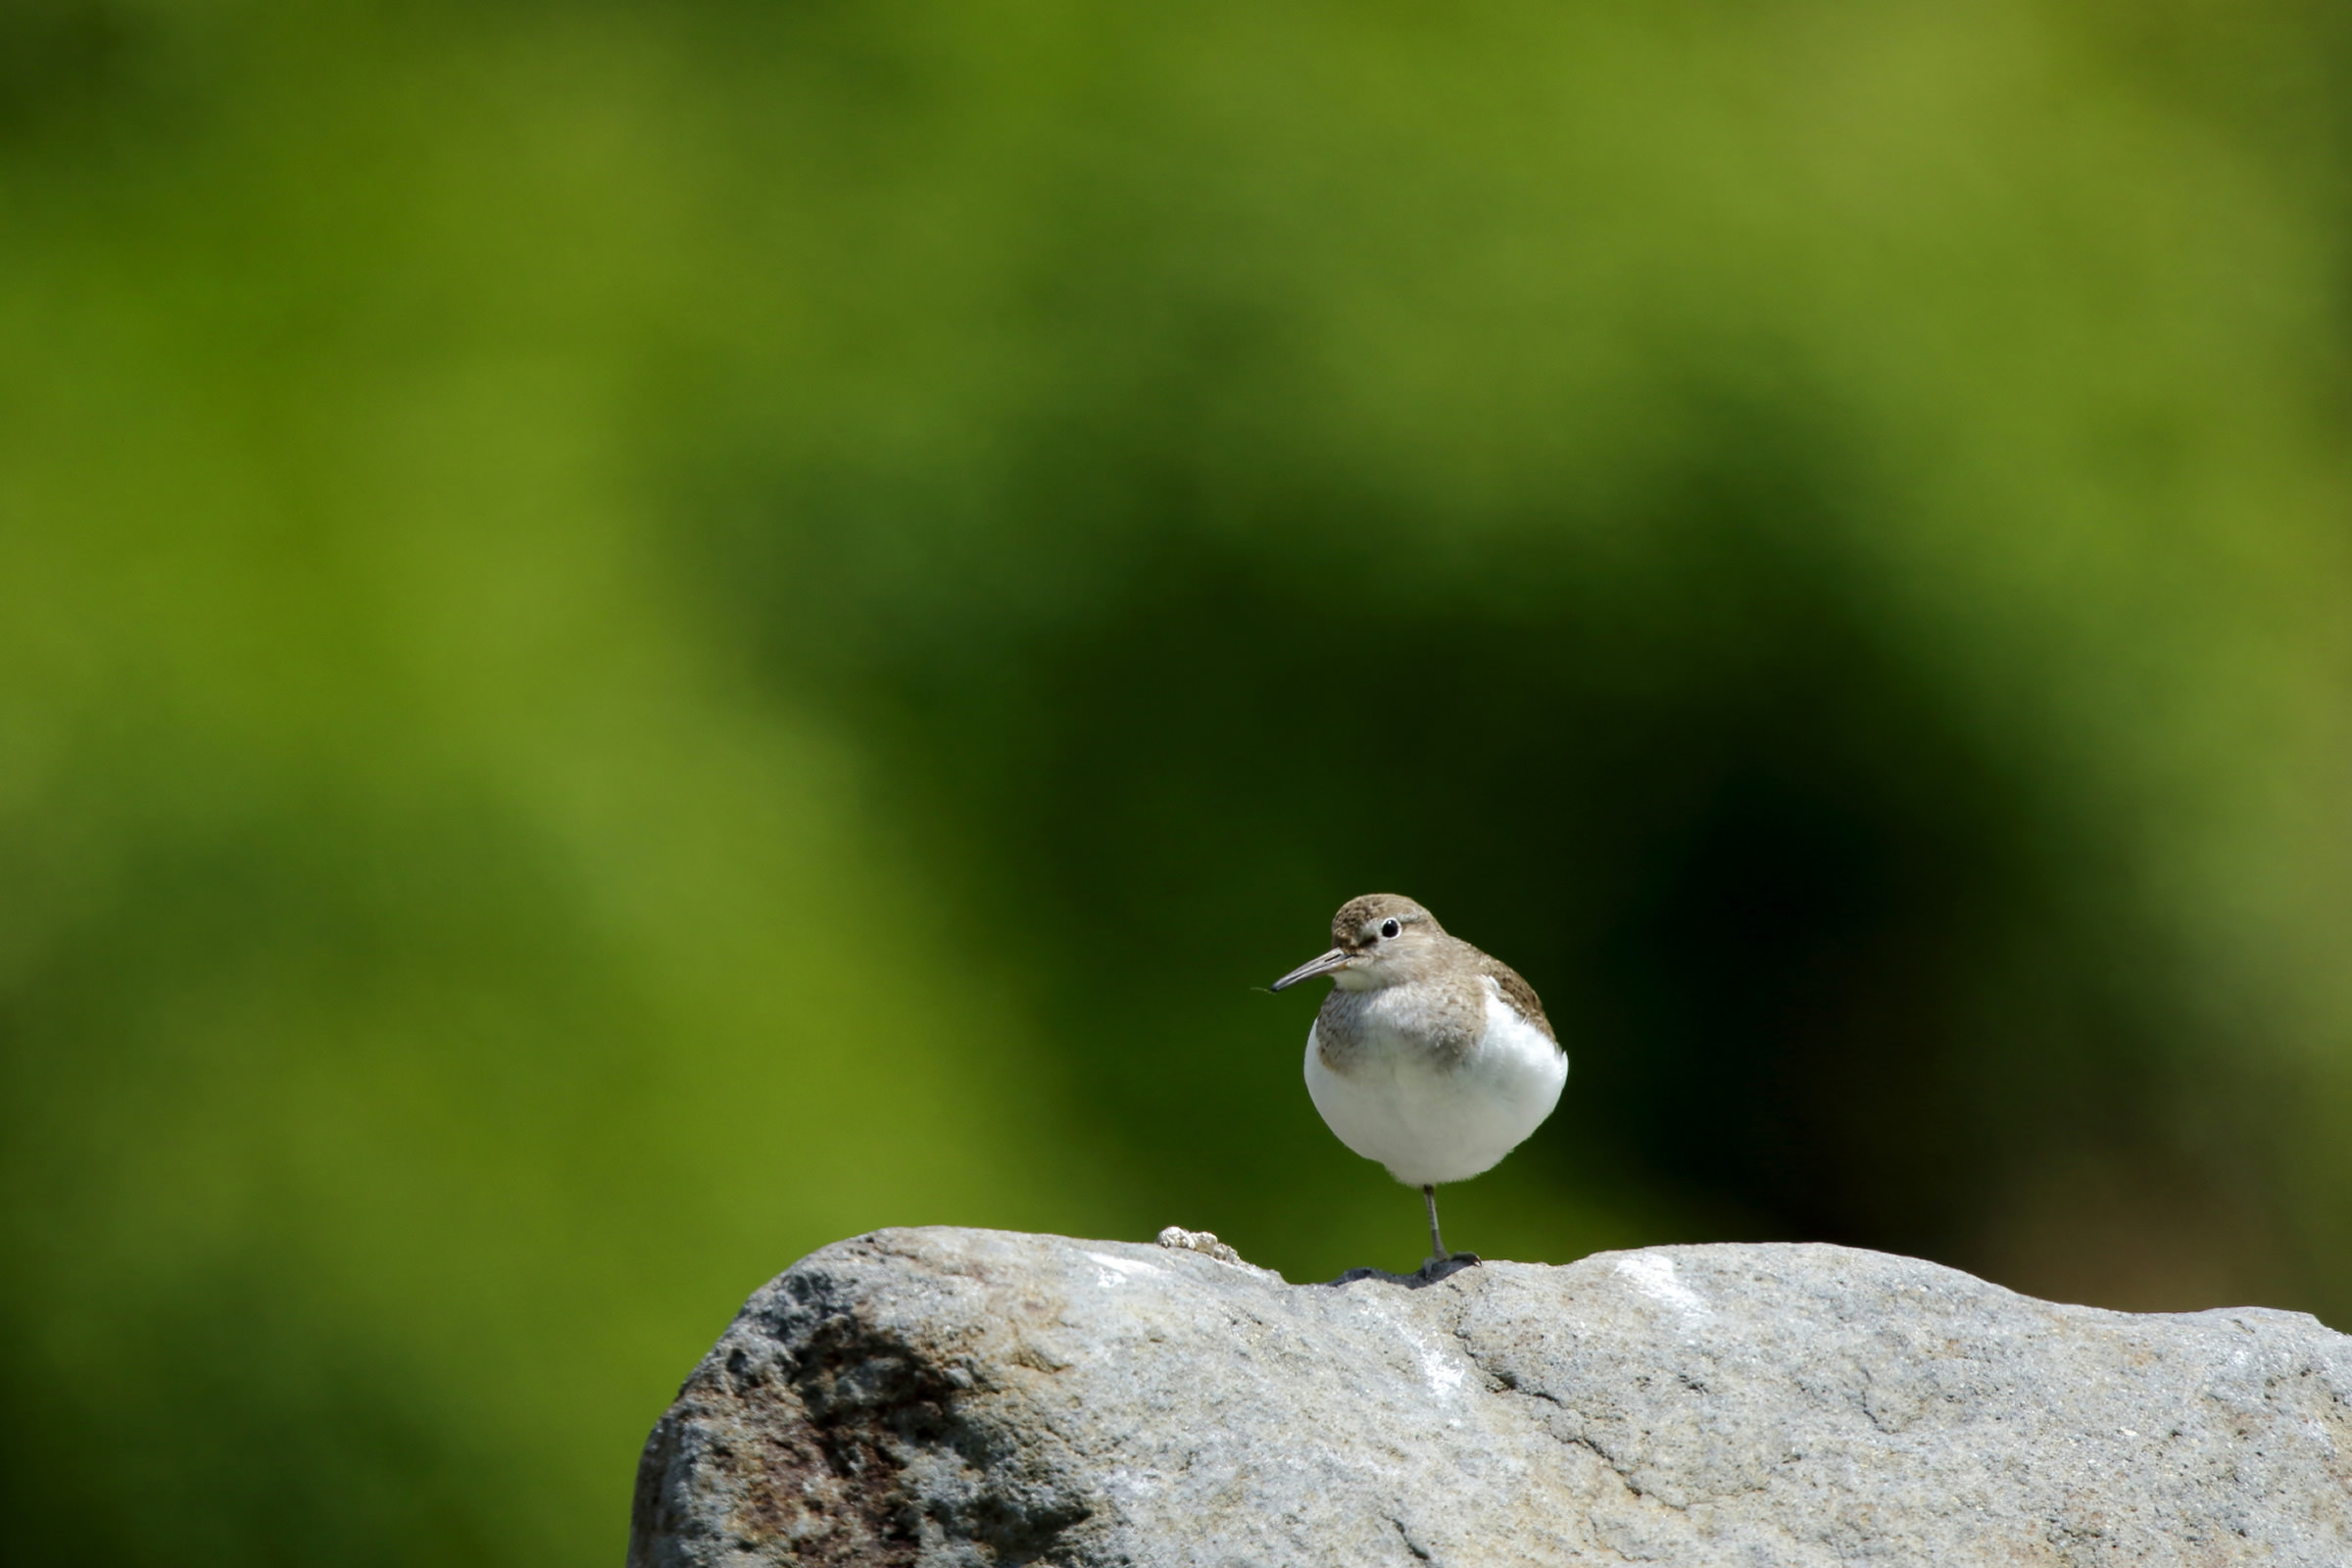
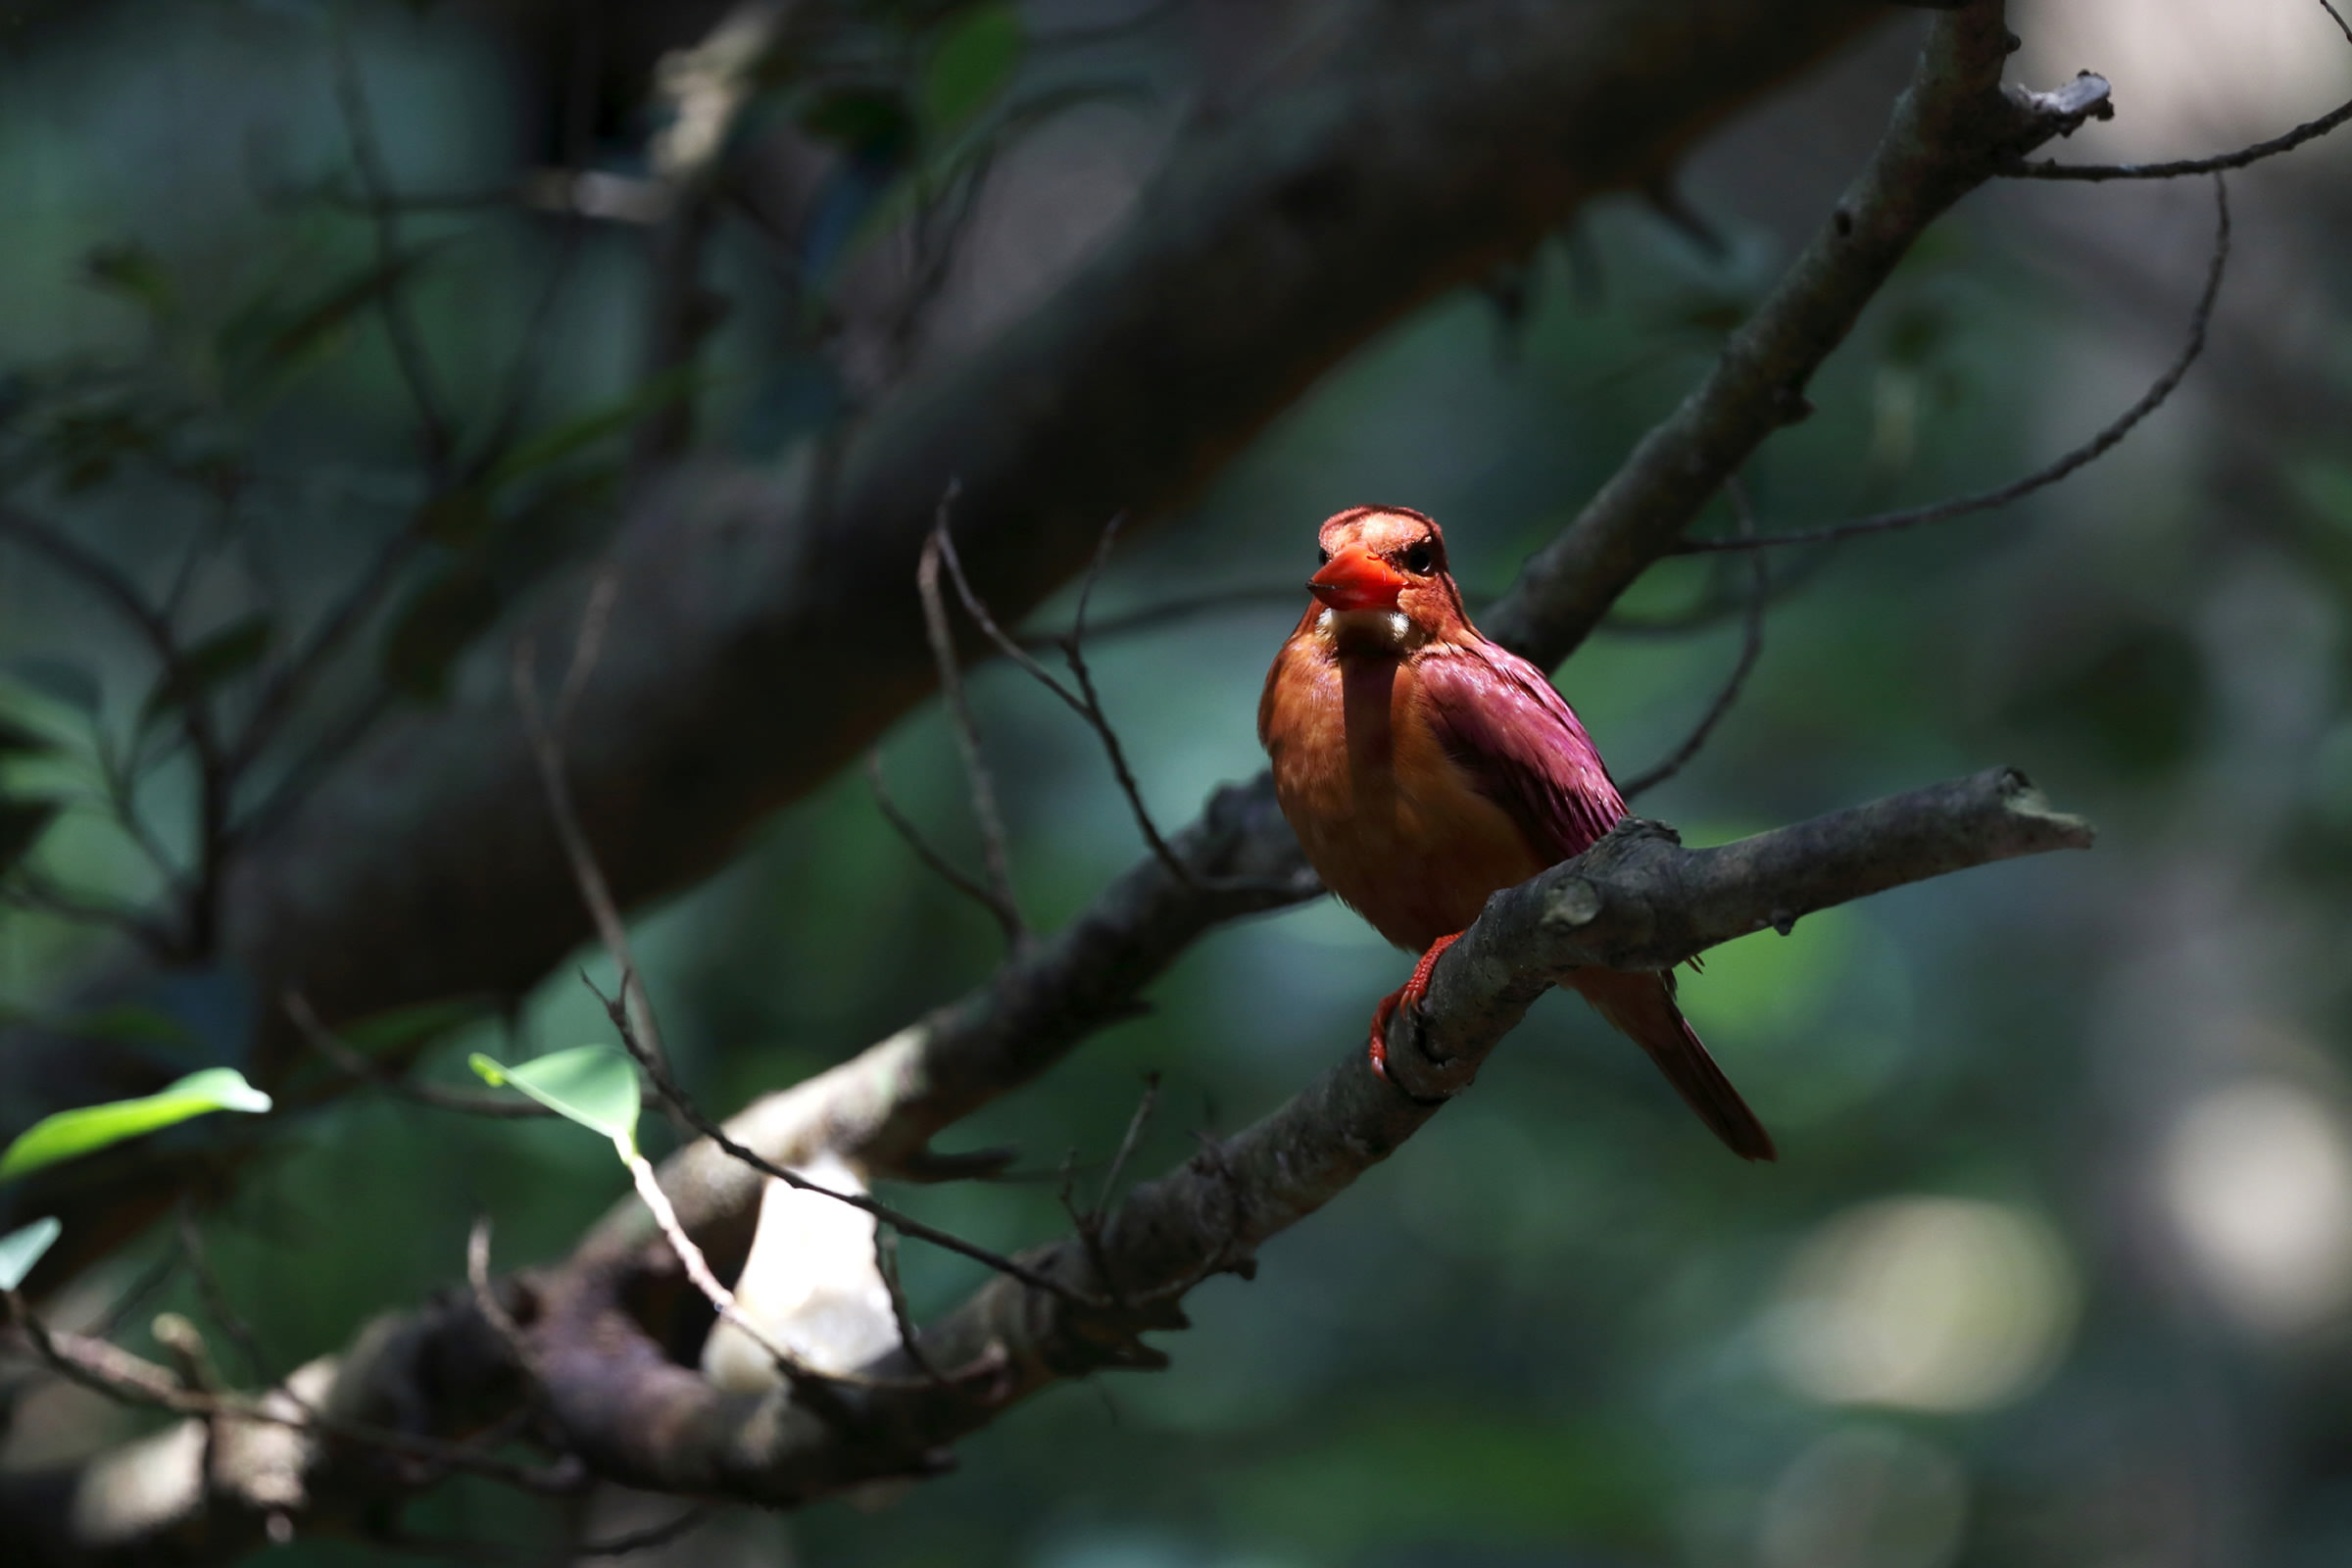
Photographs are compositions of light and shadow. In wild bird photography, the sun is mainly used as the light source. In this lesson, I will explain the differences between and advantages of the three basic types of lighting: front light, back light, and side light. By taking photographs that utilize the effects of each type of lighting, even those of the same subject will have a completely different feeling.

Image
Pelagic Cormorants
Pelagic Cormorants
Pelagic Cormorants
Enlarge

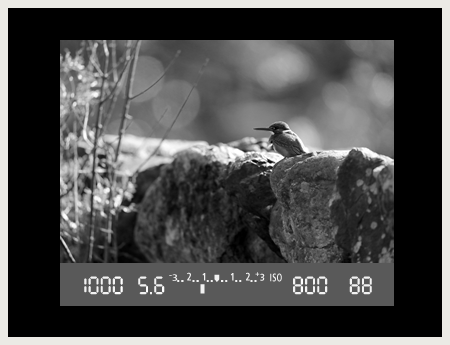
The adult Pelagic Cormorant has feathers with “structural coloring,” which emit a blue or green metallic iridescence depending on how the light hits them. Your photographic subject is a living thing, however, and it does not always pose as you expect it to. Try to snap the shot at the moment when the color from the bird’s movement and the angle of the light hitting it are just right.
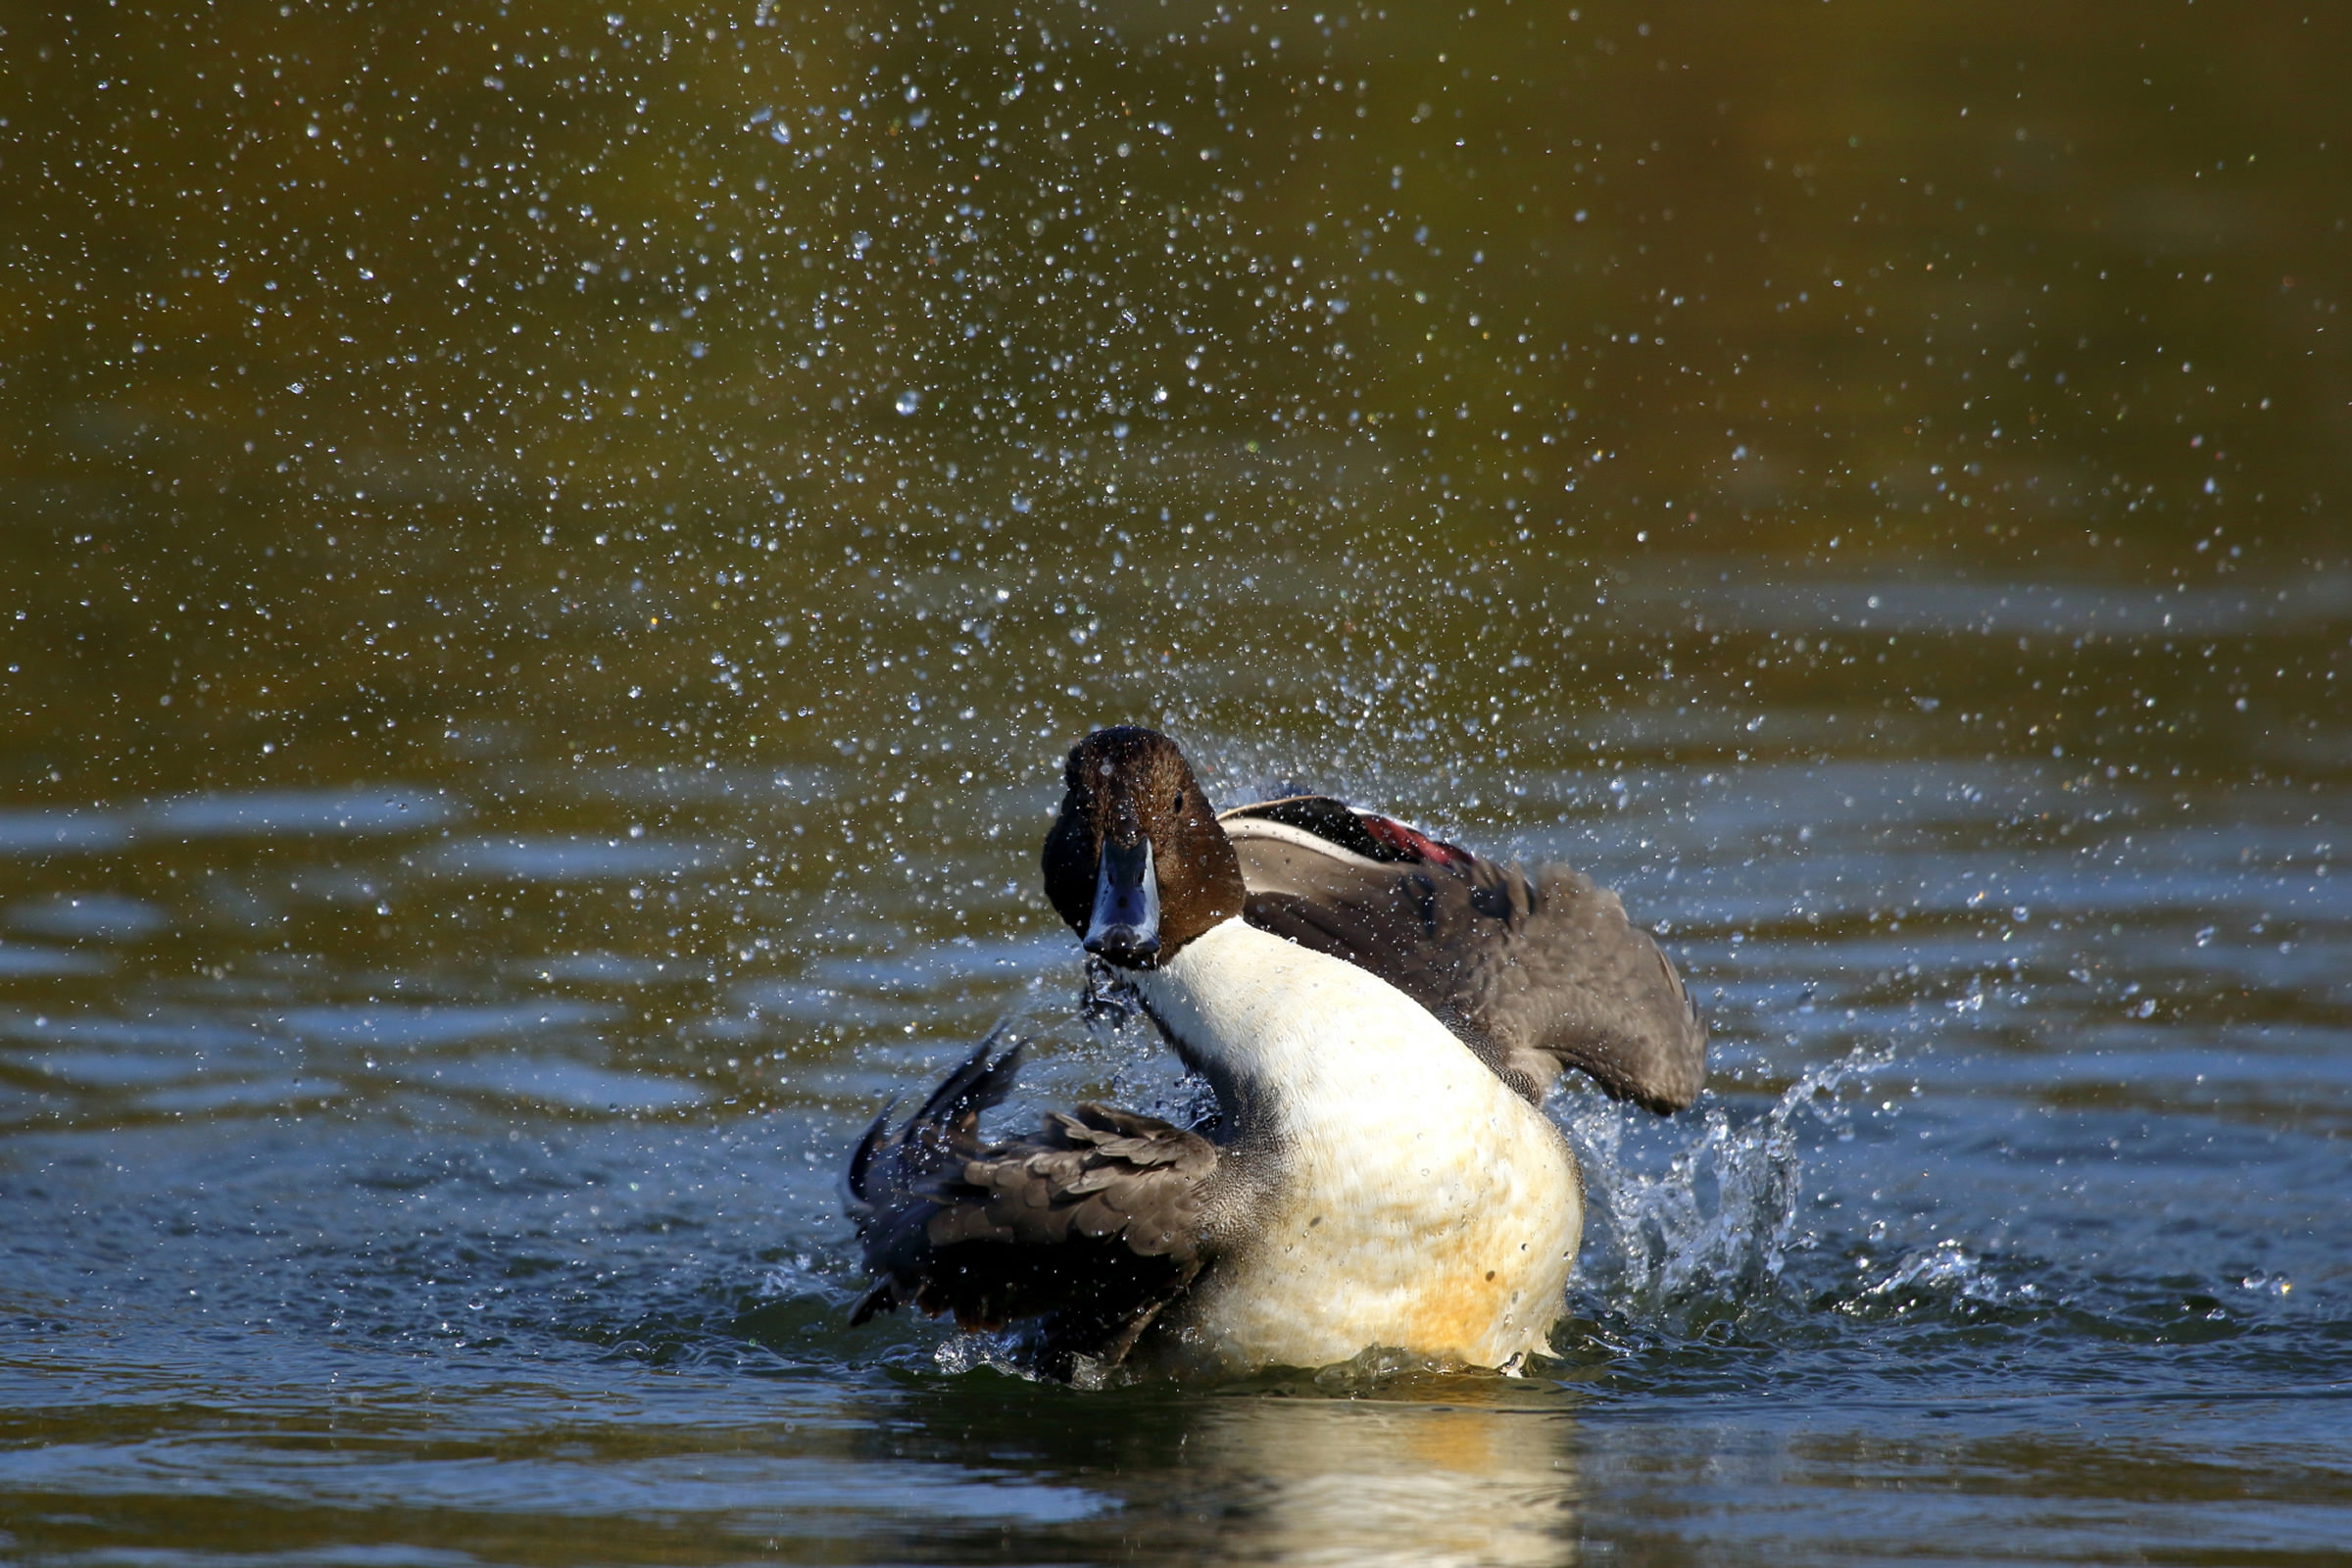

Image data
  • Aperture value: f/8
  • Shutter speed: 1/2000 second
  • ISO speed: ISO800
  • Exposure compensation: 0
  • Focal length: 1000mm equivalent (Used a 2x extender at 500mm)
  • DSLR Camera (APS-C image format)

Share: “How to photograph wild birds: Lesson 21”

  • Share on Facebook
  • Share on twitter
  • Share on Google+
  • Pinterest
  • Send via LINE

Color appearance changes with the lighting!

Image

From which direction is the light hitting the bird that you want to photograph? What is the best direction for the light to capture the color of the feathers beautifully?
Some wild birds have feathers with “structural coloring.” The feathers themselves do not have color in them, but their color appears to change according to how the light hits them. The beautiful coloring of Peafowl (peacock) and Jewel Beetles is the result of structural coloring. If you want to capture structural coloring in its full beauty, aim for front lighting. If there is backlight or clouds, the bright color will not stand out vividly. Try shooting while giving attention to the type of lighting that will show the color beautifully, and where you should position yourself to get the better shot.


Front lighting

Image

Front lighting is light that comes from in front of the subject. When standing facing the subject, if the sun is behind you, that will be front light.
Since it makes the body (color of the feathers) look the most beautiful, and it is the easiest type of lighting to photograph, some people choose to shoot only with front lighting. A drawback of this, however, is that the feel of your photographs may become flat and they may give a staid impression. Since you can give a sense of depth by using blur to skillfully blend in the background, let’s try to incorporate such techniques when you are shooting.

Mallard

Most male ducks have beautiful coloring, particularly a bright green color from their neck to head. I’m sure that more than a few people have put forth great effort to capture this beautiful coloring. However, depending on the light the head can look blue or black, so it is actually difficult to capture the beautiful green color. Because of structural coloring the color of the feathers changes according to how the light hits them. If the front light shines nicely on the bird you can capture the beautiful color. In this scene of a duck taking flight, I photographed a series of shots, paying particular attention to the color of its head.

Aperture value:
f/5.6
Shutter speed:
1/1250 second
ISO speed:
ISO400
Exposure compensation:
+1
Focal length:
700mm equivalent (used a 1.4x extender at 500mm)
DSLR Camera (APS-C image format)
Image
Viewfinder display
Mallard
Mallard
Mallard
Enlarge

Little Grebe

With front lighting, I was able to show the beautiful color of this Little Grebe. Using the technique of diagonal composition, the Little Grebe was positioned on the water’s surface with the blue and green reflection of the grass and sky. Moreover, I used the blurring effect of the telephoto lens from the foreground into the background. Although front lighting can become flat, by using the surrounding scenery and the special feature of the lens I was able to give the photo a feeling of depth.

Aperture value:
f/5.6
Shutter speed:
1/2500 second
ISO speed:
ISO400
Exposure compensation:
-1
Focal length:
500mm
DSLR Camera (APS-C image format)
Image
Viewfinder display
Little Grebe
Little Grebe
Little Grebe
Enlarge

Back lighting

Image

Back lighting is the opposite of front lighting. Looking from the photographer’s viewpoint, the sun can be seen behind the subject.
Many people do not like to use back lighting since in normal shooting (with automatic exposure settings such as P, Av, and Tv mode) situations, if you use back lighting, the subject will be dark and you will often need to adjust the exposure setting (exposure compensation). If photographing a bird with back lighting in a carefully chosen, partially dark background, you can get a shot in which the feathers shine and float within the black background. And, if you shoot flowers, leaves, or the like with back lighting, you can also easily express depth using the beautiful expression of transmitted light.

Grey Heron

I took this shot with the back light of evening. The rice stalks shine with the transmitted light. It is very beautiful, but if you take the shot in automatic shooting mode, the Grey Heron will be blacked out. For this shot, I adjusted the brightness in manual exposure mode (setting the aperture, shutter speed and ISO speed manually) so that the markings on its body stand out. The front blur and back blur are beautifully expressed and make the Grey Heron stand out in the scene.

Aperture value:
f/5.6
Shutter speed:
1/320 second
ISO speed:
ISO400
Focal length:
700mm equivalent (used a 1.4x extender at 500mm)
DSLR Camera (APS-C image format)
Image
Viewfinder display
Grey Heron
Grey Heron
Grey Heron
Enlarge

Steller’s Sea Eagles and White-tailed Eagles

Some eagles rest on the drift ice. Normally I wouldn’t be shooting with the sun shining directly in front of me, but this time the sun is coming out from behind the clouds and creating a soft light, so I adjusted the exposure slightly to +0.3. Since you will get lens flare or ghosting if you position the sun right in the middle of the frame, I put the sun in the top part of the photo and avoided that. And, being as it was ice drifting in the ocean, I was able to get a shot with a mysterious air to it.

Aperture value:
f/5.6
Shutter speed:
1/640 second
ISO speed:
ISO400
Exposure compensation:
+0.3
Focal length:
40mm
DSLR Camera (35mm full-frame format)
Image
Viewfinder display
Steller’s Sea Eagle / White-tailed Eagle
Enlarge

Side lighting

Image

This is light that shines from the side of the subject. Actually, it does not just refer to light that shines directly on the subject from the side but also includes light that shines diagonally in front of the subject (partial front light) and light that shines diagonally behind the subject (partial back light). Since a shadow often appears on the subject and there is a clear delineation of light and dark you can create a photograph with a feeling of depth.

Common Kingfisher

This photo is not completely backlit; the Common Kingfisher is partially backlit by the light shining behind it to the right. With the light shining almost exactly overhead (top lighting), the Kingfisher floats in the bright background. Since the leaves in the front left are nicely illuminated by the transmitted light I took the shot so I could express that, but I was a little disappointed that the back of the bird is shining because the light is too strong.

Aperture value:
f/5.6
Shutter speed:
1/1000 second
ISO speed:
ISO800
Exposure compensation:
-1
Focal length:
700mm equivalent (used a 1.4x extender at 500mm)
DSLR Camera (35mm full-frame format)
Image
Viewfinder display
Common Kingfisher
Common Kingfisher
Common Kingfisher
Enlarge

Northern Pintail

I found a male Northern Pintail taking a bath. Since I knew that as I was shooting the duck would be constantly changing direction while bathing, I waited for the moment when he was facing me and the light was coming mostly from the side (partial front lighting). The result was the shot I was aiming for, the water spray sparkling in the light against the reflection of the forest background.

Aperture value:
f/5.6
Shutter speed:
1/2500 second
ISO speed:
ISO400
Exposure compensation:
0
Focal length:
400mm
DSLR Camera (APS-C image format)
Image
Viewfinder display
Northern Pintail
Northern Pintail
Northern Pintail
Enlarge

White-tailed Eagles

I likely would not have gotten a shot of this scene of an eagle tearing into its prey on some drift ice if it was lit from the front. The reason for that is the drift ice in the foreground that is hiding the body. However, the soft back light is coming through the clouds from the left and reflecting off the ice (reflector effect), effectively shining on the bird’s face and correcting any blackout. And, the light was hitting the edge of the drift ice to beautifully create a sense of depth so I took the shot without hesitation.

Aperture value:
f/8
Shutter speed:
1/250 second
ISO speed:
ISO400
Exposure compensation:
0
Focal length:
150mm
DSLR Camera (APS-C image format)
Image
Viewfinder display
White-tailed Eagle
White-tailed Eagle
White-tailed Eagle
Enlarge

Blue-and-white Flycatcher

This is an example of a disappointing shot. The light hitting the body of this Blue-and-white Flycatcher is too strong so its back is shining and its blue coloring is not vibrant. I was aiming to capture the moment it looked to the right, but as a result of the bird’s characteristic black coloring from its bill to its eyes, and the shadow cast on its face, it is hard to see the expression on its face even though there is catch light in its eyes.

Aperture value:
f/5.6
Shutter speed:
1/800 second
ISO speed:
ISO800
Exposure compensation:
+1
Focal length:
700mm equivalent (used a 1.4x extender at 500mm)
DSLR Camera (APS-C image format)
Image
Viewfinder display
Blue-and-white Flycatcher
Enlarge

Eurasian Wigeons

This scene seems to have front lighting, but it is actually side lighting. The light is shining from the right in the photo, and if you look closely you will notice that the left side of this Eurasian Wigeon is shaded. There is a feeling of depth thanks to the angle of the light. And, since it was just at the time when the early cherry blossoms were out, a sense of perspective is created with the blurring of the blossoms in the foreground. The photo has an appealing color composition as a result of the flowers also coming in from the side, adding the hint of transmitted light.

Aperture value:
f/5.6
Shutter speed:
1/250 second
ISO speed:
ISO200
Exposure compensation:
0
Focal length:
278mm
DSLR Camera (APS-C image format)
Image
Viewfinder display
Eurasian Wigeons
Eurasian Wigeons
Eurasian Wigeons
Enlarge

Top lighting

Image

As you would expect top lighting is light that comes from directly above like the noonday sun. This lighting is actually difficult to work with and I often shy away from it. Depending on the background also, top lighting can act as a stage spotlight, making the main subject stand out.

Common Sandpiper

Seen with the naked eye this scene of a Common Sandpiper resting on a rock did not appear to be anything special, but looking through the camera lens, it had an altogether different feeling. The white rock created a reflector effect and I was able to nicely capture the Sandpiper with a mild shadow on its belly. If you are unsure of a shot take a look through the viewfinder and see how it looks.

Aperture value:
f/5.6
Shutter speed:
1/1600 second
ISO speed:
ISO200
Exposure compensation:
-0.7
Focal length:
700mm equivalent (used a 1.4x extender at 500mm)
DSLR Camera (APS-C image format)
Image
Viewfinder display
Common Sandpiper
Common Sandpiper
Common Sandpiper
Enlarge

Ruddy Kingfisher

In the forest on a clear day the sun streaming through the trees sparkles beautifully but this is actually very troublesome. If the sun is high in the sky the strong sunlight floods in between the leaves of the forest trees. When the strong sunlight enters a dark place it creates an abnormally high contrast and strikes the bird’s body in patches, creating an extraordinary photograph. Even if the light does not shine directly on the bird, it is very difficult to look at because the area around it is bright. It is difficult to spot the colorful Ruddy Kingfisher amid the sparkling sunbeams streaming into the forest. You can understand why vibrant colors become a protection in such an environment.

Aperture value:
f/4
Shutter speed:
1/250 second
ISO speed:
ISO400
Exposure compensation:
-2
Focal length:
400mm
DSLR Camera (APS-C image format)
Image
Viewfinder display
Viewfinder display
Viewfinder display
Viewfinder display
Enlarge