Let’s learn about differences in light according to the weather and time of day.
Light is very important in photography. The strength of the light and the atmosphere created vary greatly depending on the weather and time of day, and directly affect the expression in your photo. By learning the characteristics of light, you can maximize the good points and minimize the bad points, thus broadening the range of expression in your photographs.
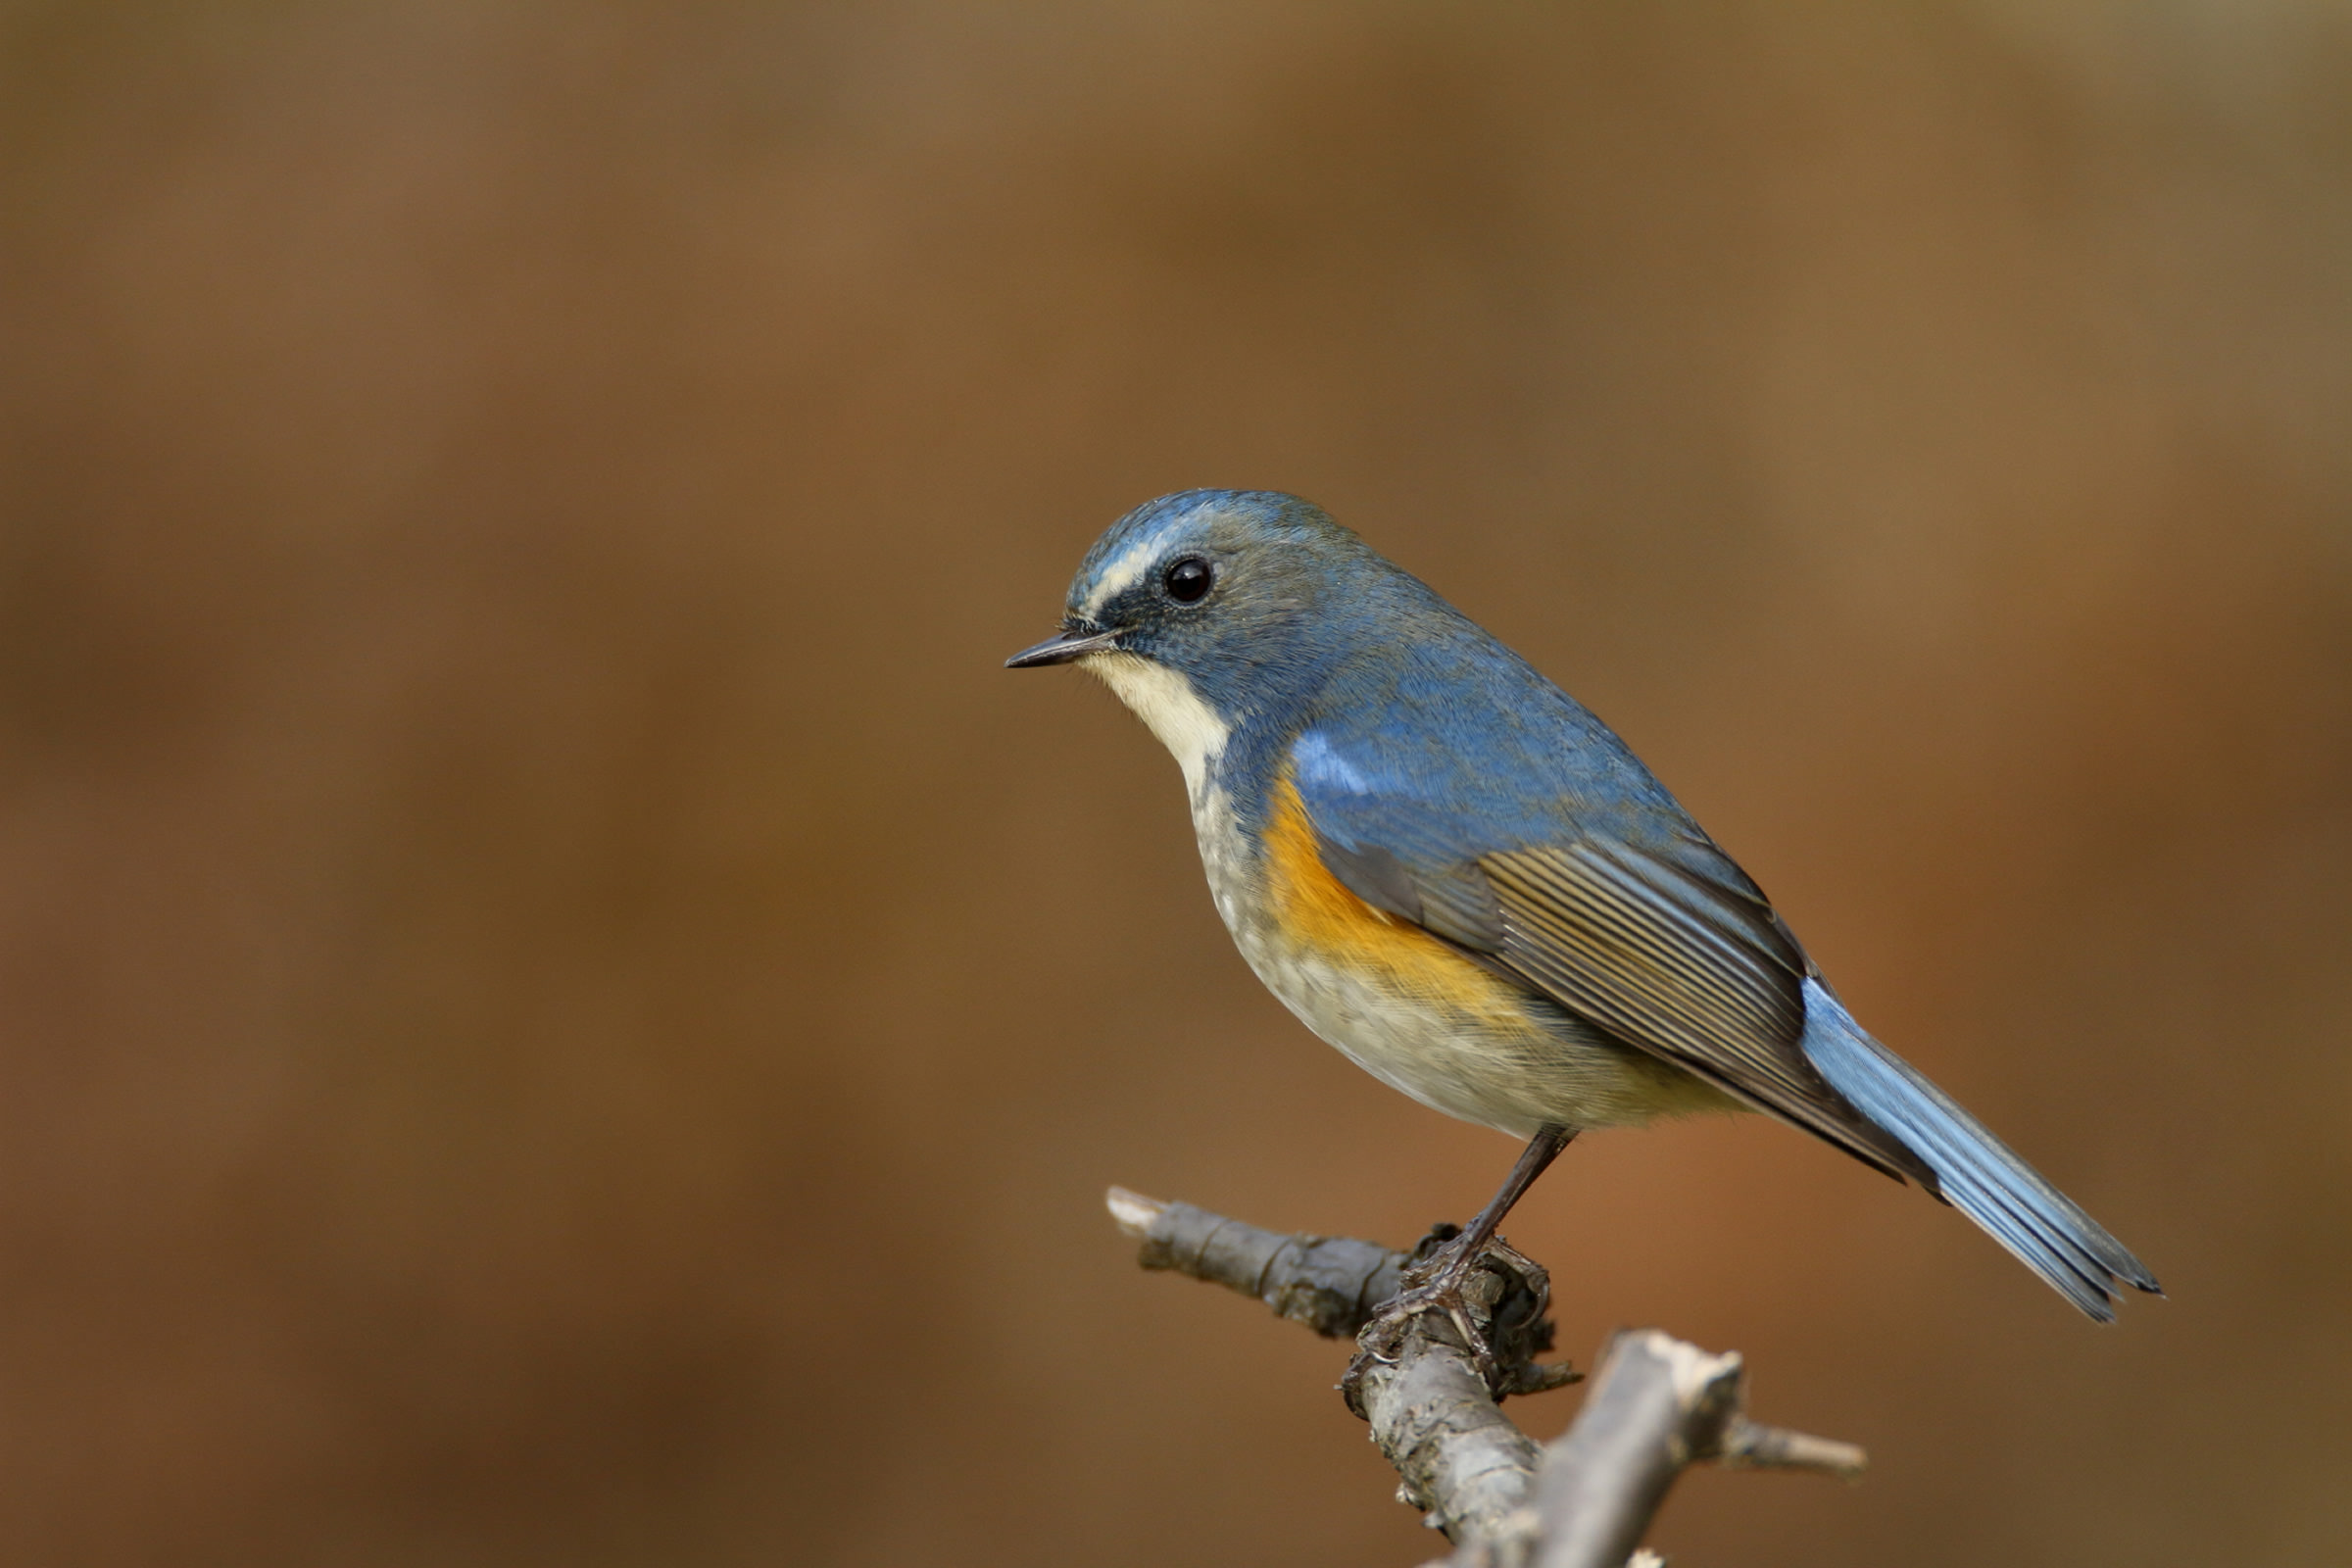
Red-flanked Bluetail
A Red-flanked Bluetail came into the open and perched on the branch of a Japanese plum tree. The light was basically from directly above but tempered by the high clouds so I was able to get a shot that is nicely lit all around. By selecting a clean and simple background, I could make the subject stand out well.
Image data
Aperture value: f/5.6
Shutter speed: 1/400 second
ISO speed: ISO400
Exposure compensation: 0
Focal length: 700mm equivalent (Used a 1.4x extender at 500mm)
DSLR Camera (APS-C image format)
Share: “How to photograph wild birds: Lesson 22”
Overcast days are perfect for photographing birds
What is the best weather for outdoor photography?
Clear days, especially good weather days, are good for photographing birds in flight. But if the light is too intense, there may be a strong shadow, which could cause you some trouble. On the other hand, the moderately weaker light of a cloudy day is said to be the best light for photographing birds.
And, the atmosphere created by the light changes completely according to the time of day as well. Morning light, afternoon light, light at sundown…. Try approaching your shots by imagining what sort of photo you want, or what sort of shot you can get.
Overcast days
Depending on the amount of clouds, on cloudy days the shutter speed becomes slower and the contrast is reduced more than on clear days. As a result, the impression is less sharp and you can achieve a soft delineation.
Common Kingfisher
On this day, this Common Kingfisher stayed perched on the end of a cherry tree branch for some time. The background, however, was very messy so I looked for a spot where I could get a dark shadow of the forest behind the bird. Thanks to the cloudy sky, I was able to make the most of the bird’s beautifully colored plumage to get a shot in which the subject stands out perfectly.
Aperture value:
f/8
Shutter speed:
1/400 second
ISO speed:
ISO800
Exposure compensation:
-2
Focal length:
1000 equivalent (used a 2x extender at 500mm)
DSLR Camera (APS-C image format)
Viewfinder display
Common Kingfisher
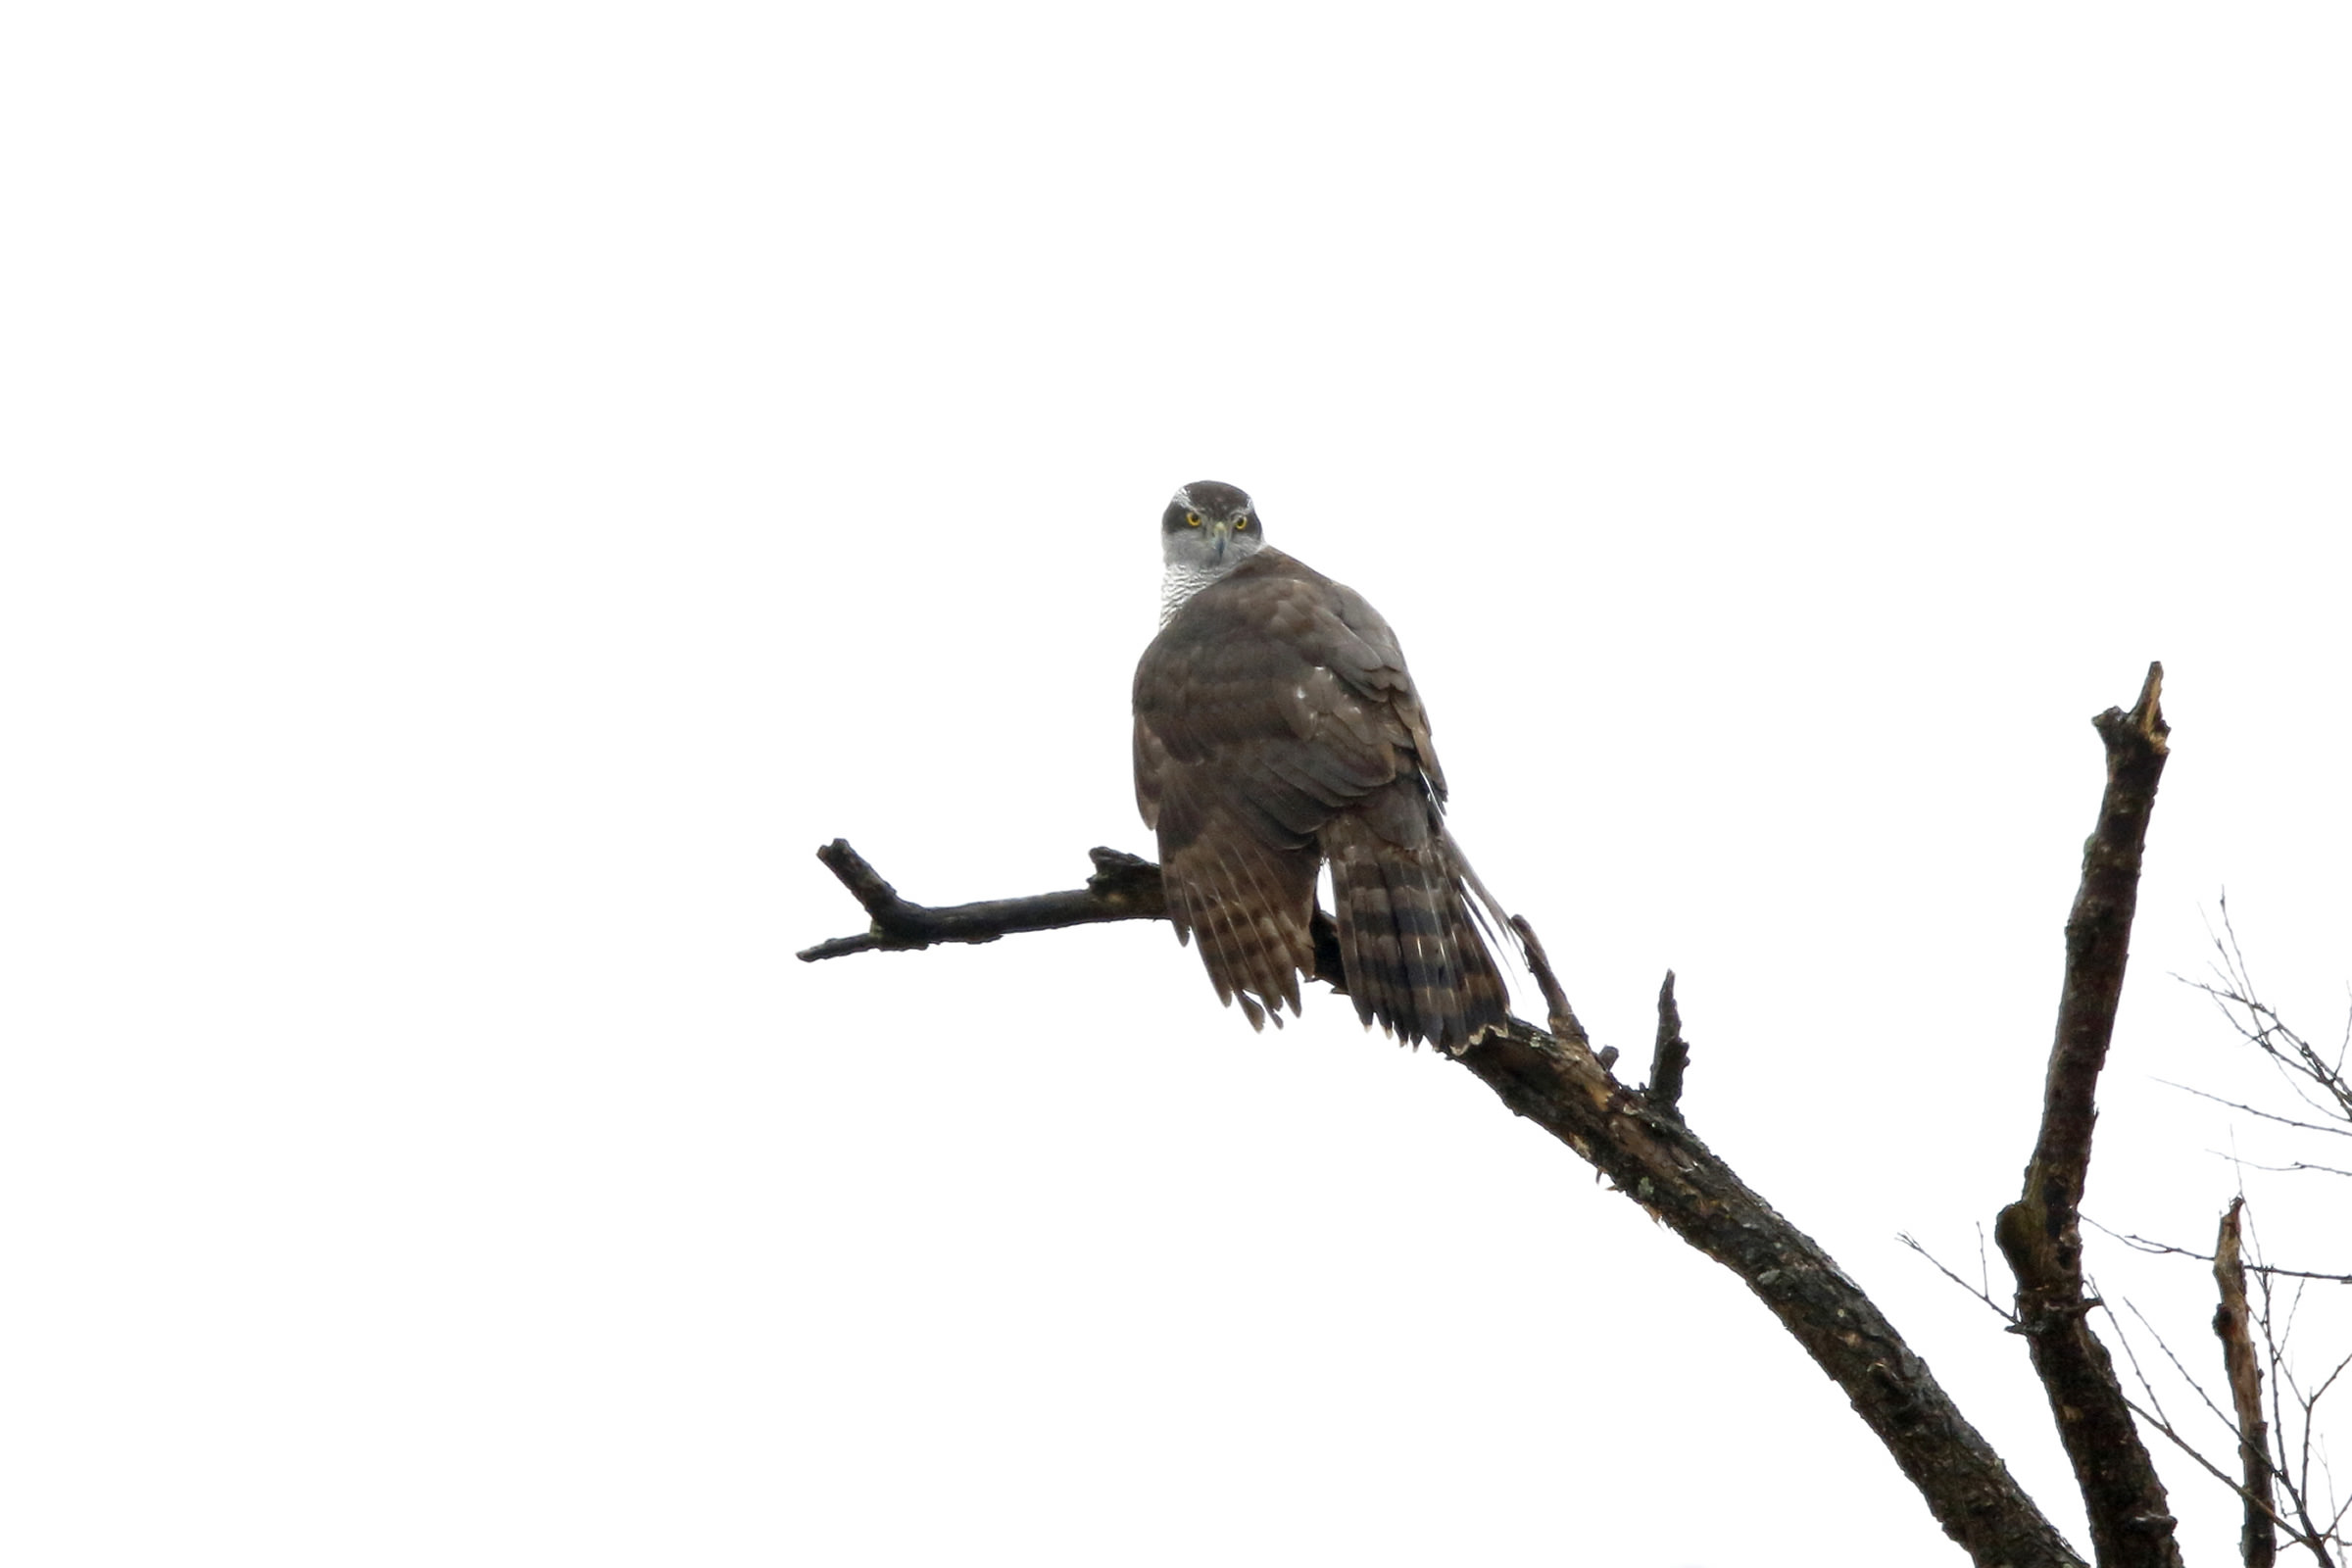
Northern Goshawk
This shot was taken against the clouds after the rain lifted, what you might call a dark overcast day. I mentioned earlier that you can achieve a soft delineation with light coming through the clouds, but when the background is an overcast sky, the subject becomes even darker than on a clear day with auto exposure. That is because the light is too soft and so no light is reflected onto the bird (it helps somewhat if the bird is white). Because of that, the sky becomes completely white when you have to adjust the exposure compensation to +2 or +3 instead of +1, which is ideal on a clear day, in order to make the pattern on the bird’s feathers stand out. When that is not your preferable shot, move around and look for a spot where you can have a mountain or something in the background.
Aperture value:
f/11
Shutter speed:
1/160 second
ISO speed:
ISO800
Exposure compensation:
+2.7
Focal length:
1000mm equivalent (used a 2x extender at 500mm)
DSLR Camera (APS-C image format)
Viewfinder display
Northern Goshawk
High clouds (bright clouds)
High clouds are not the kind of clouds that completely hide the sun so you cannot see it at all; they are somewhere in between an overcast sky and a mostly clear sky with thin cloud cover that diffuses the sun’s light and casts a slight shadow. While the light is certainly weaker, the angle of the light, such as front light, back light and side light, will add to the style of the photograph as well.
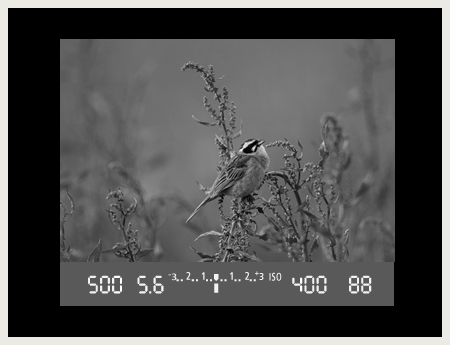
Meadow Bunting
Casting but a slight shadow, the light on the day I took this shot is in a sense the best light for photography, not only is it soft and full without creating much shadow, it also beautifully expresses the bird’s coloring. The light is just right to capture a catch light in the eyes and to create a good contrast, enabling me to get a beautiful shot of this Meadow Bunting.
Aperture value:
f/5.6
Shutter speed:
1/500 second
ISO speed:
ISO400
Exposure compensation:
0
Focal length:
700mm equivalent (used a 1.4x extender at 500mm)
DSLR Camera (APS-C image format)
Viewfinder display
Meadow Bunting
Shade
Just like clouds, shade reduces the contrast since the light surrounds the body entirely, enabling you to take a beautiful photograph. However, in a dark forest or other dark place, you have to watch out for camera shake since the shutter speed becomes slower. You can solve that problem by the higher ISO speed if needed.
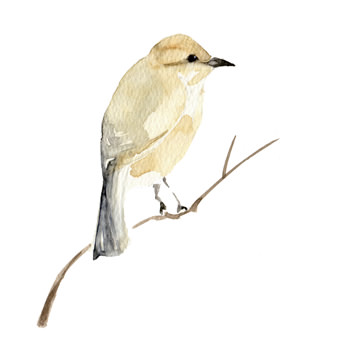
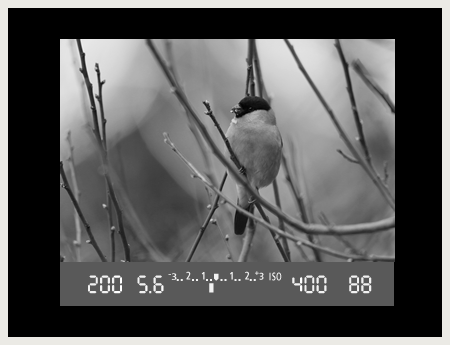
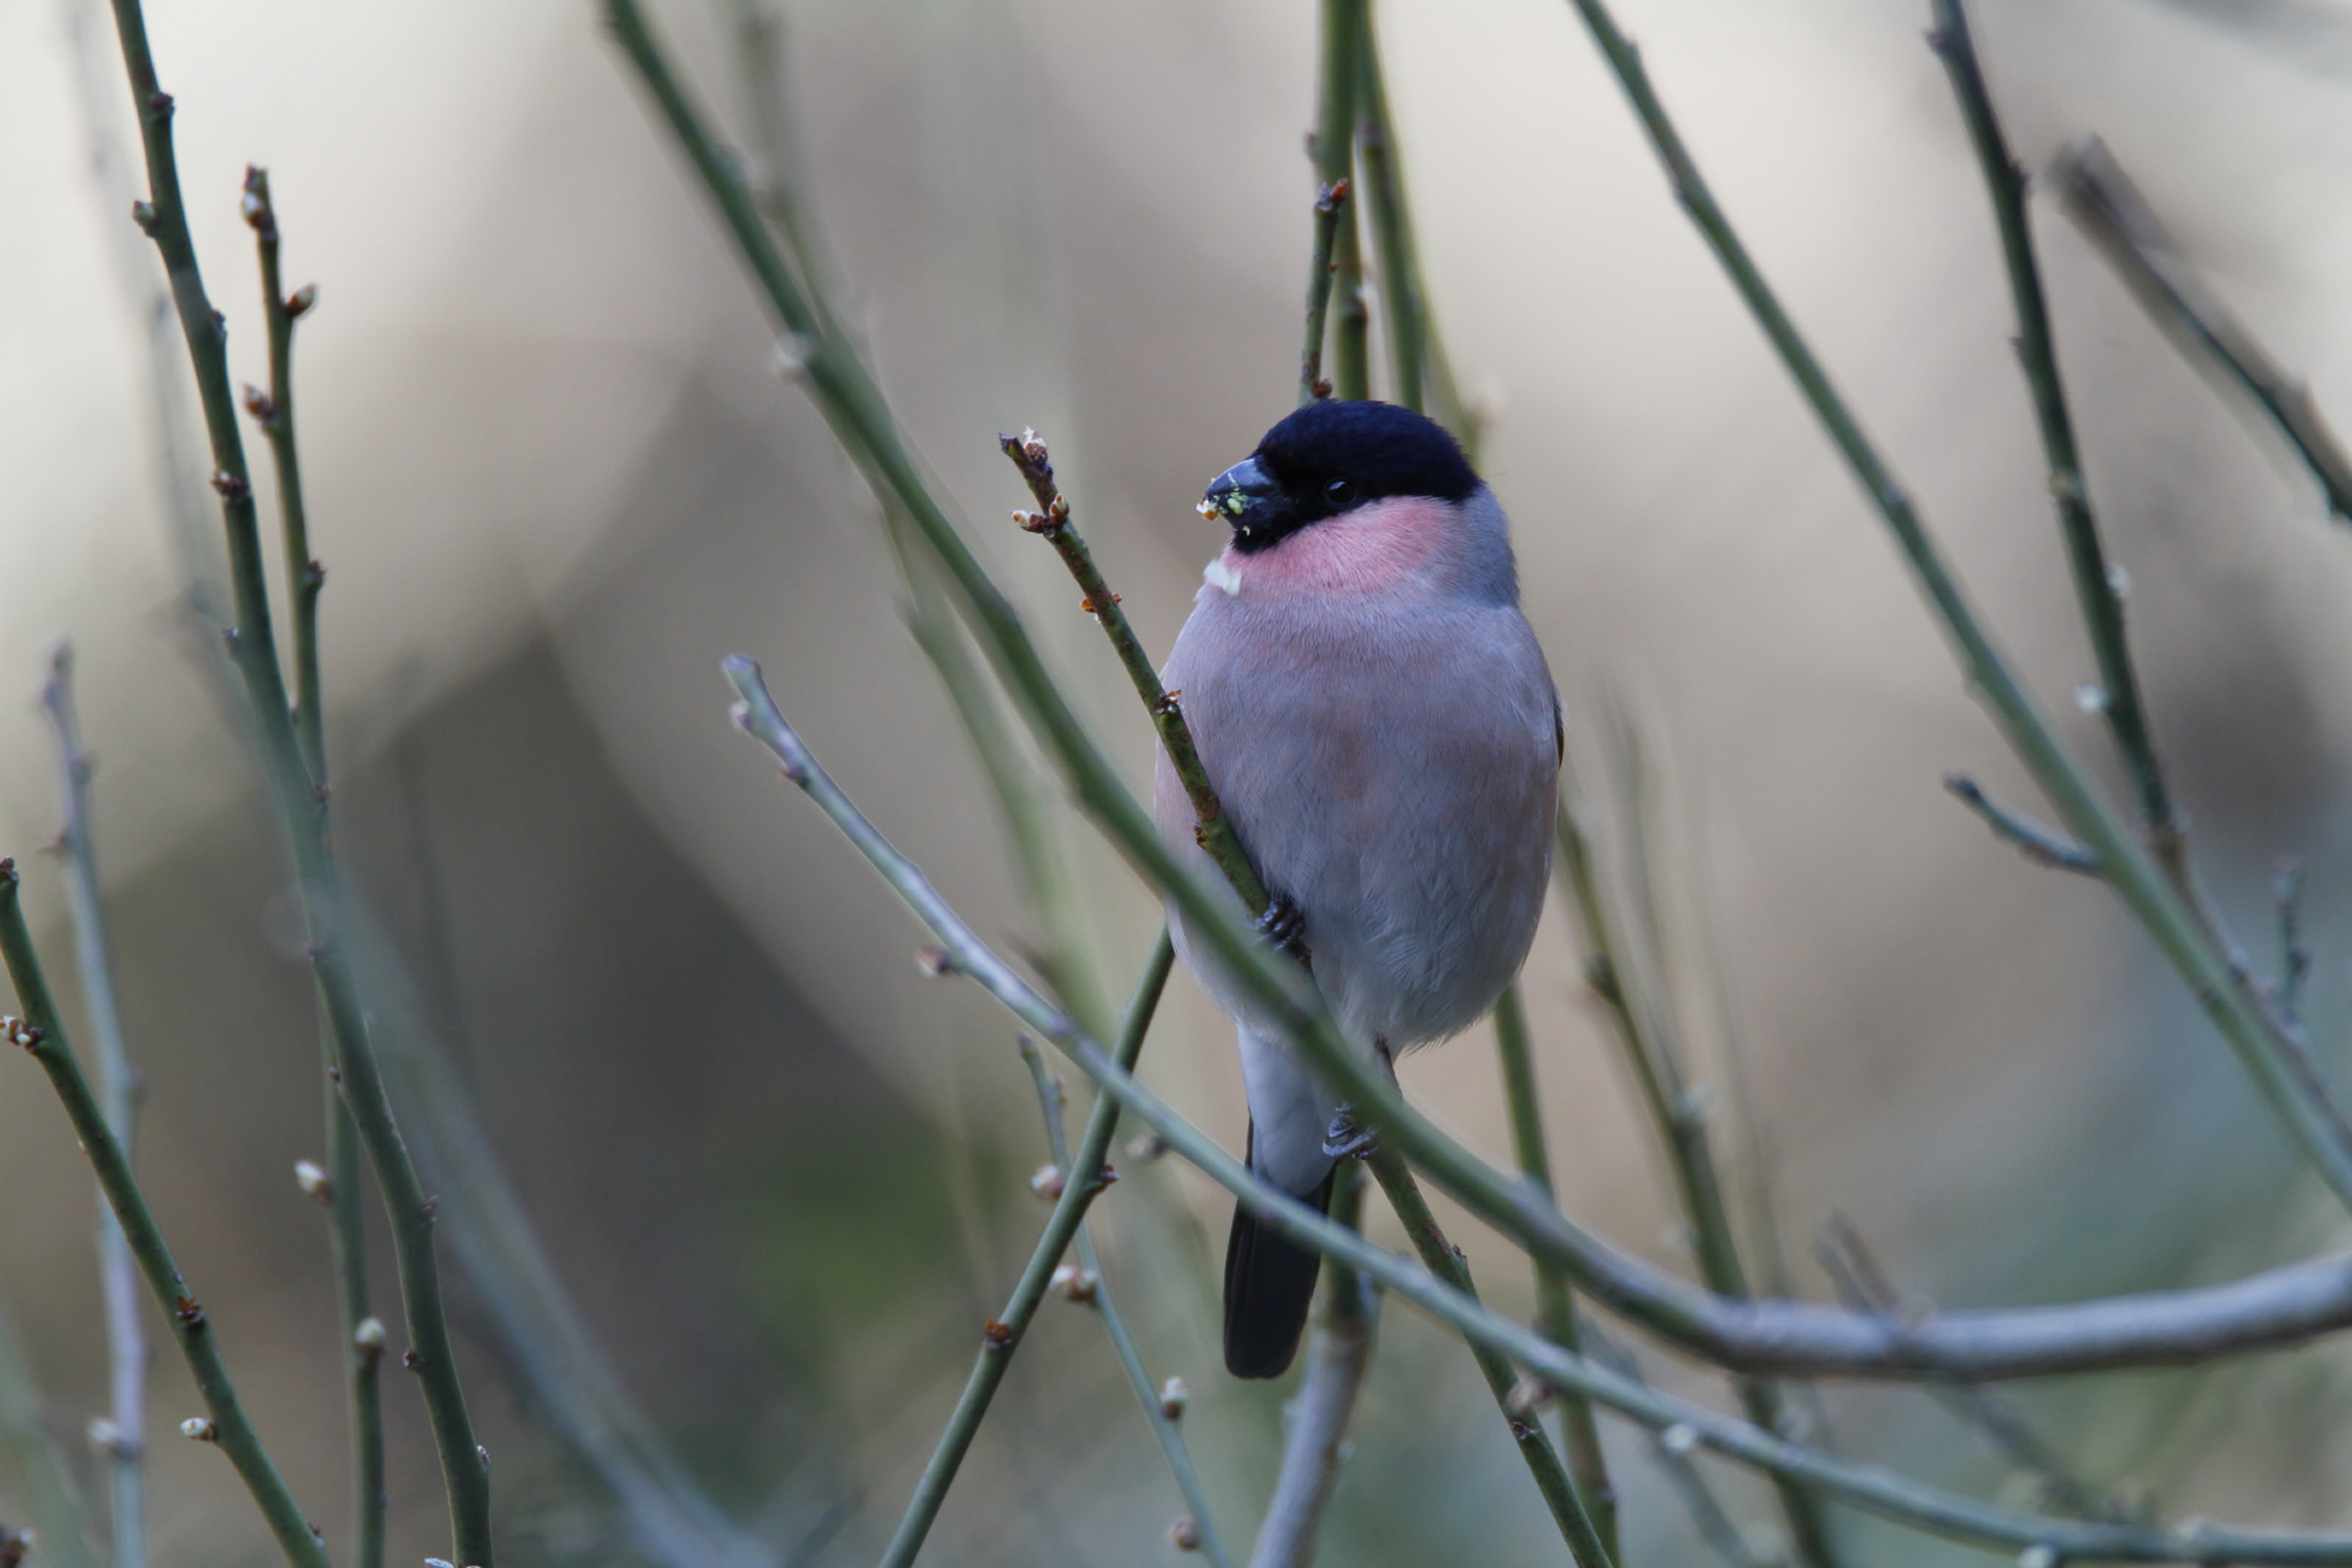
Eurasian Bullfinch
It was a clear day but the spot where the Eurasian Bullfinch had come to find food was in the shade of some big trees. When you look at the photo, you will see the sun shining in the background. The distance between the sunlit background and the bird creates a strong contrast, but if it had been closer, it would have been very difficult to get the shot. If I had taken the shot on the automatic shooting mode, the bird would be very dark. And if I had adjusted the exposure, the surroundings would have been washed out, making for a very uninteresting photo. You could say that a dark background is better for shooting.
Aperture value:
f/5.6
Shutter speed:
1/200 second
ISO speed:
ISO400
Exposure compensation:
-0.3
Focal length:
700mm equivalent (used a 1.4x extender at 500mm)
DSLR Camera (APS-C image format)
Viewfinder display
Eurasian Bullfinch
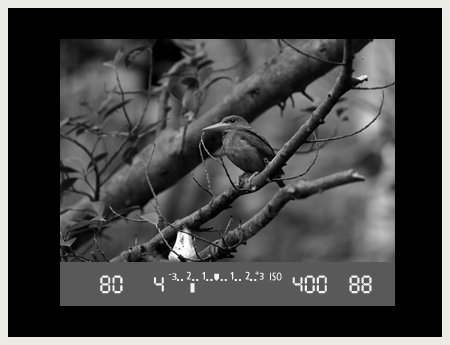
Ruddy Kingfisher
A Ruddy Kingfisher came to this watering place in the forest. The forest becomes dark on a cloudy day, but when the bright sunlight shines in you can really capture a bird’s coloring beautifully.
Aperture value:
f/4
Shutter speed:
1/80 second
ISO speed:
ISO400
Exposure compensation:
-1.7
Focal length:
400mm
DSLR Camera (APS-C image format)
Viewfinder display
Ruddy Kingfisher
After sundown
The light after sundown is similar to the light on a cloudy day. When you are shooting with the white balance setting to the Auto, you can take the shot without much problem. However, it is harder to bring out the mood created after the sun goes down. You can change the mood of the photograph by adjusting the white balance when you are shooting or afterwards when you are printing out the photos.
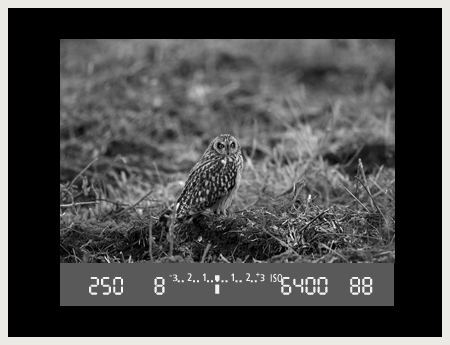
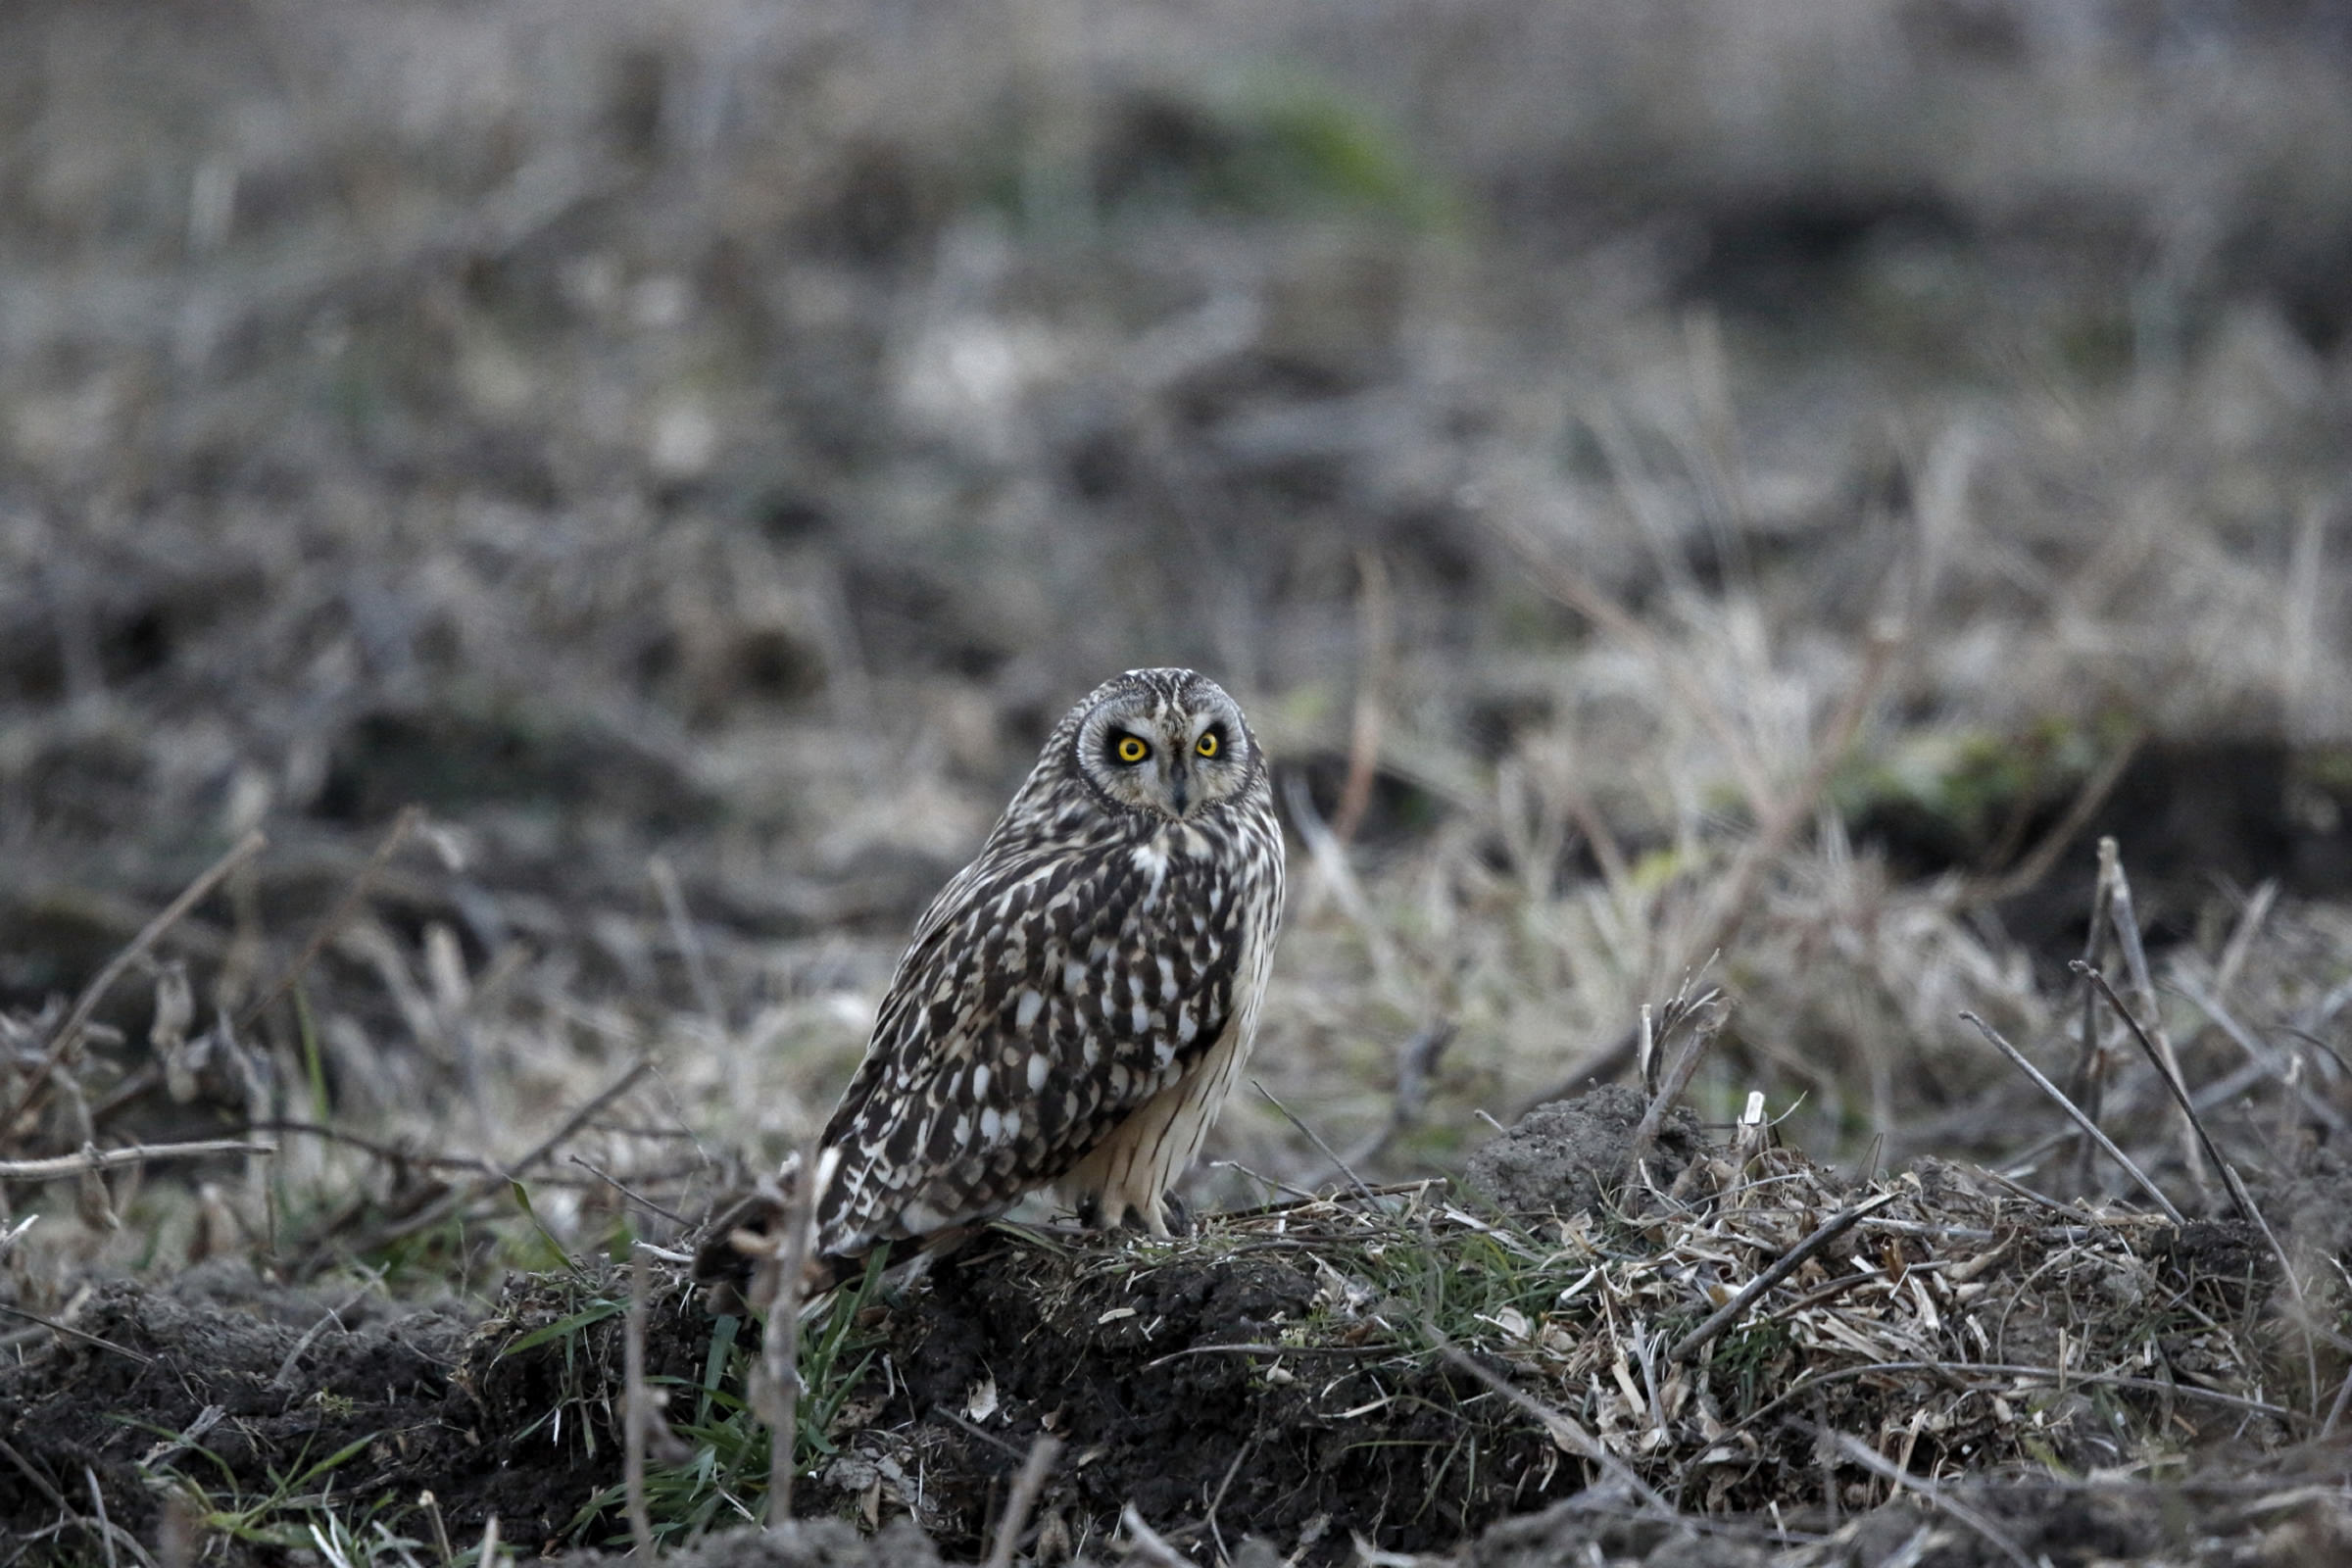
Short-eared Owl
This photo looks as if it was shot with the white balance setting to the Auto. Since camera shake is a concern when it’s dark, you want to increase the ISO speed and use a fast shutter speed. And be careful not to make it brighter than necessary since that will take away from the mood of the sunset.
Aperture value:
f/8
Shutter speed:
1/250 second
ISO speed:
ISO6400
Exposure compensation:
0
Focal length:
1000mm equivalent (used a 2x extender at 500mm)
DSLR Camera (35mm full-frame image format)
Viewfinder display
Short-eared Owl
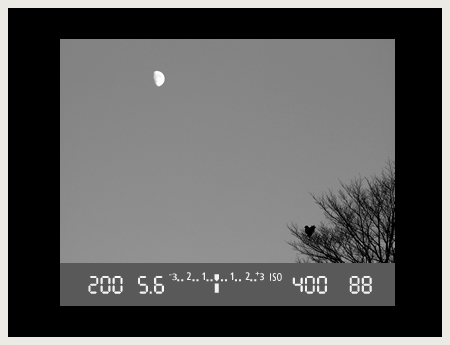
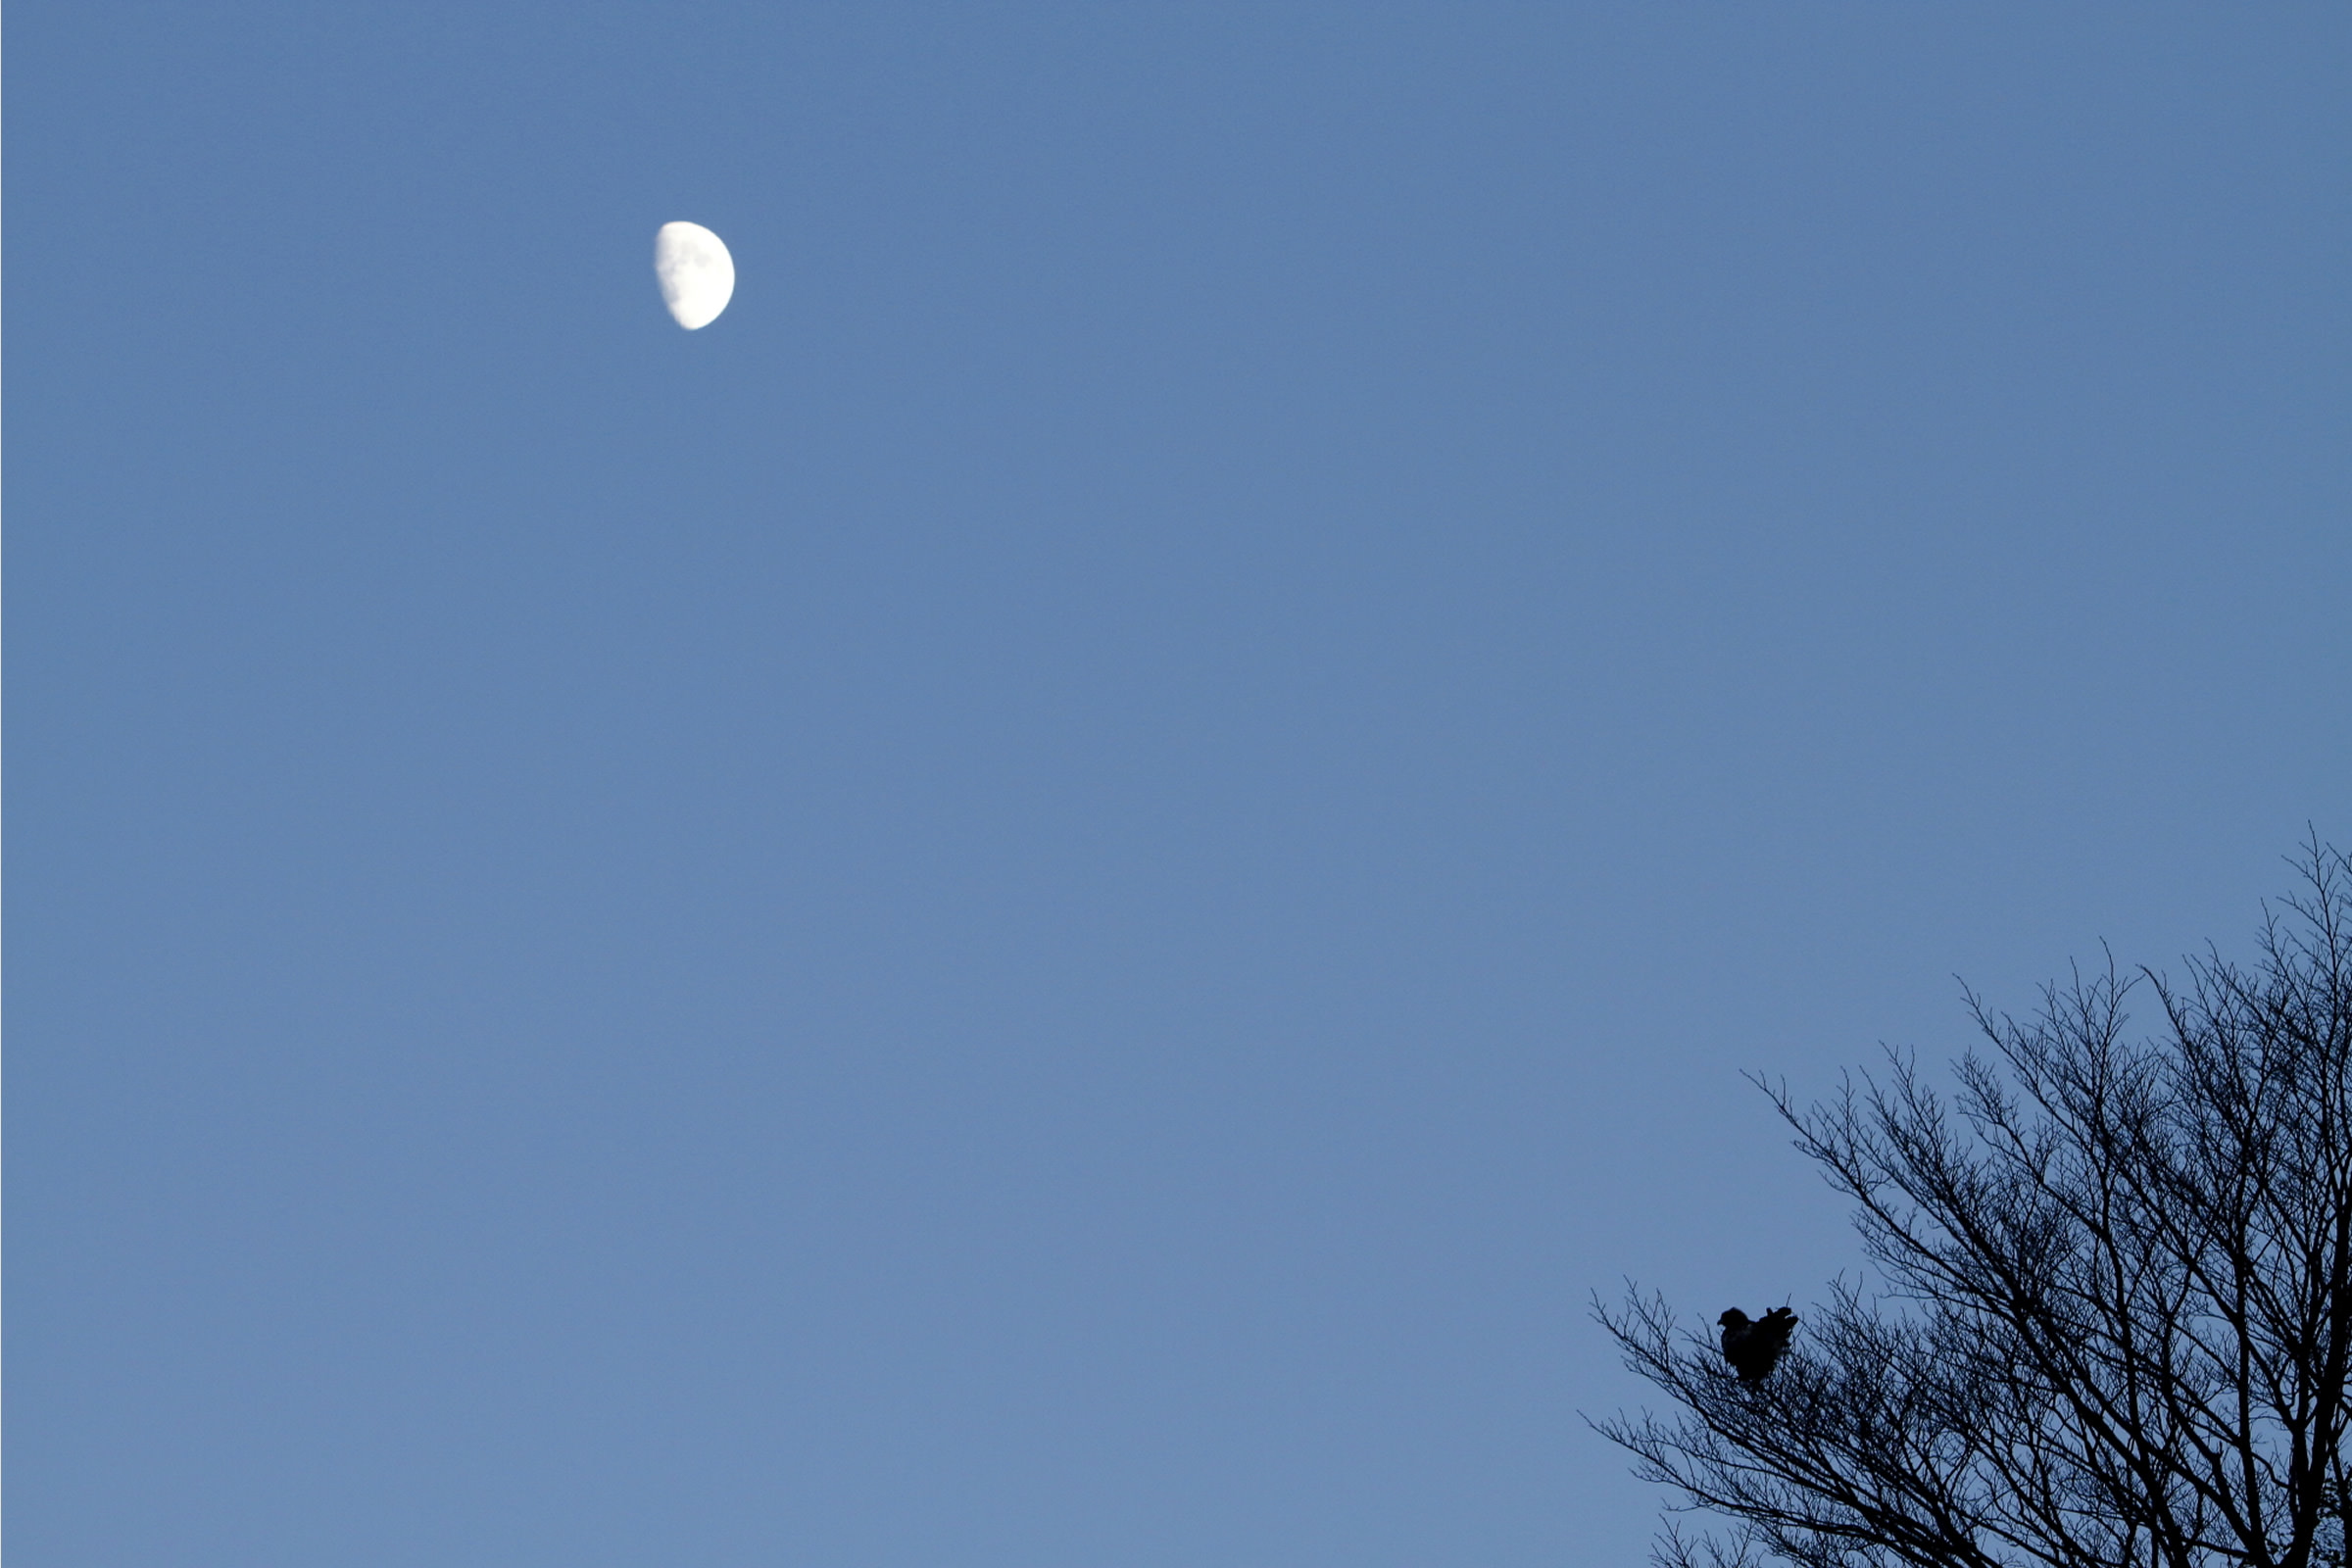
Golden Eagle
The sun was gone so I stopped shooting and was starting to head out when I spotted a Golden Eagle sitting at the top of a tree along the road. I hurried to find a spot where I could get the moon in the shot, and finally got one shot with the moon just inside the frame. Since I wanted to emphasize the brightness of the moon, I made the eagle a silhouette. The sun had gone down, but since there were no clouds I was able to express the clearness of the sky. The white balance setting was daylight.
Aperture value:
f/5.6
Shutter speed:
1/200 second
ISO speed:
ISO400
Exposure compensation:
0
Focal length:
115mm
DSLR Camera (APS-C image format)
Viewfinder display
Golden Eagle
Silhouette
Photographs of a red evening sun or morning sun are dramatic and impressive. If you see the pattern on a bird’s body clearly in such a photo, then an assist light source, such as a flash, was used, or the part with the bird was manipulated or edited. If you can let a strong light in as the background, the subject will basically become a silhouette. Since it is okay to have a silhouette, try not to spoil it by unnecessarily adjusting the exposure in order to bring out the pattern on the body. And, for focusing, it would be good to focus on the silhouette.
As a note of caution, do not look directly at the sun through the viewfinder when taking a close-up shot of the sun together with a bird. If you feel that the light in the viewfinder is too bright, you should definitely close your eyes.
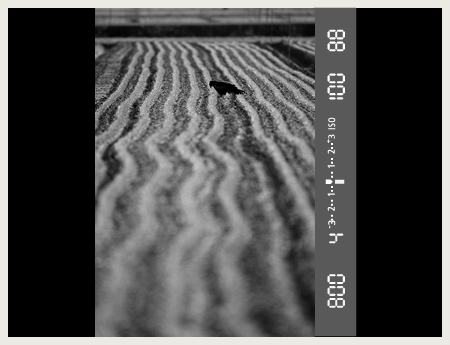
Black Kite
The young wheat shines with the backlight. The beautiful rows of wheat by themselves would make a nice landscape photo. I spotted a single Black Kite in the field. Normally I would get closer and take a bigger shot, but it was good keeping the bird small within this scene. To make the young wheat shine as beautifully as possible with the transmitted light, I positioned the shot vertically and placed the silhouette of the Black Kite on top of the shining rows.
Aperture value:
f/4
Shutter speed:
1/800 second
ISO speed:
ISO100
Exposure compensation:
0
Focal length:
500mm
DSLR Camera (APS-C image format)
Viewfinder display
Black Kite
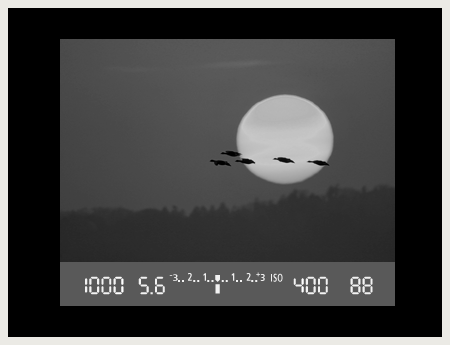
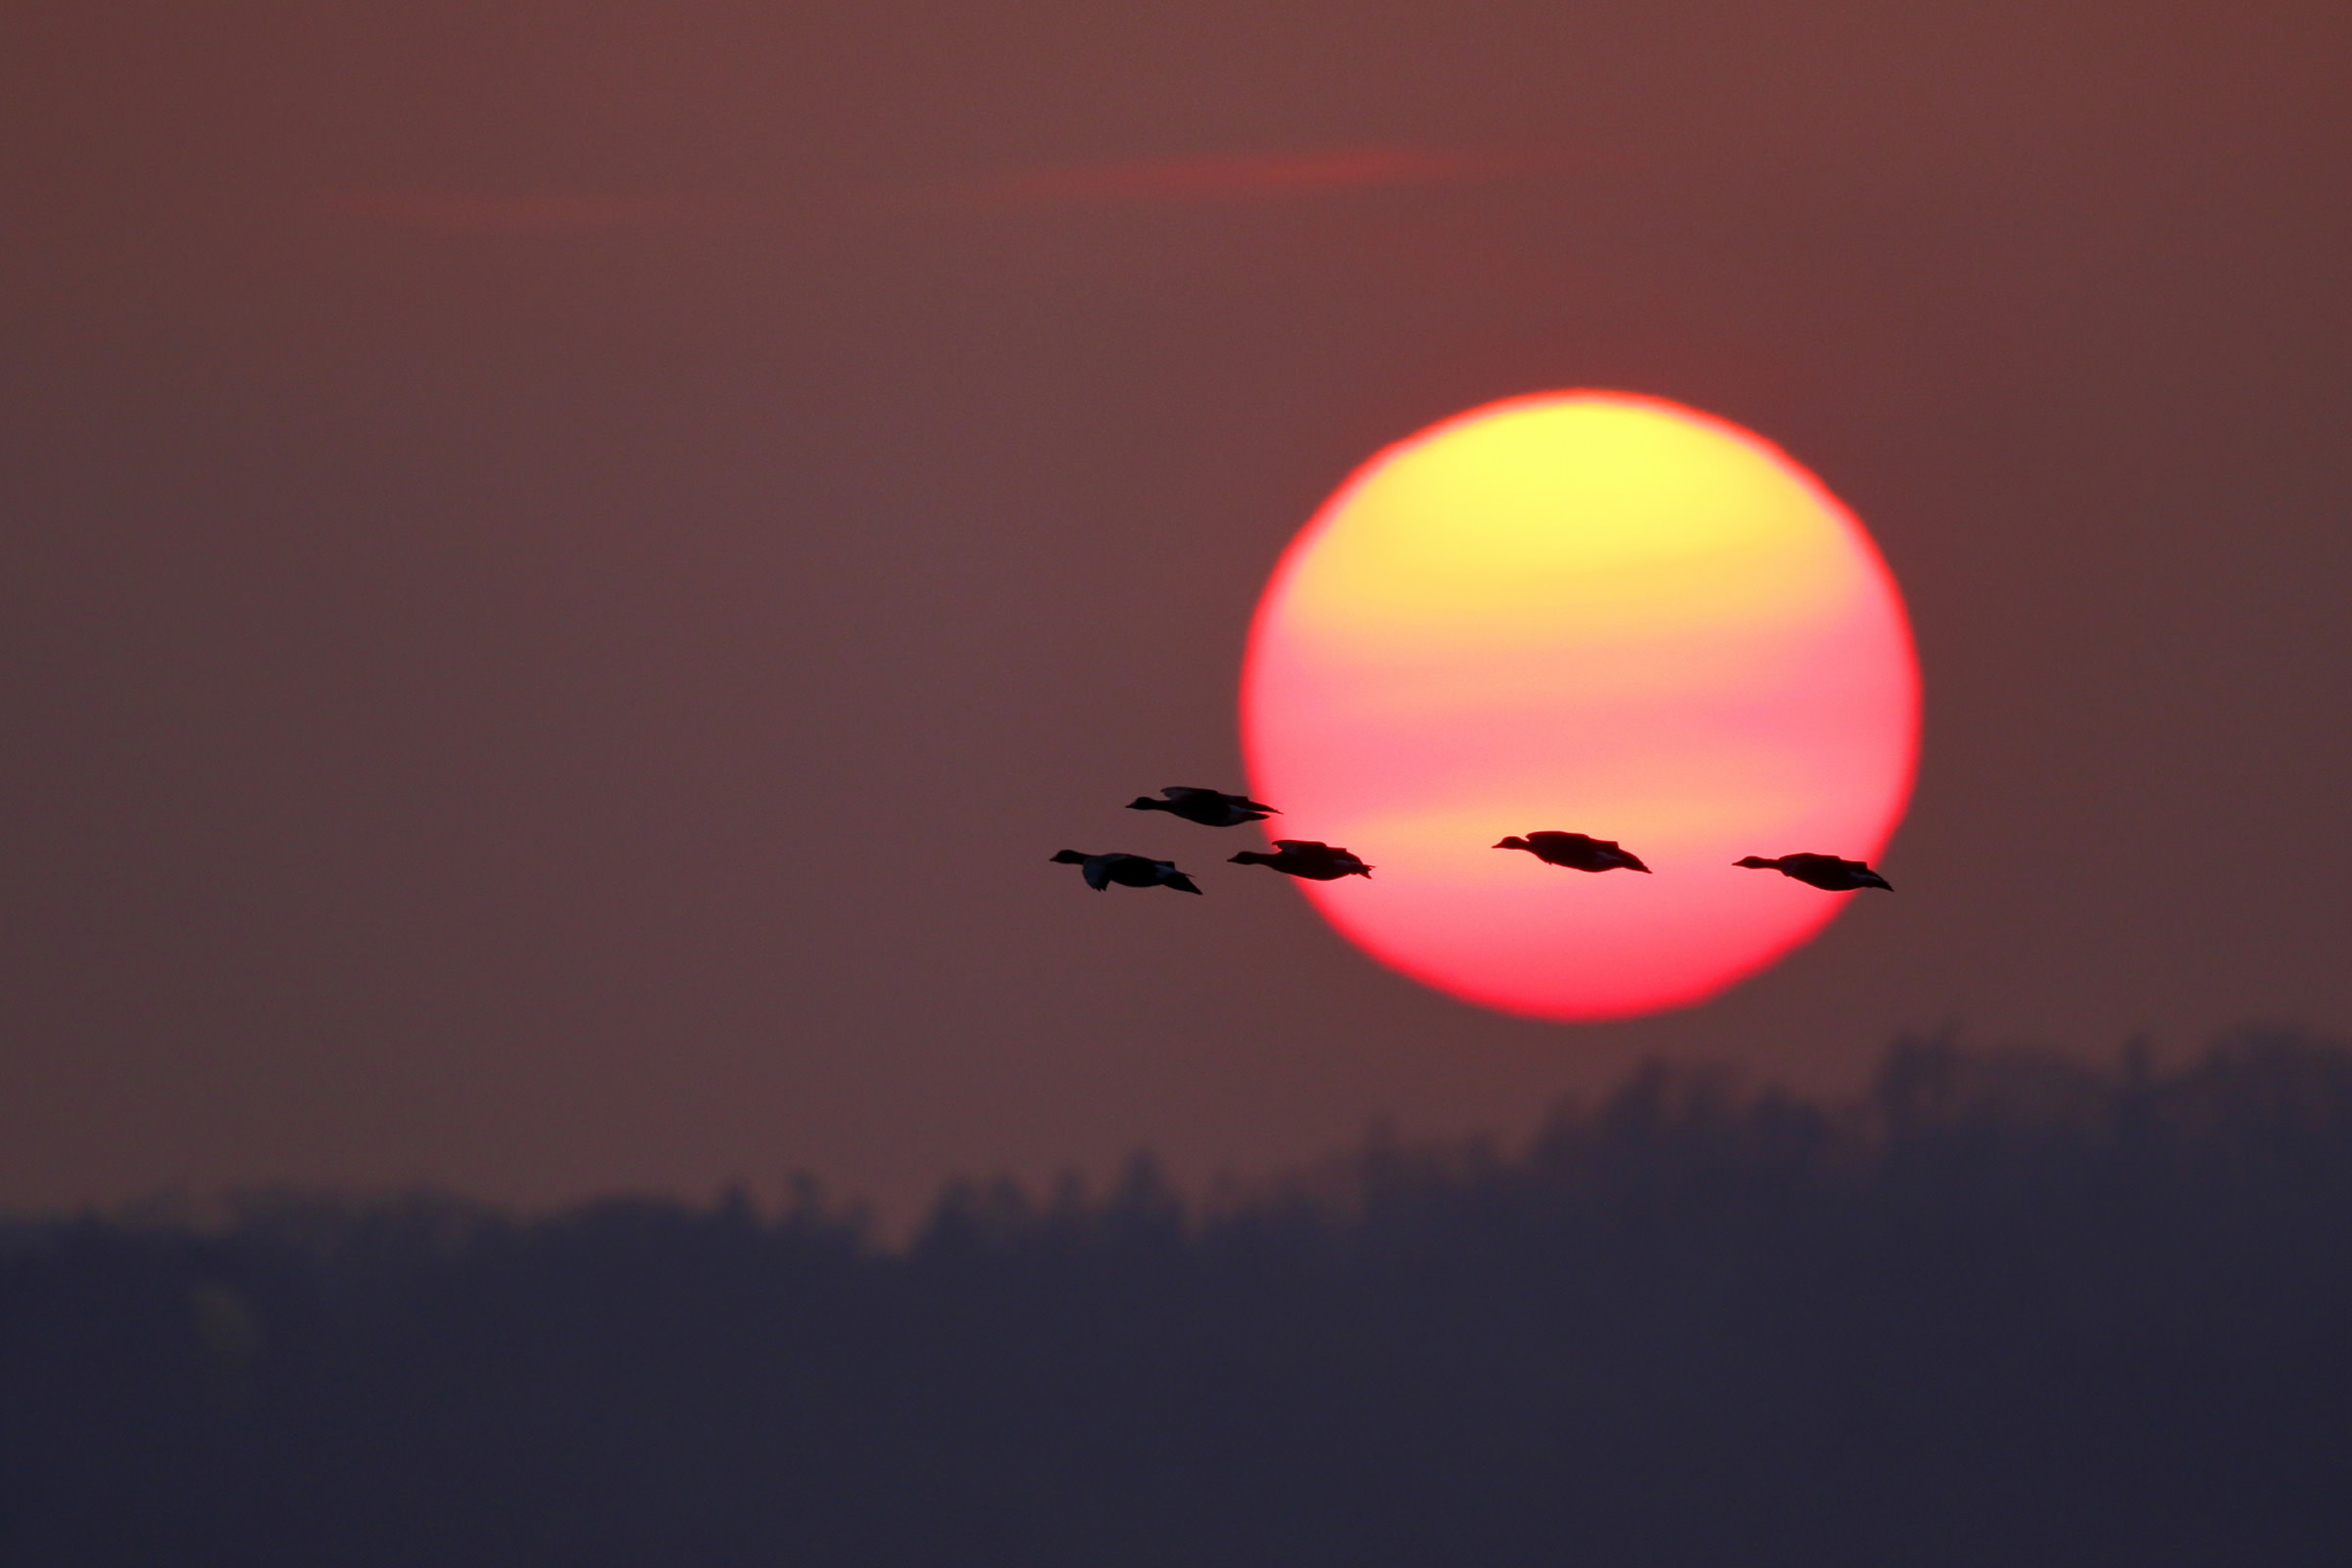
Greater White-fronted Geese
The best part of shooting Greater White-fronted Geese is when the birds fly out in the morning and return in the evening. When the sun is not at least partially covered by clouds, it is quite often impossible to put the morning sun or the evening sun in the frame because it is too bright. However, not only does the sun become red when it is behind some thin clouds, you can zoom in with a super telephoto lens. Since there are so few opportunities to get this kind of shot. I pray while shooting each time. But, this time I was lucky and able to get a shot just at the moment when a flock of Greater White-fronted Geese flew in front of the sun. I metered the light beside the sun and adjusted the setting to make the geese become silhouettes and the color around the sun come out beautifully.
Aperture value:
f/5.6
Shutter speed:
1/1000 second
ISO speed:
ISO400
Exposure compensation:
0
Focal length:
700mm equivalent (used a 1.4x extender at 500mm)
DSLR Camera (APS-C image format)
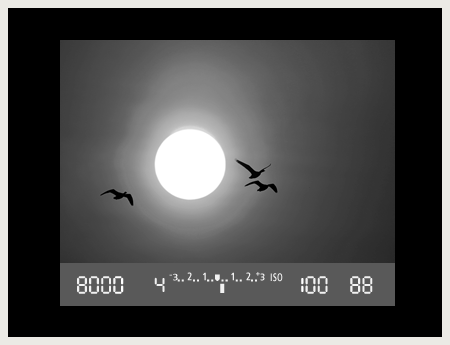
Viewfinder display
Greater White-fronted Geese
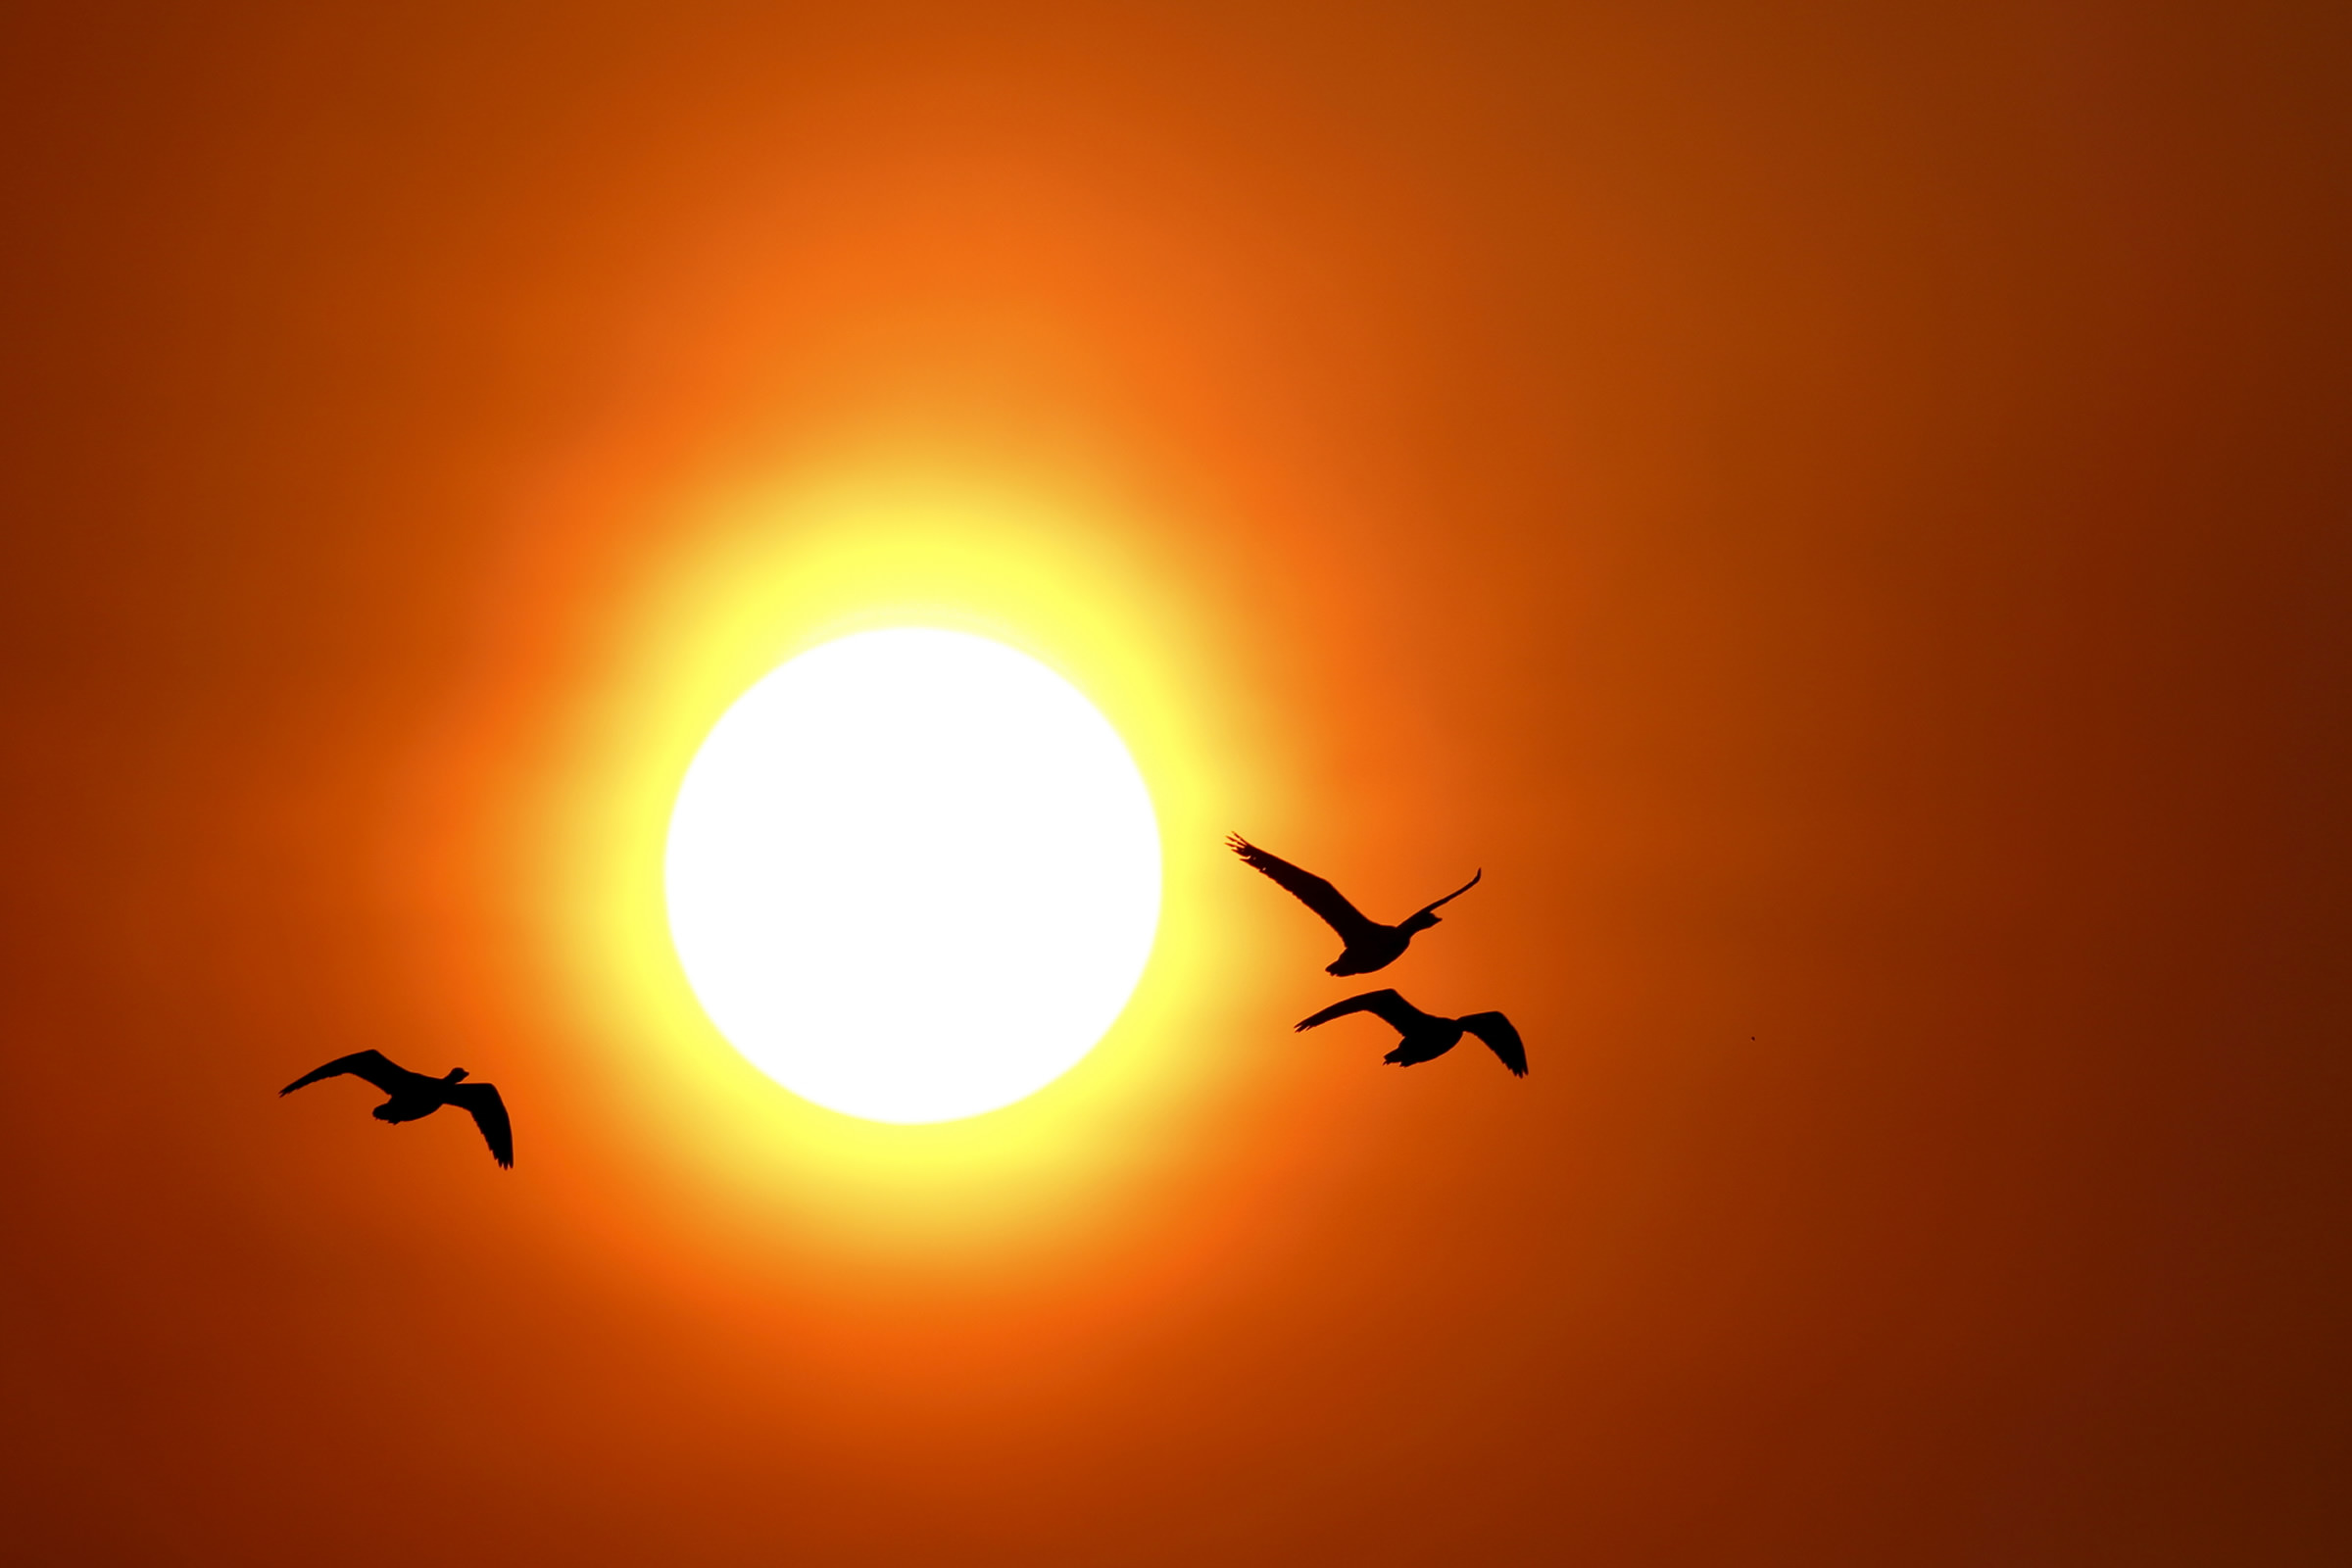
Greater White-fronted Geese
Some Greater White-fronted geese took flight above a lake, when the sun was shining brightly. I took continuous shots since they were flying toward me in exactly the right path. What I had to be really careful of for this shot was to absolutely not look directly at the sun in the viewfinder. Since sustained viewing of the sun, even the morning or evening sun, with a super telephoto lens can really damage your eyes, it’s best to close your eyes before you feel the glare and leave the focusing to the camera.
Aperture value:
f/4
Shutter speed:
1/8000 second
ISO speed:
ISO100
Exposure compensation:
+0.3
Focal length:
500mm
DSLR Camera (APS-C image format)
Viewfinder display
Greater White-fronted Geese
mr. tozuka’s sidebar
What does the white balance setting do?
Digital cameras have a mechanism for making white objects look white based on the color of the light source. That is White Balance (WB).
Each light source has a color temperature, and it can actually give images a reddish or bluish tinge. Color temperature refers to the tone of the light source, and the color of light is expressed numerically in units called Kelvins (K). For example, daylight is 5200K, but since the redness of a subject’s coloring increases at 2000-3000K, the camera adds blue to maintain the white balance. Conversely, at 7000-8000K the blueness of a subject’s coloring increases and the camera adds red to maintain the white balance.
By changing the white balance you can capture color as close to natural as possible, setting the white balance to “Cloudy” for outdoor shooting on overcast days, to “White fluorescent light” when shooting under fluorescent lighting, and to “Tungsten light” when shooting indoors under traditional lamp lighting (with incandescent light bulbs). Normally there is no problem to use the auto setting, but since the white balance can greatly affect the mood of the photo, keep in mind that auto white balance is not always the best option. Basically, it can’t really be said that using the auto setting will result in fewer mistakes and thus more successes.
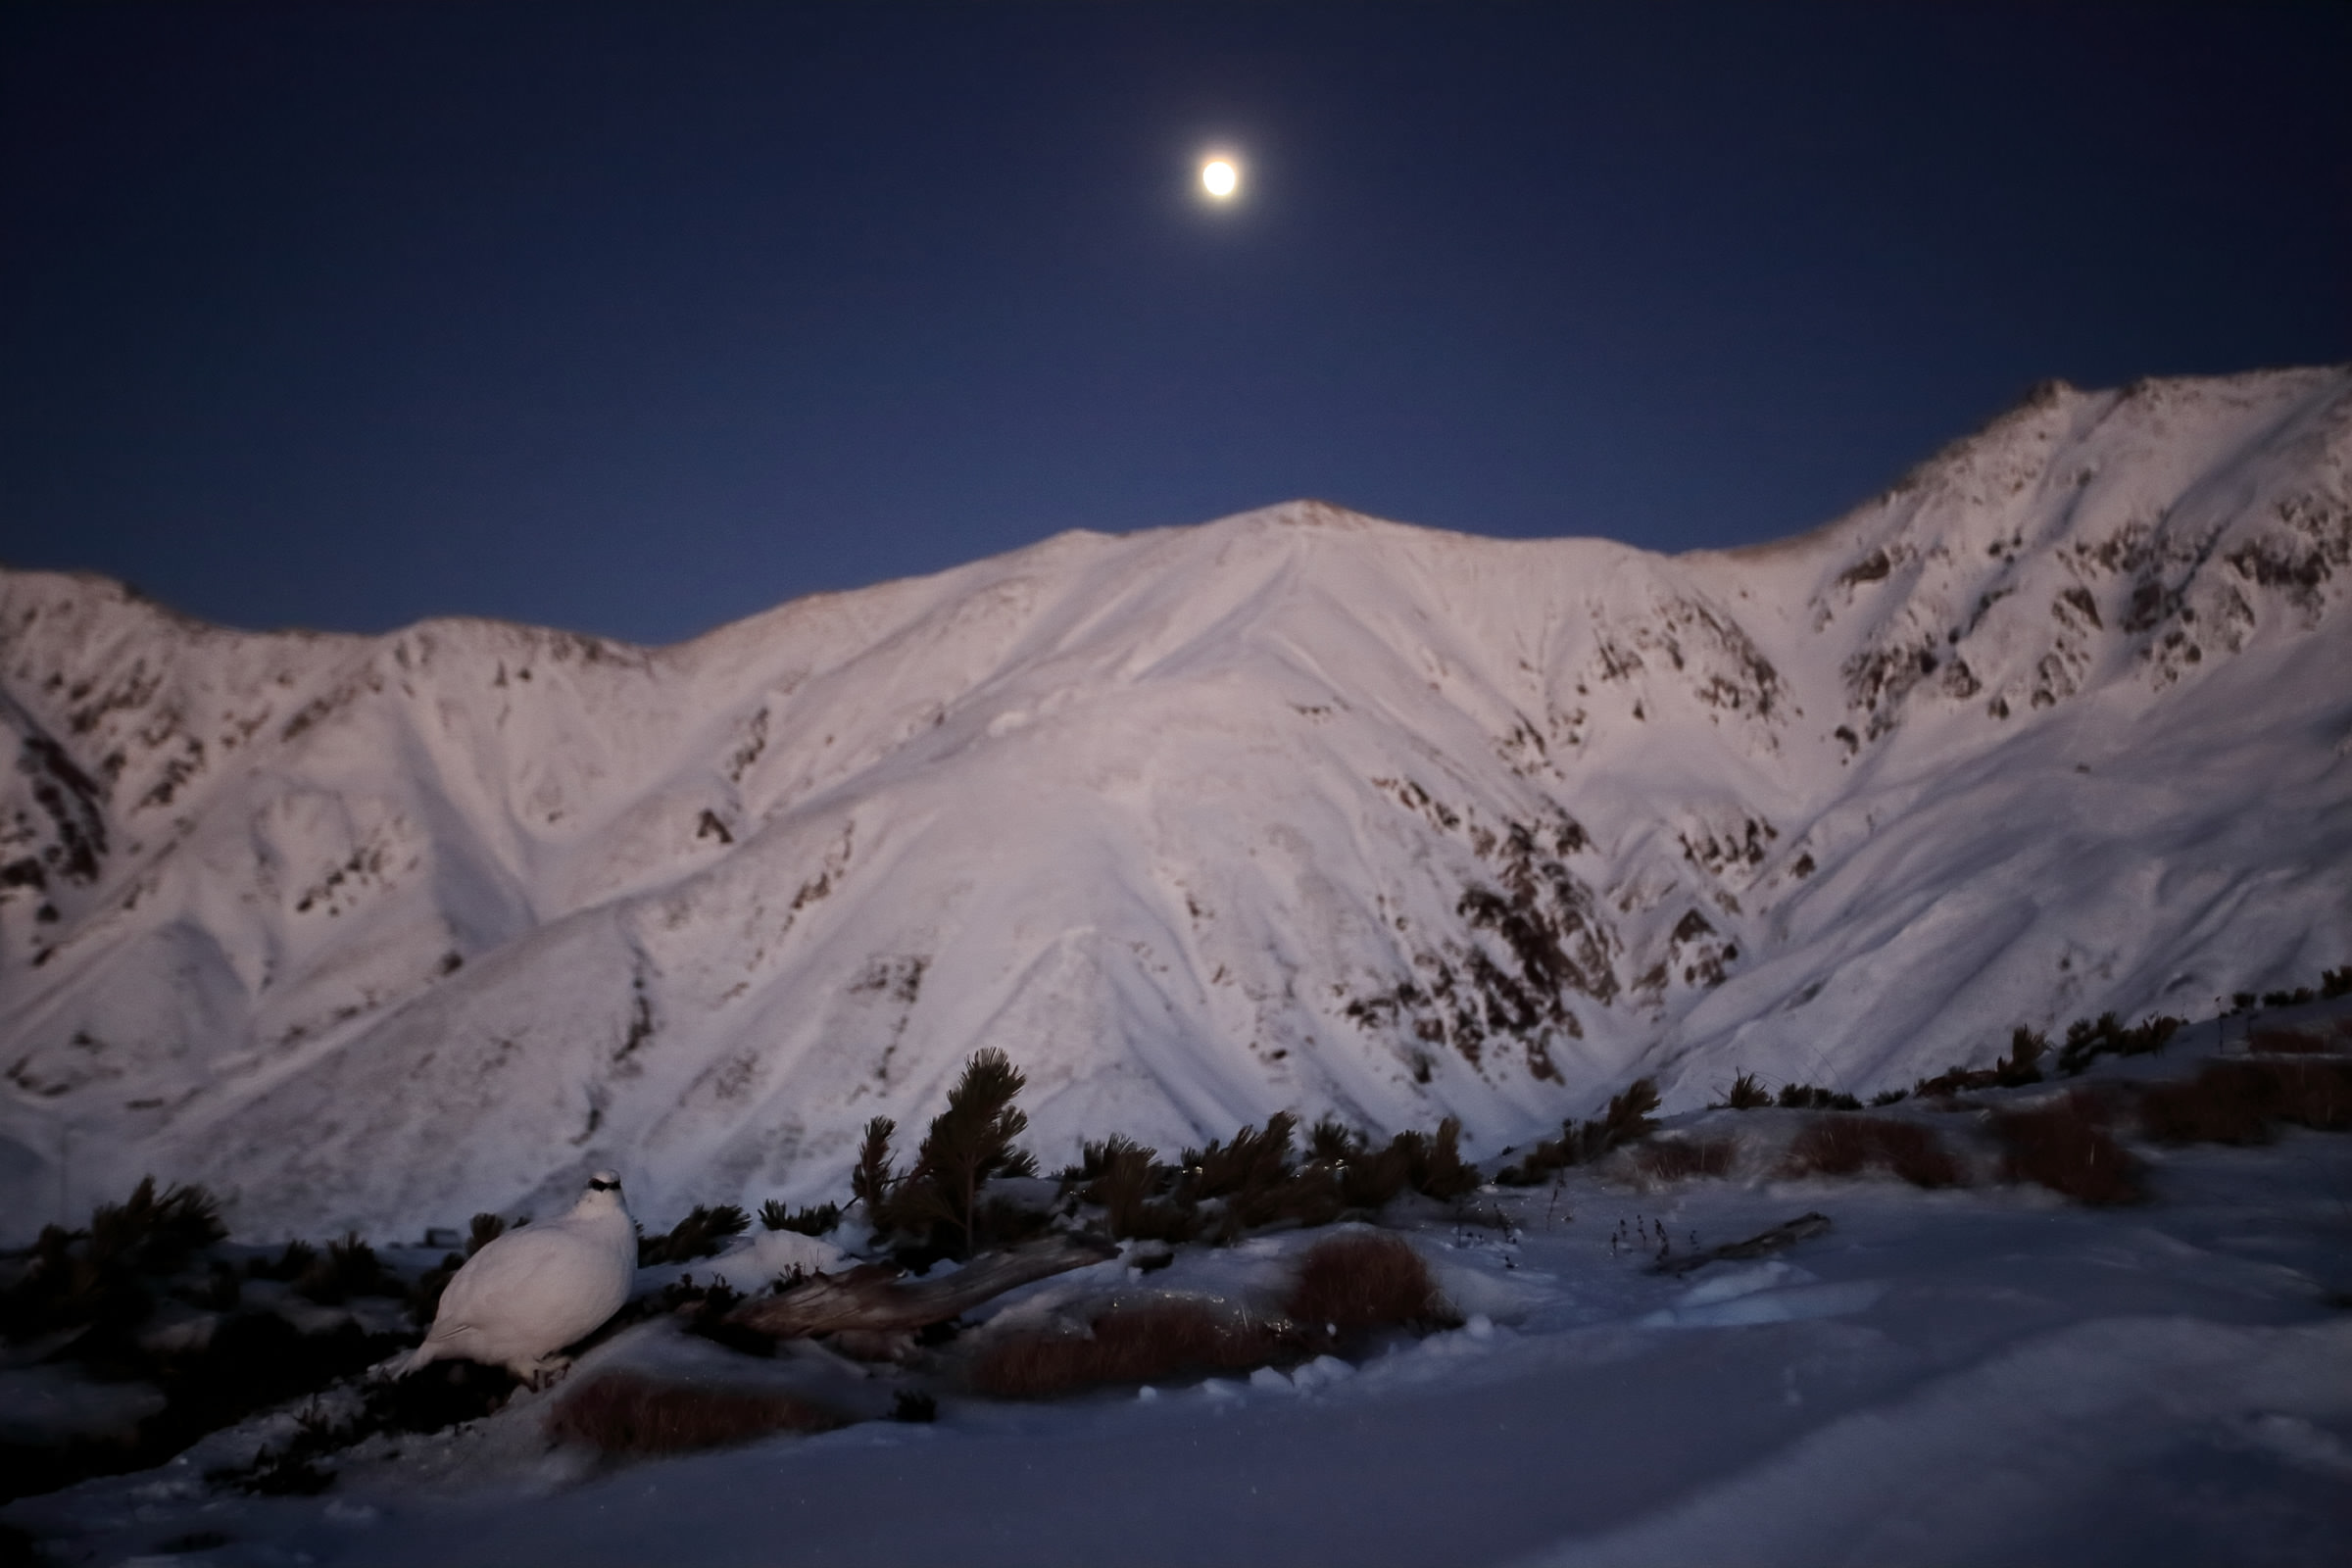
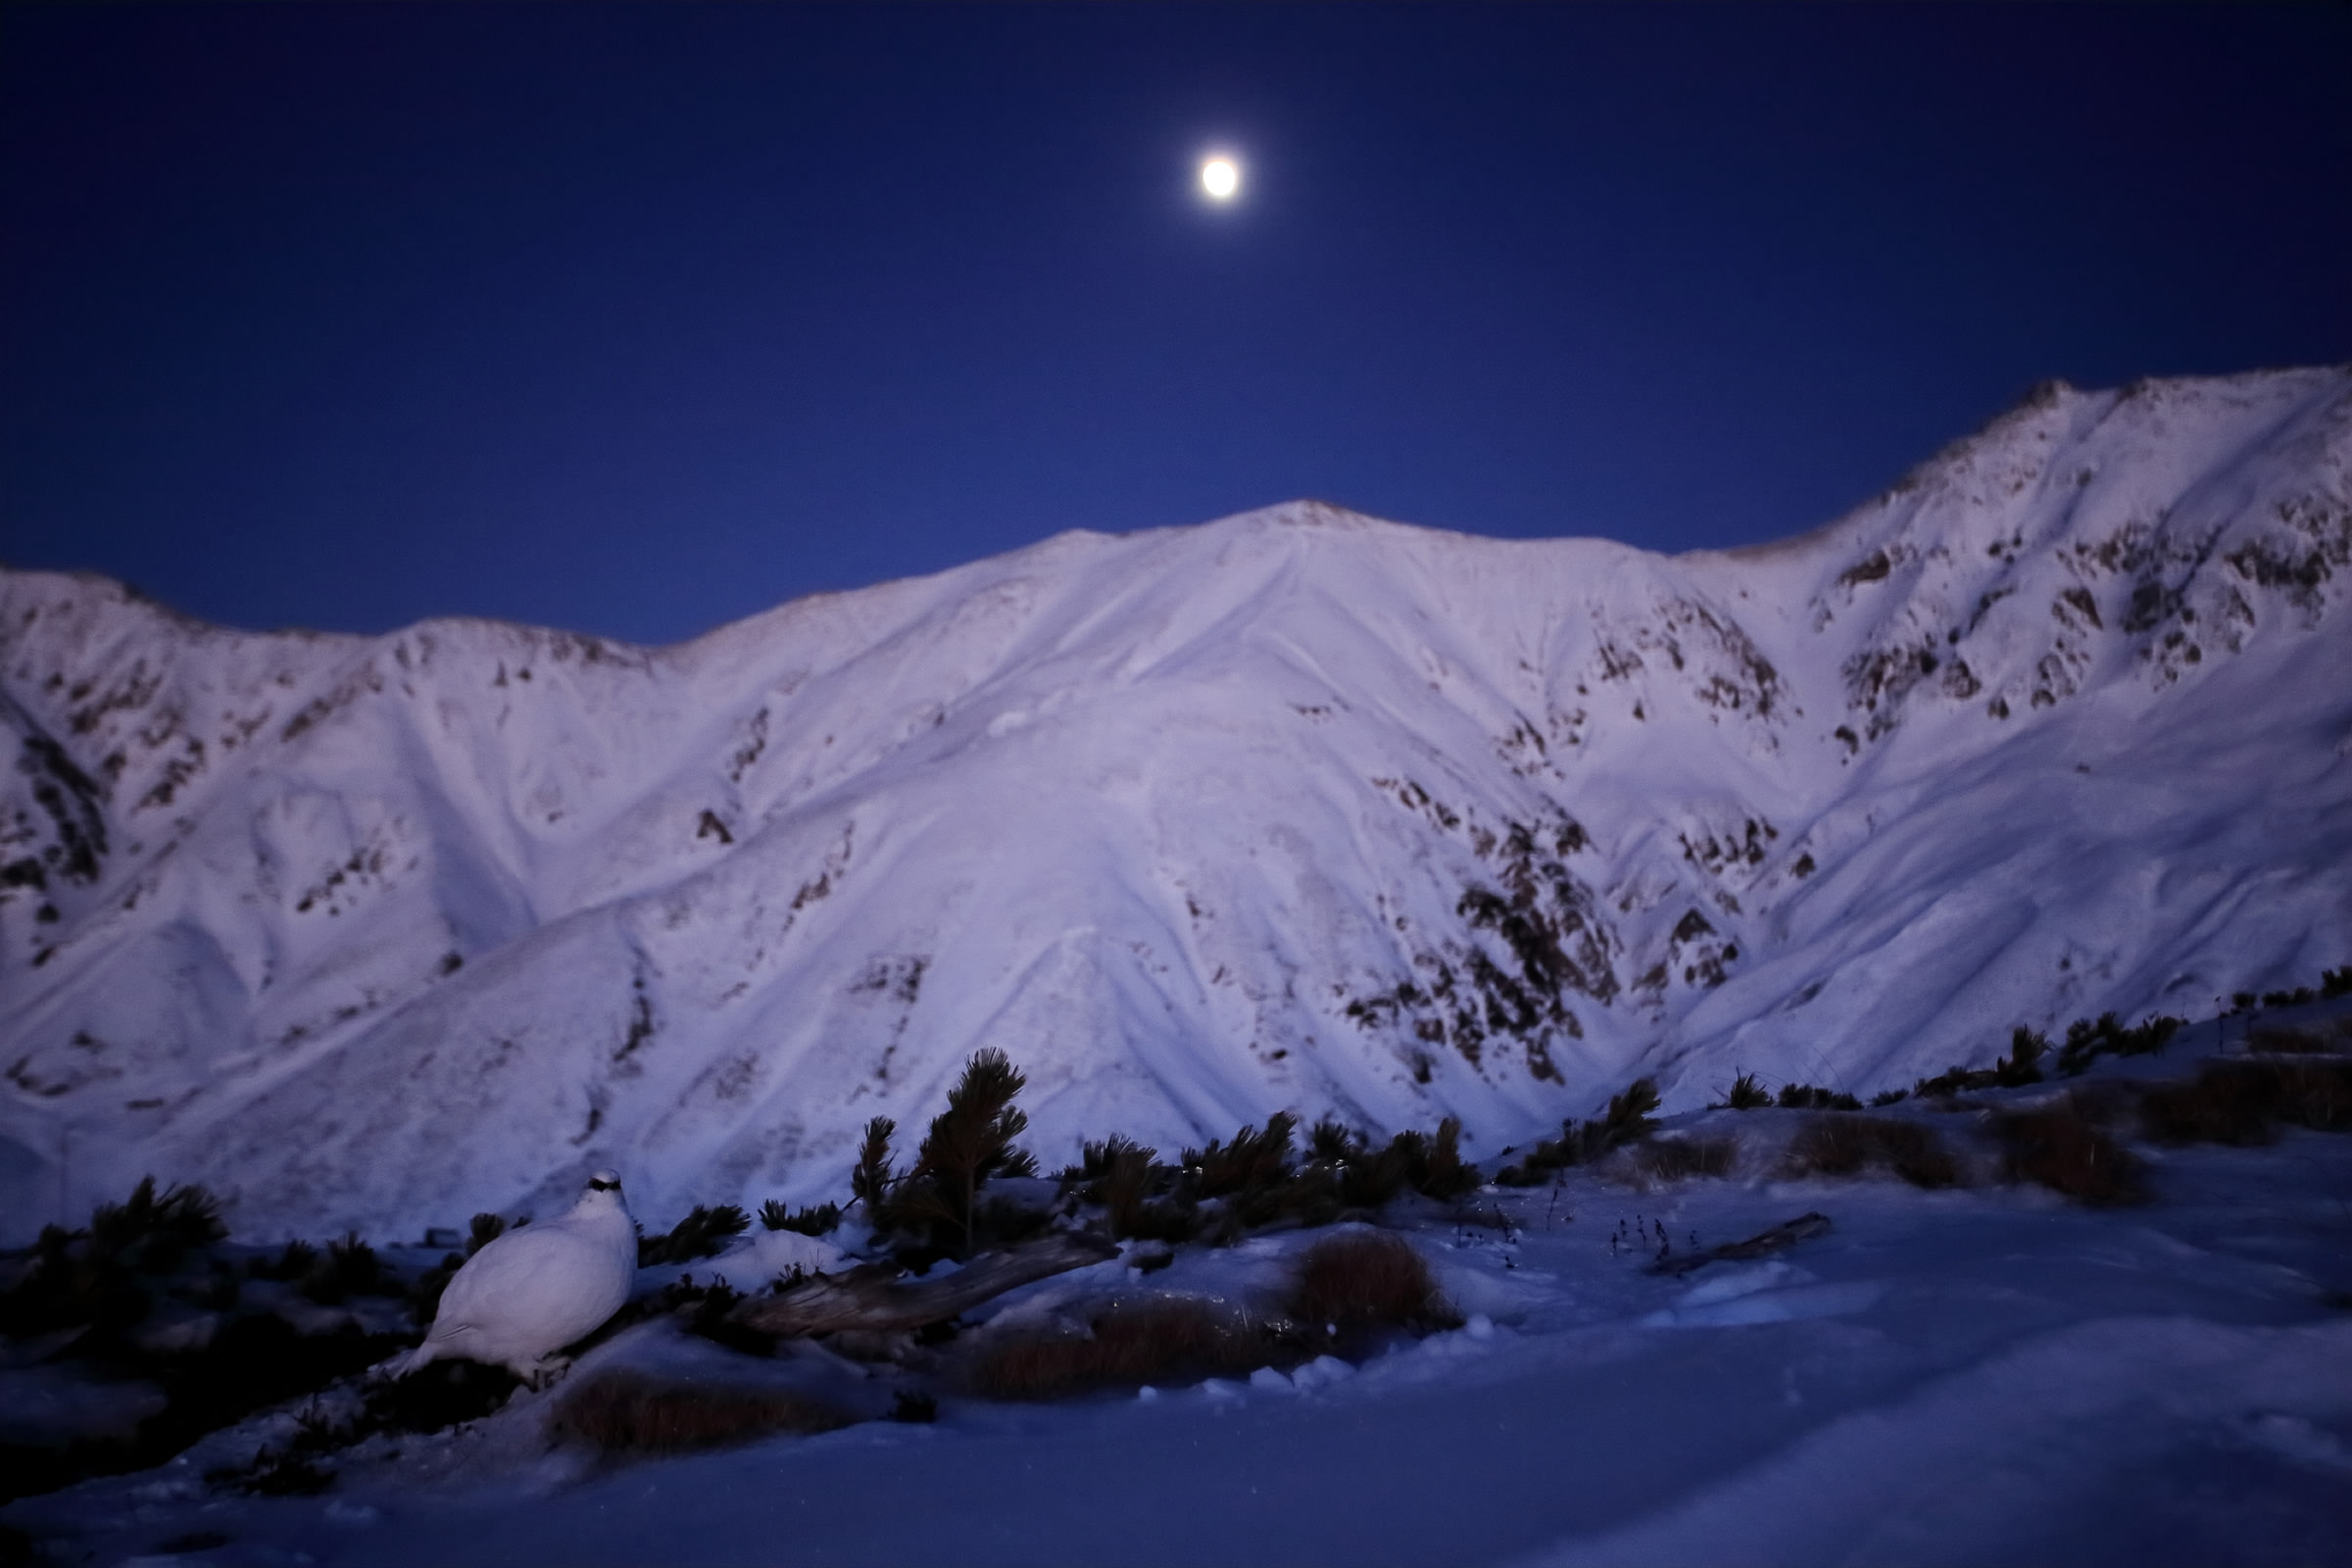
Now, using a photograph of a Rock Ptarmigan and a snowy mountain, let’s compare the difference between the white balance settings. After sundown, which setting do you prefer?
WB: Auto
Looks close to what your eye would see.
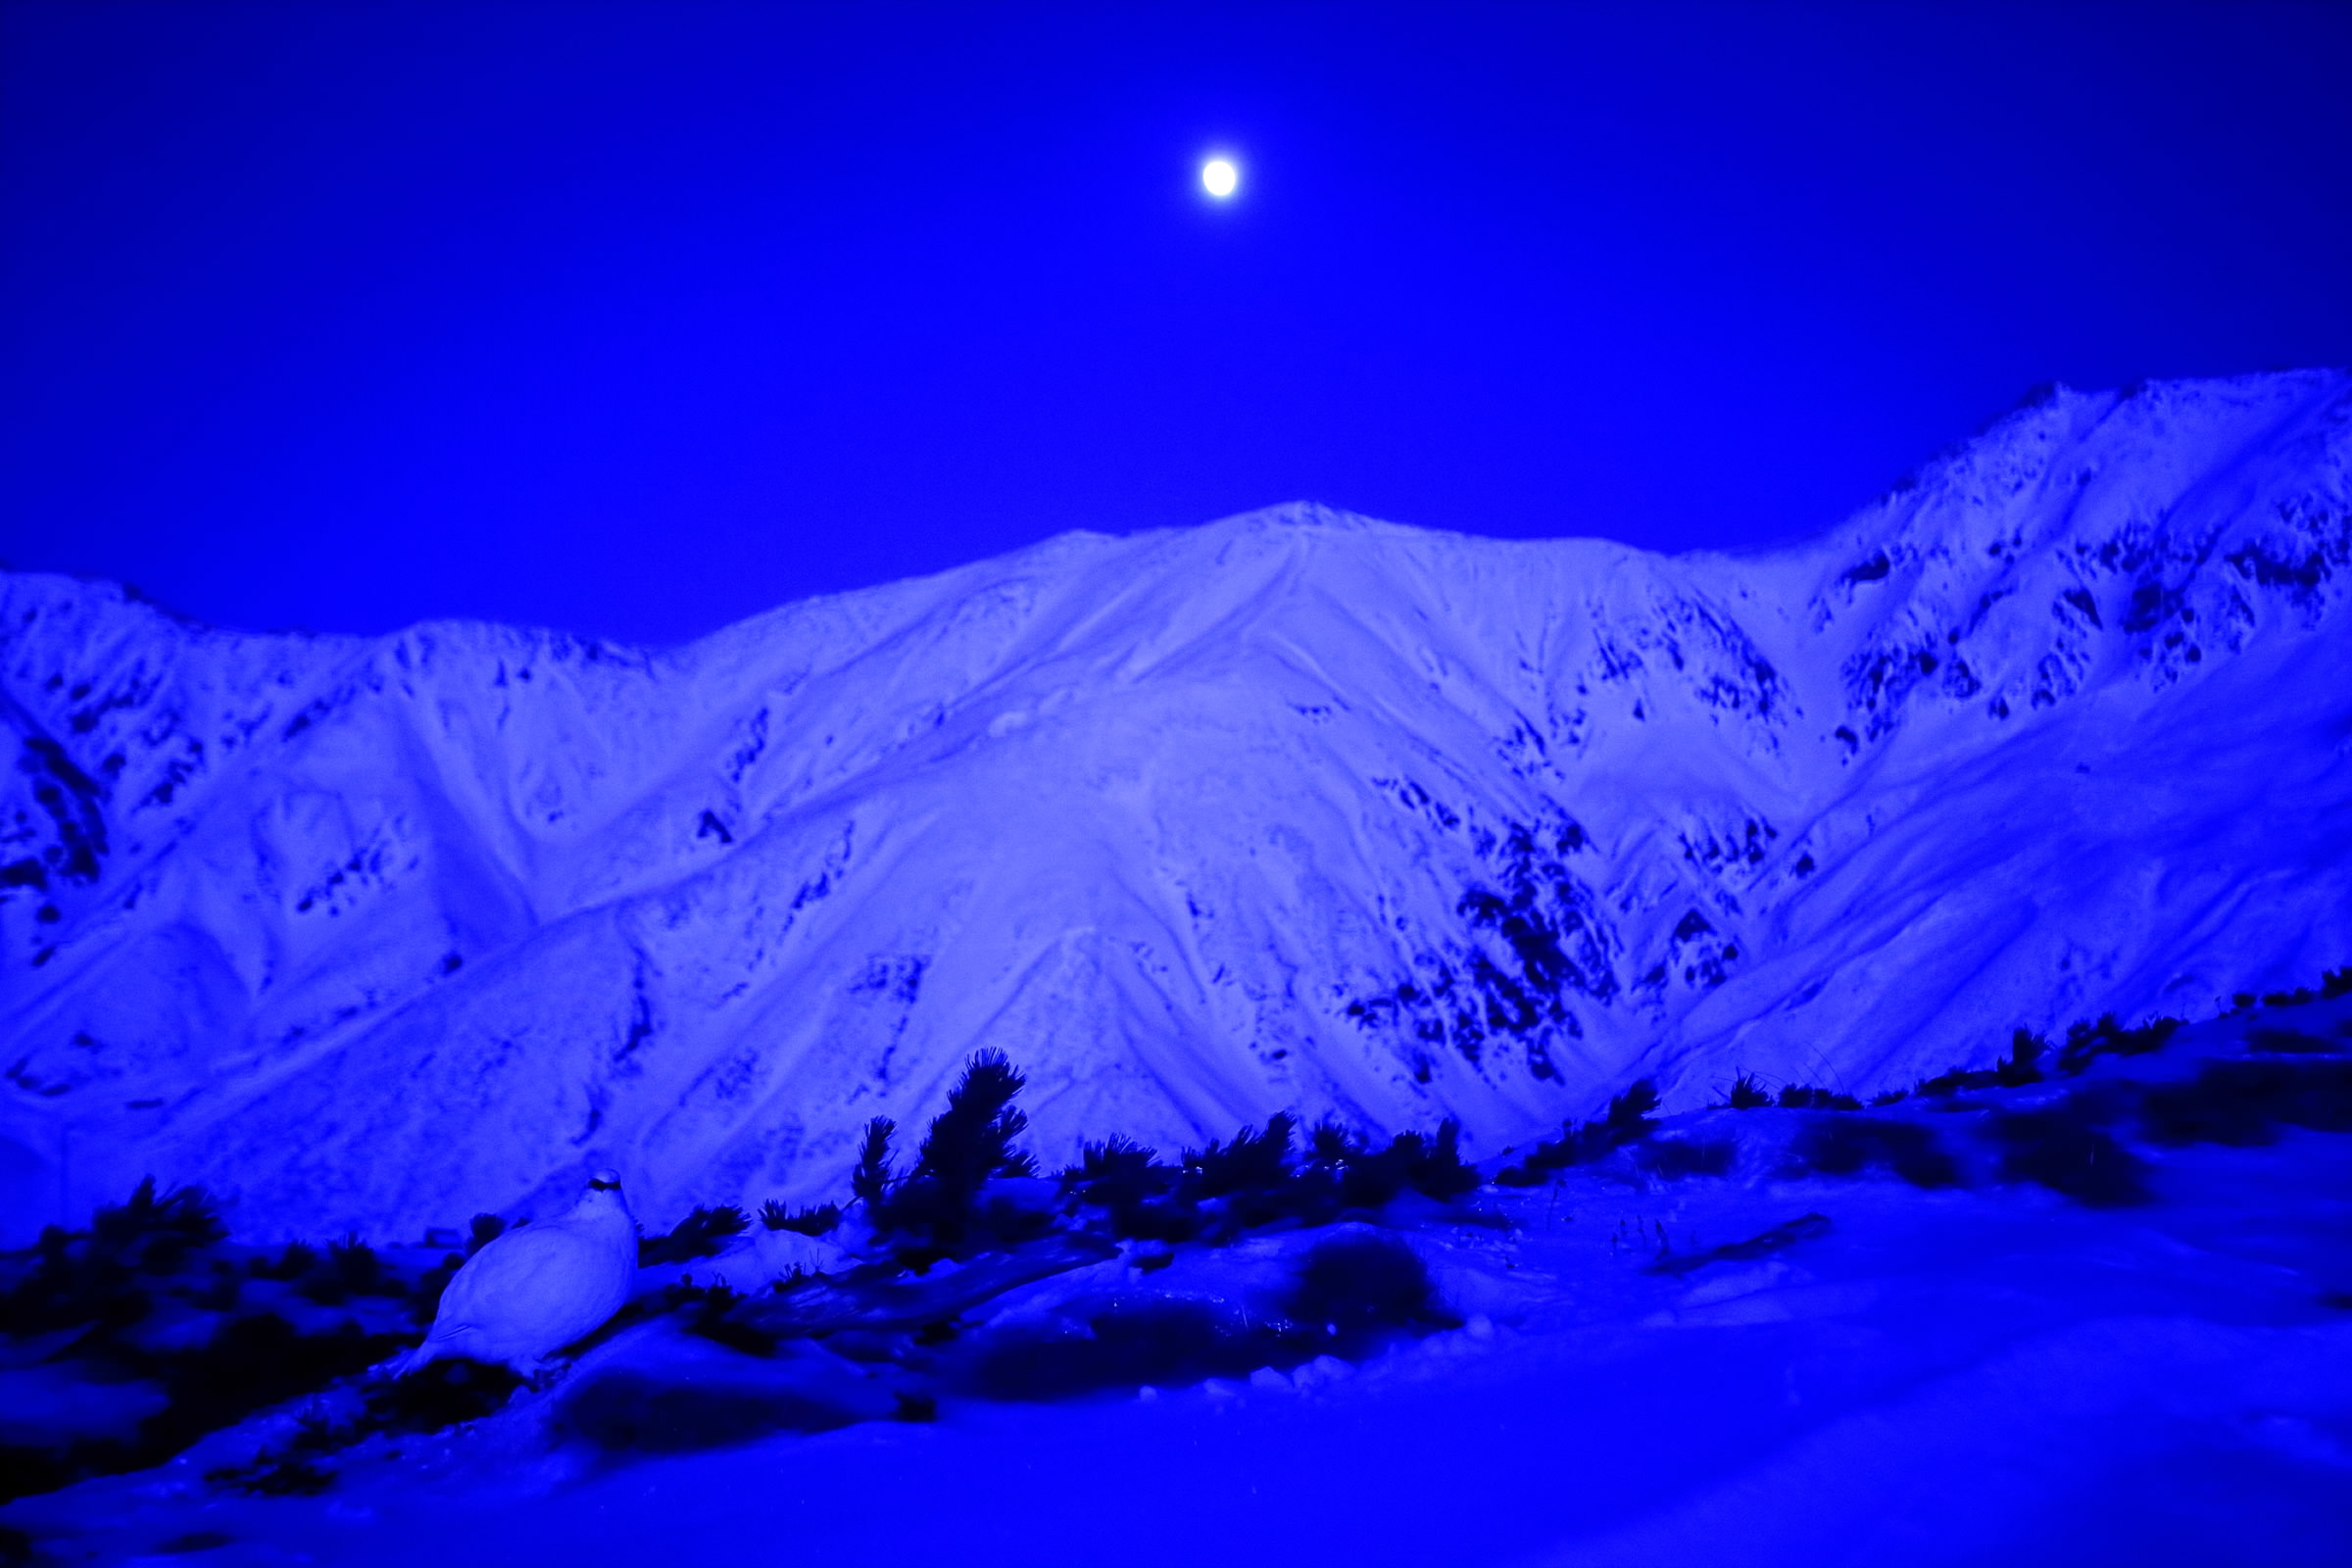
WB: Daylight (5200K)
Image has a little more blue in it than with auto. Looks cold.
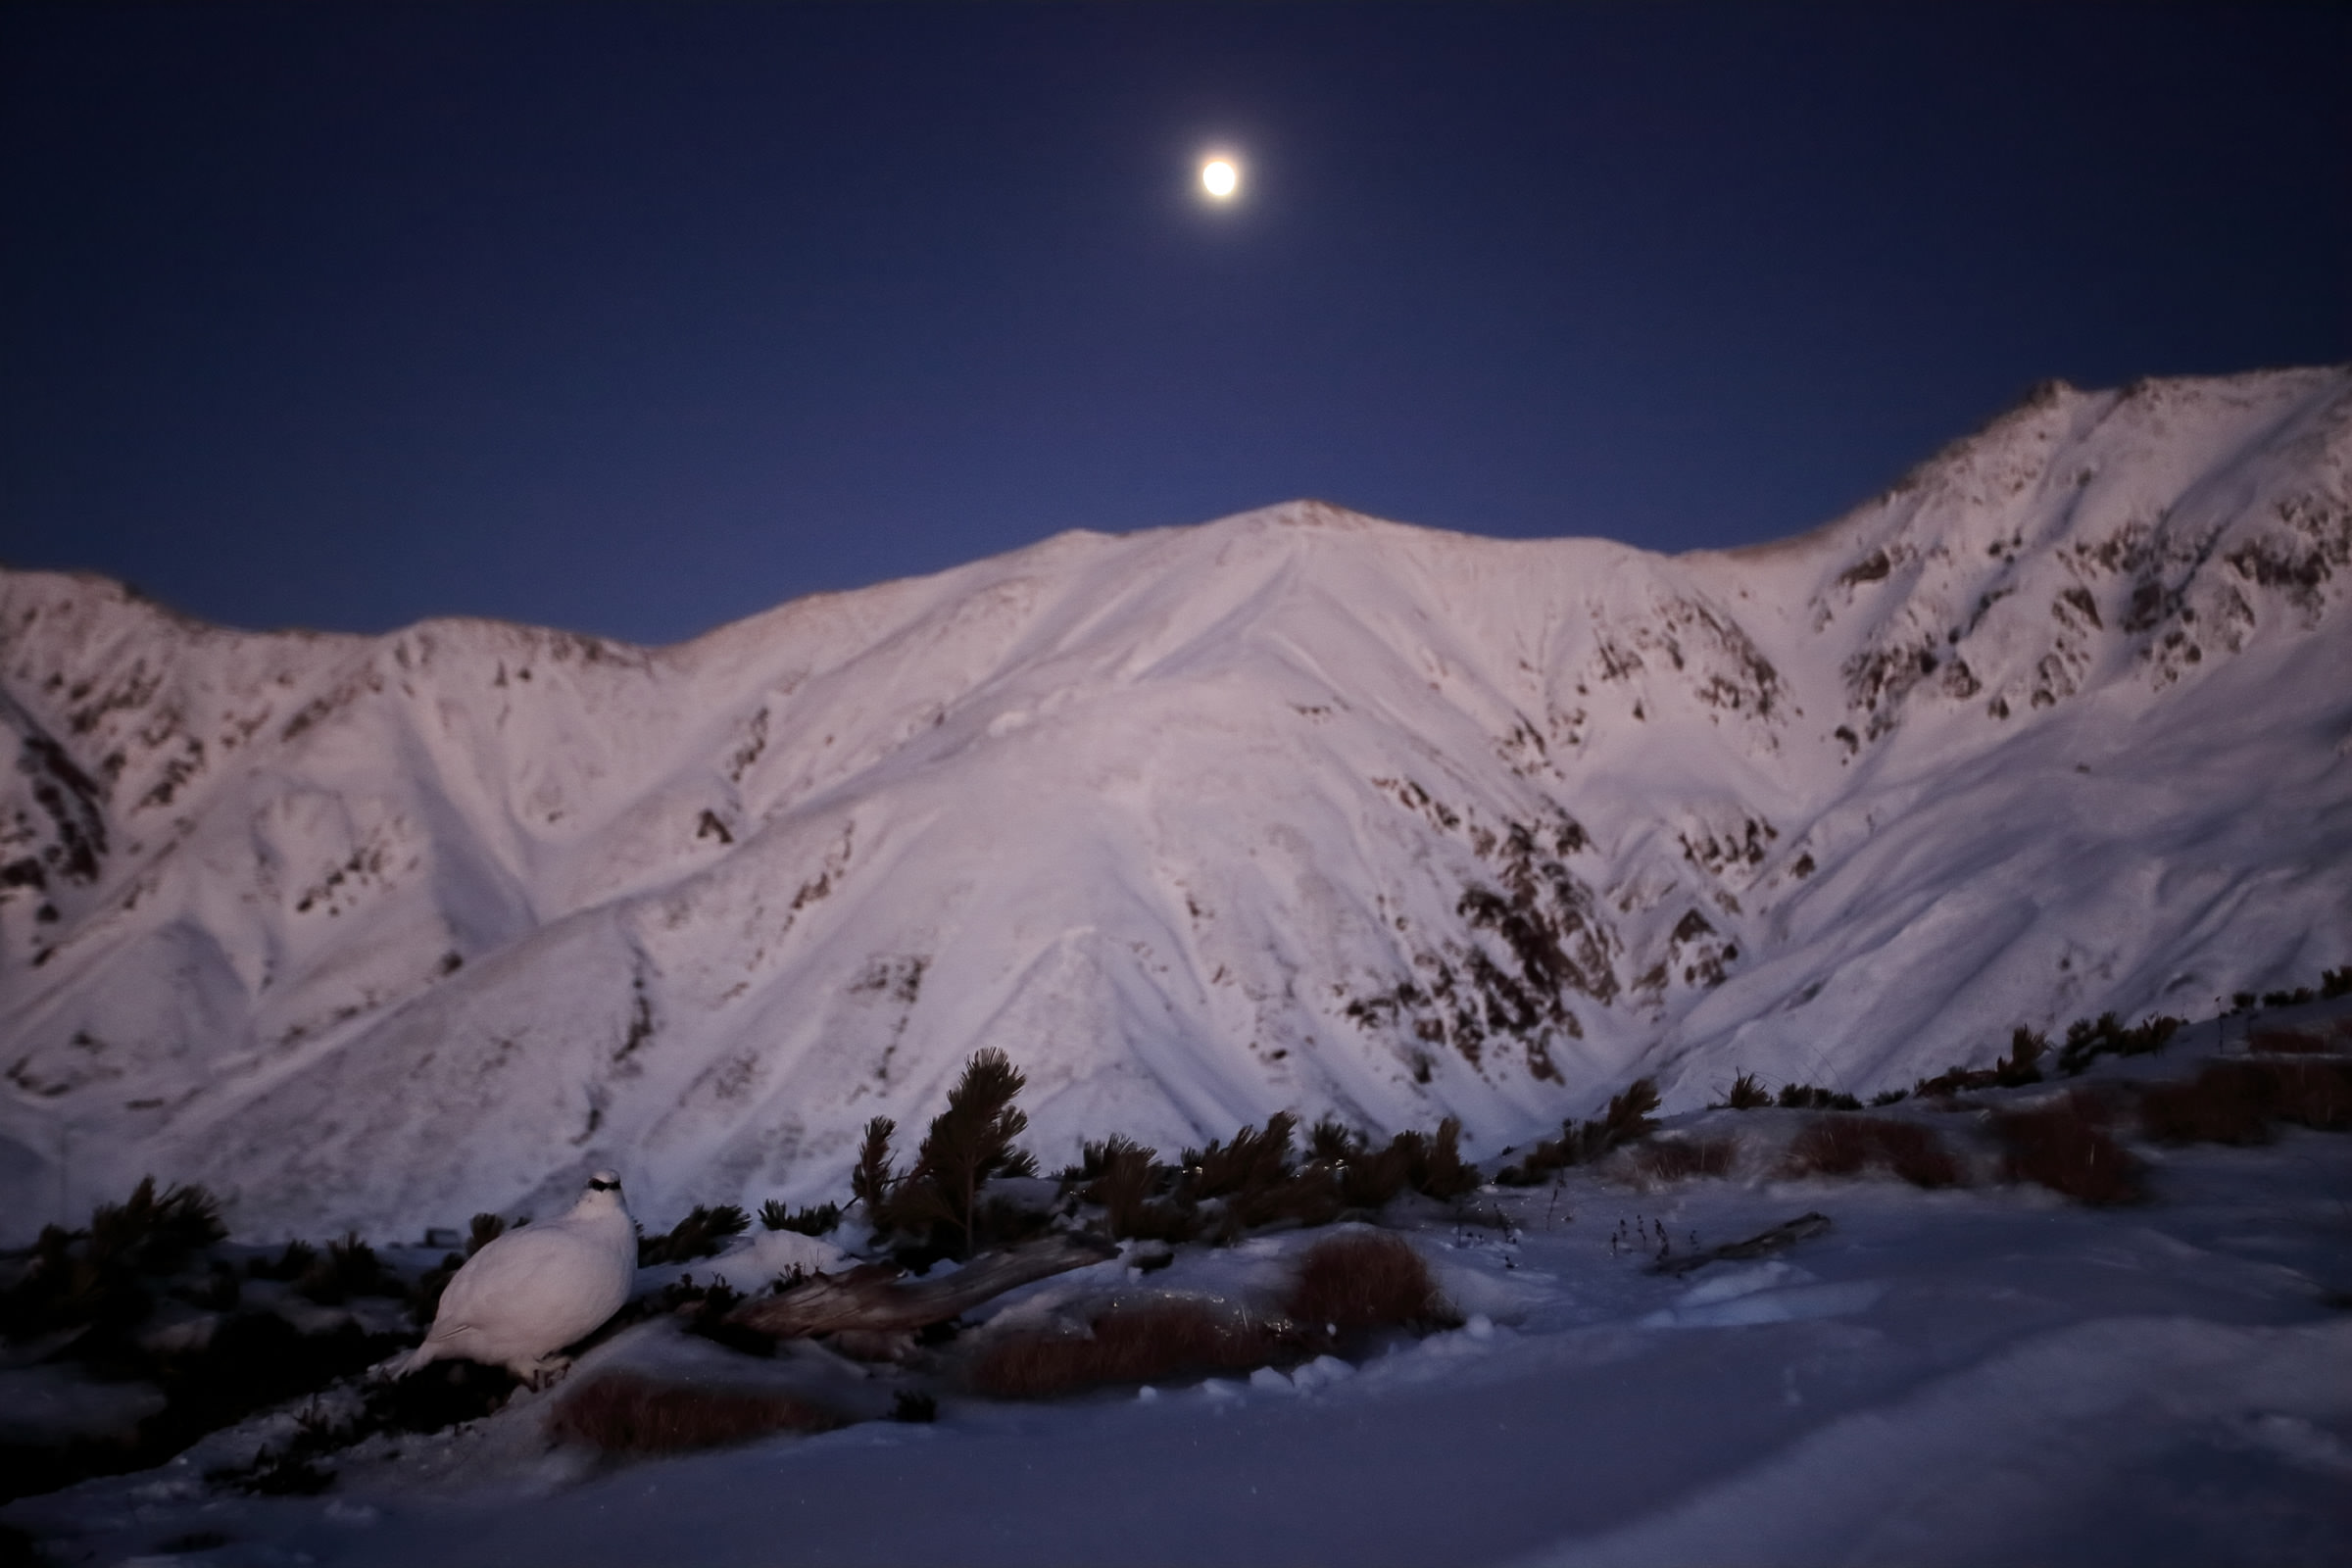
WB: Shade (7000K)
Looks similar to auto, and it has warmth.
WB: Cloudy (6000K)
It’s in between Daylight and Shade, with a little less redness than Shade.
WB: Tungsten light (3200K)
Looks very blue.
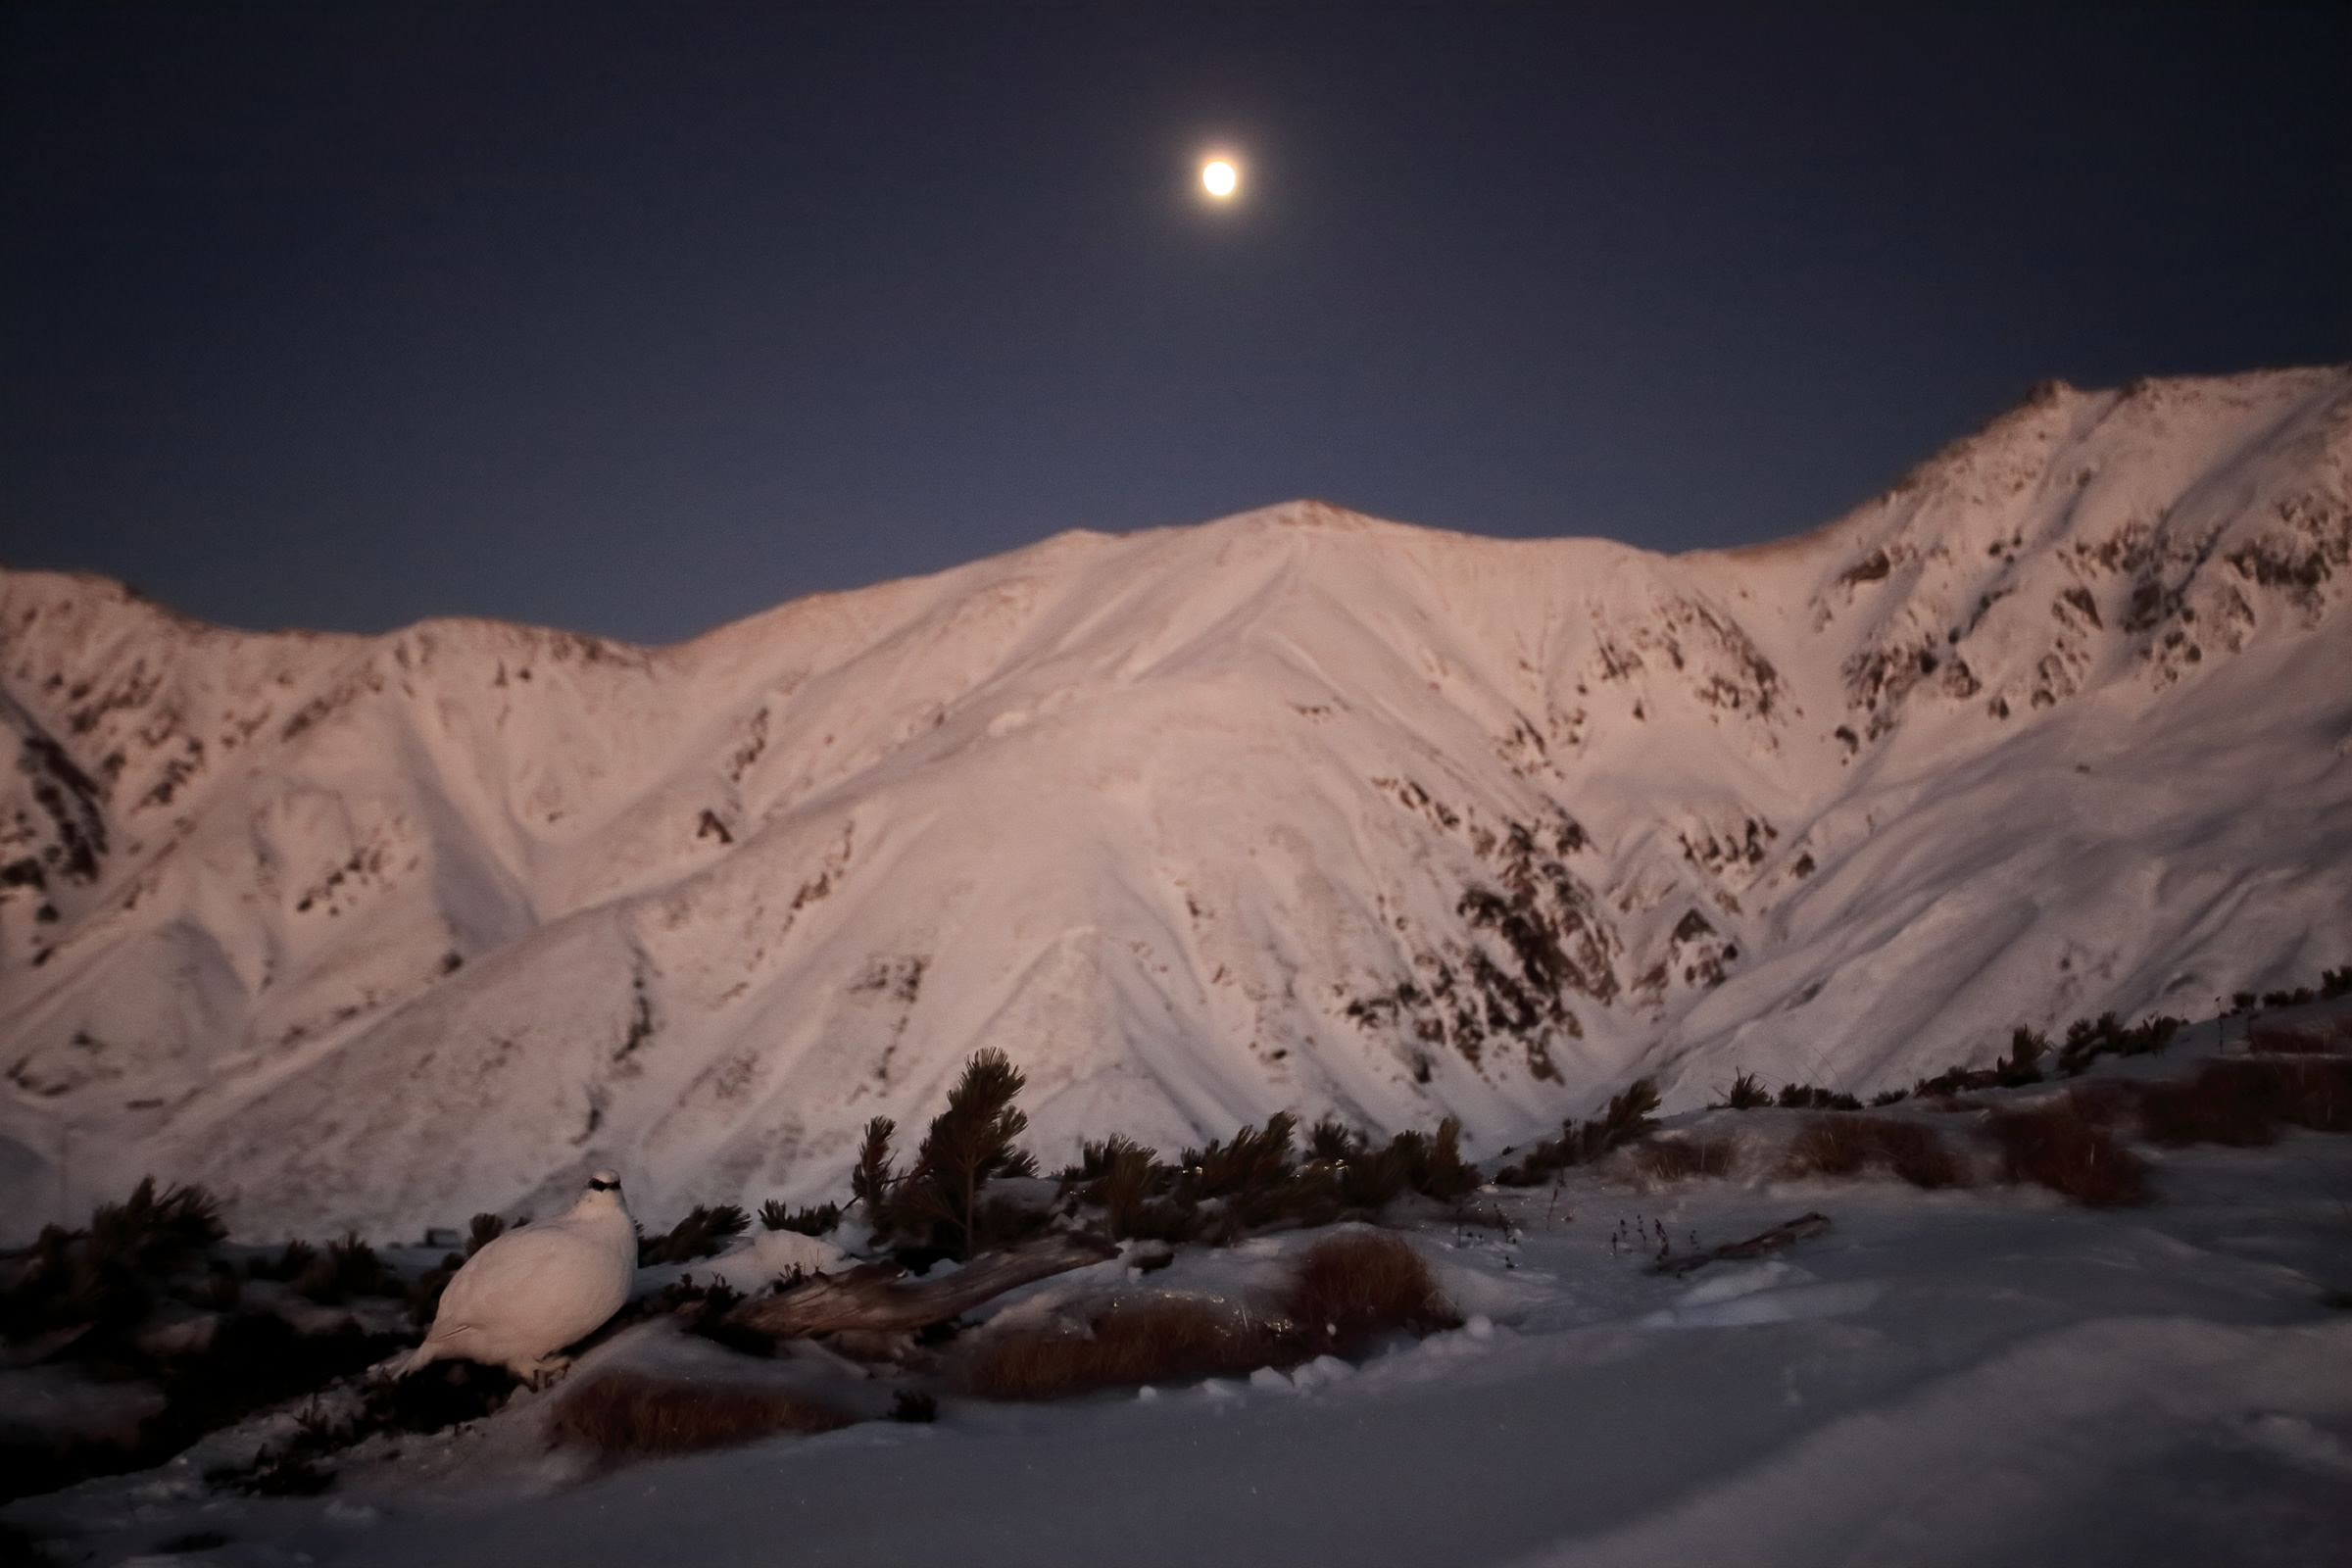
WB: White fluorescent light (4000K)
It has a mysterious feeling.
WB: 2000K (lowest manual white balance setting)
It’s completely blue. The color is ruined and you can’t use it.
WB: 10000K (highest manual white balance setting)
Looks like there’s quite a bit of red in it. It’s not what you would see with your eyes, but personally I like the afterglow coloring.