
Production Technology
Advanced production technology is crucial for the manufacture of compelling, competitive products. At Canon, we consider strengthening these technological capabilities one of our most important management priorities, and we are always improving our manufacturing by actively developing automation and in-house production technologies.
September 5, 2019
Processing process technologies behind unique products
Canon thoroughly differentiates its products and strives to improve competitiveness through the in-house manufacturing of the key parts that impact product performance.
To give shape to "things" that have been developed and designed as products, it is necessary to establish an optimal processing process suited to the materials and parts to produce items faster, at a lower cost and with more accuracy. Canon creates unique products through the development of proprietary processing process technologies, which includes the entire process from machining to process optimization.
Glass mold technology
Lenses are one of the quintessential key parts of a camera system, and the manufacture of aspherical lenses in particular is one area Canon has focused it’s efforts with glass mold technology and other proprietary technologies.
Glass mold technology is used to create lenses by directly pressing a mold that has undergone ultra-precision machining onto glass at high temperatures to transfer the shape of the mold to the glass. The ability to easily change molds is one characteristic make glass molding a highly productive machining method, which Canon uses to manufacture a variety of lenses.
In addition, Canon is engaged in research and development using simulation analysis technology that enables highly accurate prediction of the glass deformation process, in order to achieve manufacture of a larger variety of lenses at a lower cost.
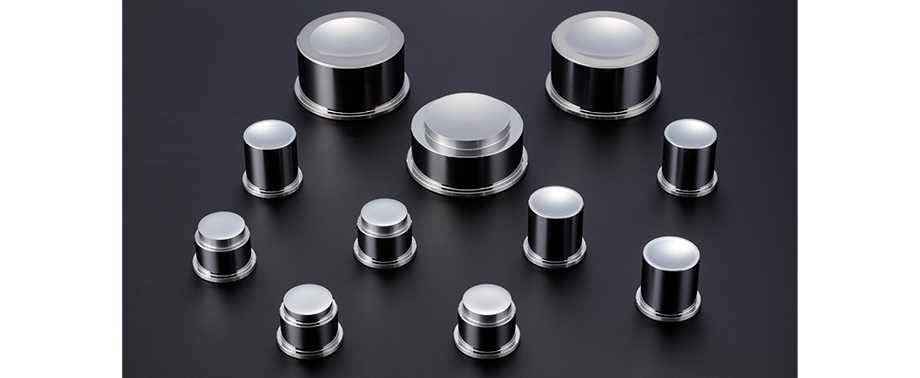
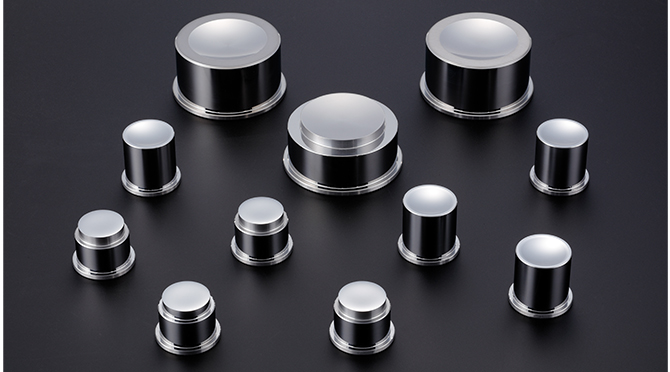
Glass mold
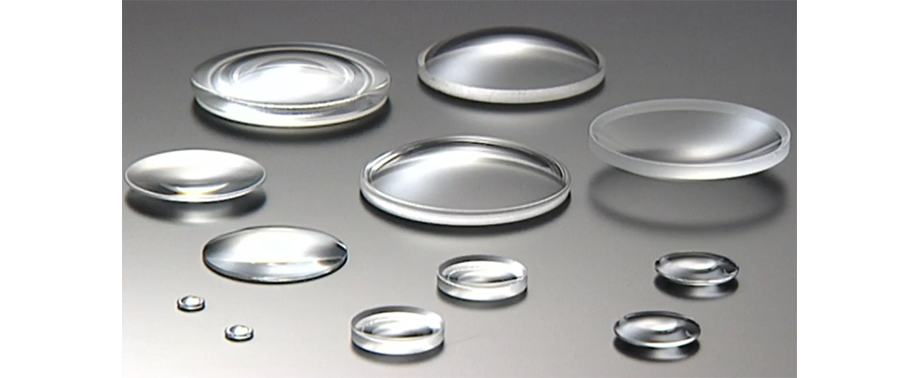
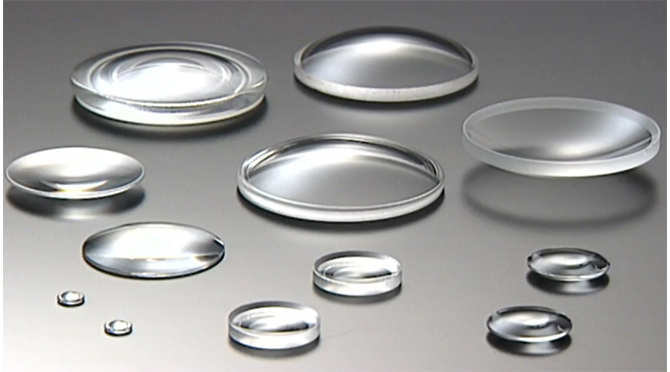
Aspherical lens
Grinding and polishing technology
Grinding and polishing technology is used to produce the high-precision aspherical lenses used for broadcast and industrial equipment, and the ultra-high-precision aspherical lenses found in semiconductor lithography equipment. Grinding and polishing technology is used for a method of machining glass and other optical element material into an aspherical shape. In addition to being adaptable to a variety of optical element materials, it is characterized by the ability to machine large lenses with a diameter of more than 200 mm as well.
Canon has achieved an overwhelming level of machining precision, including the ability to grind a lens surface to a tolerance within 100 nm (nanometers)*, then polish it to an even higher degree of precision, reducing surface roughness reduced to within a 1 nm range. In addition, we strive not only for machining precision, but also towards improving our mass production capabilities, and this grinding and polishing technology is also employed for the manufacture of aspherical lenses found in interchangeable lenses for single-lens reflex cameras.
Furthermore, the technology is also being utilized in academic fields and is contributing to the machining of aspherical lenses for the prime focus corrector lens system used in the National Astronomical Observatory of Japan's Subaru Telescope.
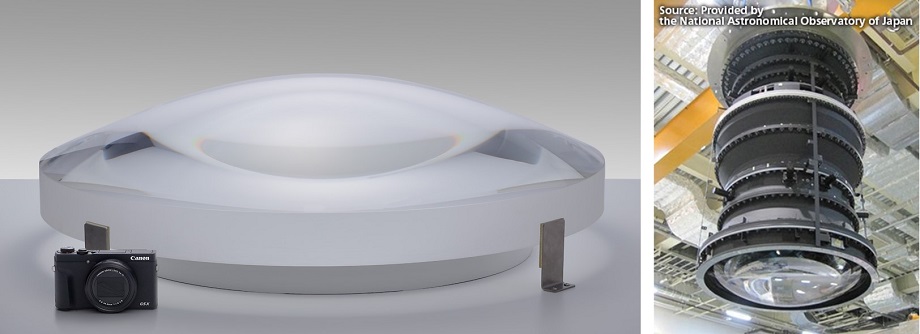

Prime focus corrector lens system used in the Subaru Telescope at the summit of Mount Mauna Kea in Hawaii
- * nanometer
1 nm = 0.000001 mm. At the nanometer level, even the tiniest difference in temperature or barometric pressure has significant impact on precision.
Plastic molding technology
Many molded plastic parts are used in Canon‘s products. Molded key parts require high levels of precision, performance and durability, and we continuously work towards such advances as improved performance and reduced costs.
To achieve this, we have incorporated the machining technology Canon has cultivated over many years, and a variety of other original technologies, to machine sophisticated molds. In addition, we have streamlined the production process and reduced costs through multi-part integral molding of different types of material, such as plastic and metal.
Furthermore, this plastic molding technology is also used for such optical parts as camera lenses and lenses for office equipment, enabling us to achieve a level of optical performance comparable to that of a glass lens using plastic materials.
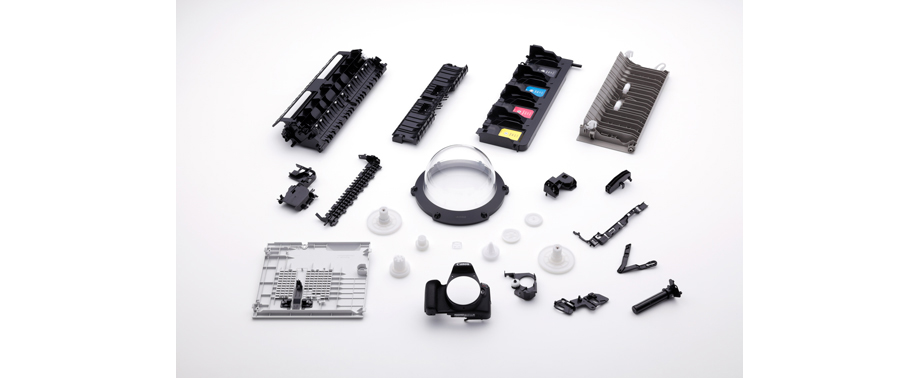
Molded plastic part
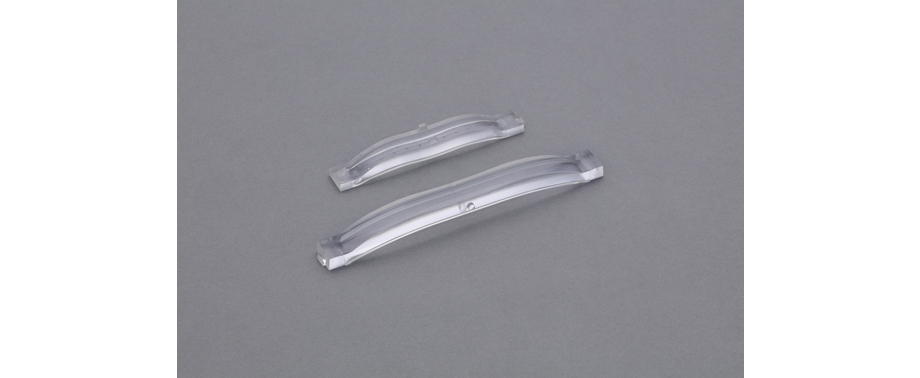
Optical element for office equipment
High-density mounting technology
The miniaturization of as well as increases in the speed and performance of semiconductor chips has contributed to making digital products smaller and lighter. Semiconductor chips are placed on the printed circuit boards used inside products, and the more semiconductor technology advances, the more important it becomes to mount them at a narrower pitch and at a higher density. Canon has also developed proprietary mounting technology that has resulted in smaller and lighter products.
System in Package (SiP) technology has made it possible to include multiple semiconductors in a single package. Package on Package (PoP) mounting technology makes it possible to stack semiconductor packages in a three-dimensional configuration using solder balls*, thereby reducing the area required for mounting.
Furthermore, research and development into simulation analysis technology—which achieves a high degree of reliability for the solder connection between packages and substrates—and solder printing technology, which is vital for minute soldering, is leading to further advances mounting technology.

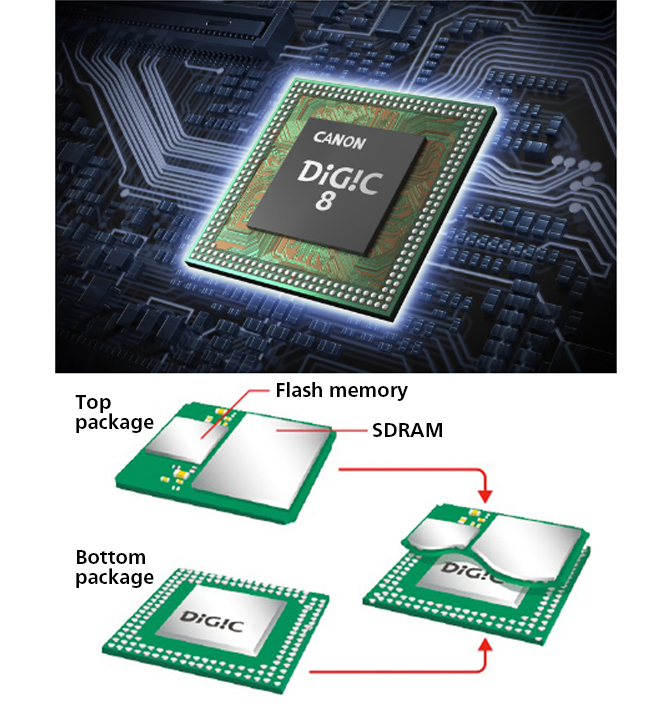
PoP (Package on Package) installation technology
- * solder ball
The connection terminal structure in BGA (a type of package form for surface mounting IC chips).
Equipment design technology incorporating proprietary precision machining and measurement technology
Canon actively promotes in-house manufacturing of manufacturing equipment used in the machining of product parts. Certain parts, such as optical elements used in products including cameras, multifunction office devices, semiconductor lithography equipment and equipment used for astronomy, require nanometer-level shape precision. These parts are made in-house using Canon’s proprietary precision machining and measurement technology.
Precision machining equipment design technology
With optical element machining equipment, machining of free-form high-precision optical elements with significant curvature change*1, such as lens molds, requires ultra-high-precision cutting machines capable of simultaneous 5-axis machining.
Canon's free-form precision machining equipment, which controls the position of the rapidly moving shearing edge with a high degree of precision, was created through the original development of such component technologies as highly rigid air bearings and high-resolution displacement sensors. The completed device achieves part machining precision with a surface roughness of 1 nm PV*2 and shape precision of 10 nm PV.
Canon's ultra-high-precision machining technology is also used to machine infrared immersion diffraction elements*3 used in astronomical observation, such as space telescopes and next-generation astronomical telescopes.
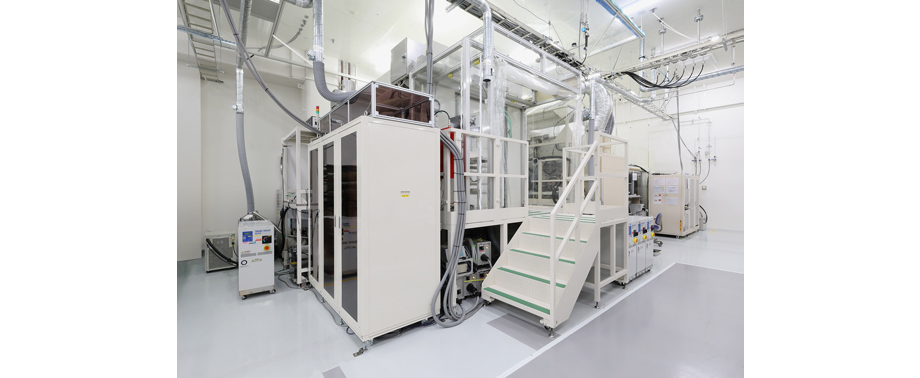
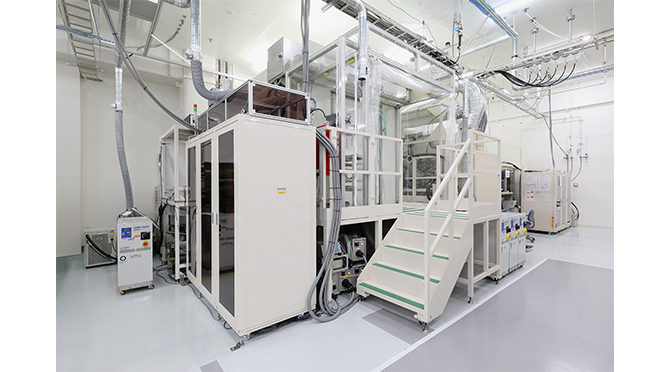
Precision machining equipment
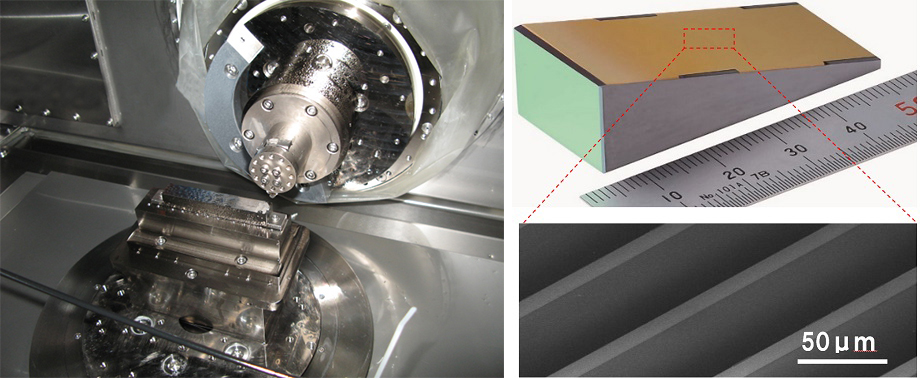
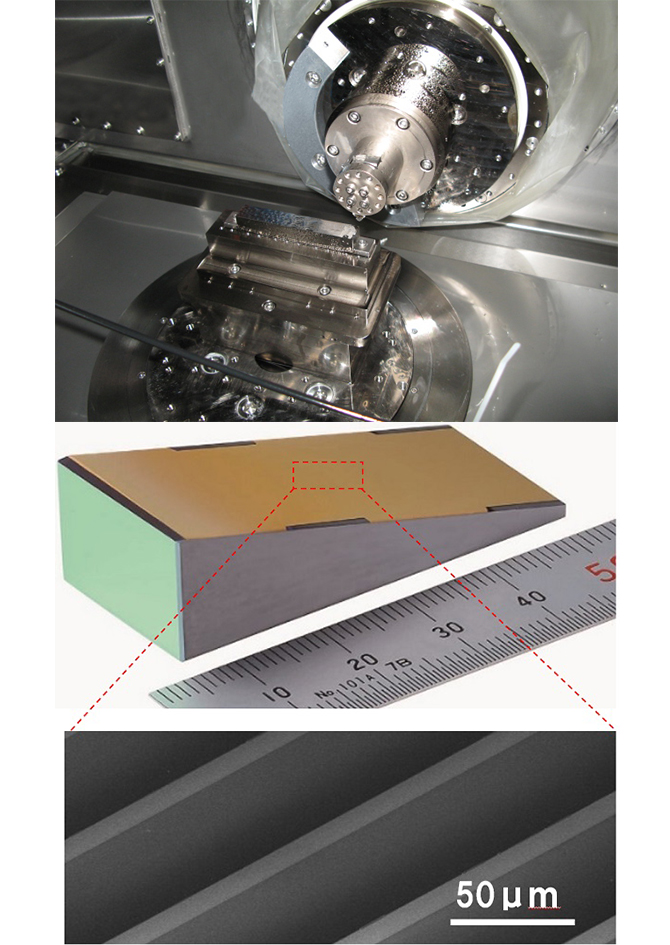
Precision machining of infrared immersion diffraction element
- *1 curvature change
A measurement indicating how much a line or surface is curved. Because a free-form lens does not have a uniform curvature, but one that varies significantly, special machining technology is required. - *2 PV
A JIS standard for surface roughness. Refers to the maximum valley depth of a profile curve. - *3 infrared immersion diffraction elements
A spectroscopic device that makes possible the production of compact, high-performance spectroscopes.
Precision measurement equipment design technology
Free-form lens measurement equipment measures with high precision the shape of an aspherical optical element over its entire surface through direct contact with a contact probe.
The optical element to be measured is placed between six mirrors—six above and below—and a laser displacement meter. A control system is used to accurately calculate the position of the contact probe, and a stitching algorithm helps to combine partial measurements and compute the overall form of the optical element.
These technologies are employed in nanometer-level high-precision measurement of objects ranging from digital camera lenses to the segment mirrors used in extremely large telescopes such as the Thirty Meter Telescope (TMT).
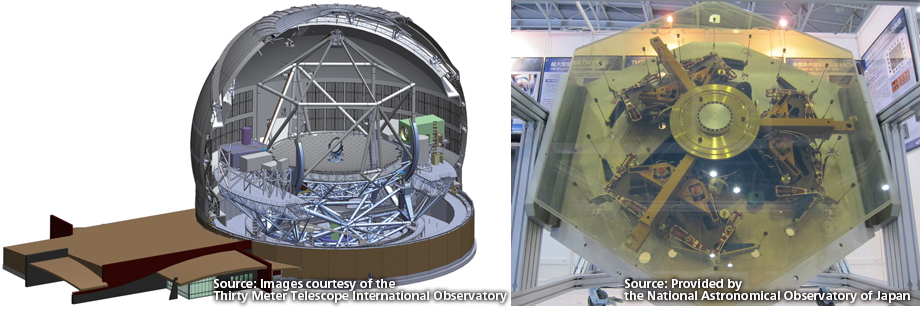
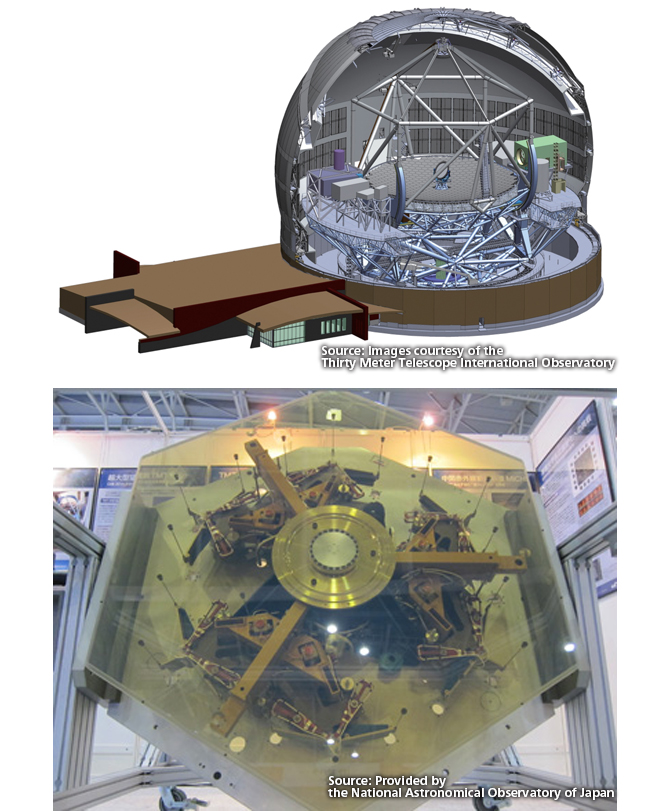
A segment mirror forming part of the primary mirror in the TMT


