The role of micrometer-level precision measurement technology in revamping factory production lines
Technology that Improves Productivity in Materials Processing
Gratings are metal covers placed over roadside ditches. Daikure Co., Ltd. is Japan's first grating manufacturer whose factory performs complex processing work that determines product performance. At that same factory, a measuring instrument that harnesses Canon’s optical technologies plays an important role.
August 21, 2024
The complex patterns on the latest gratings
The gratings covering roadside ditches promote smooth drainage while preventing people and objects from falling in. They can be found everywhere from sidewalk buffers and parking lots to the perimeters of buildings, even at parks and schools. They were first manufactured in Japan by Daikure Co., Ltd., which is headquartered in Kure City, Hiroshima Prefecture and has held the largest market share in Japan for many years.
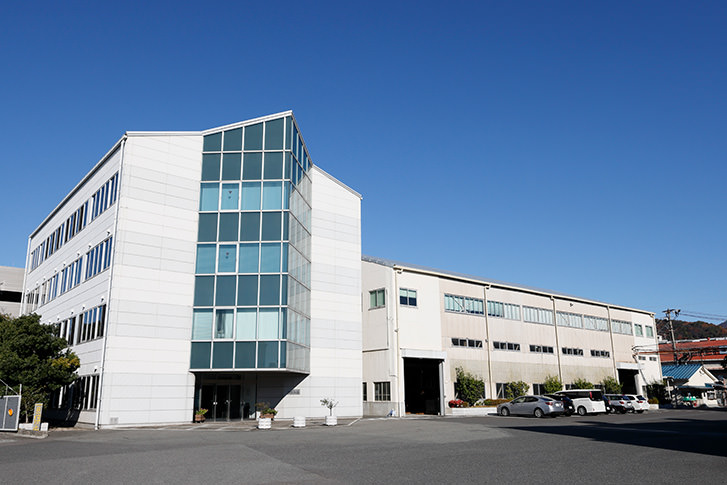
Head office of Daikure Co., Ltd.
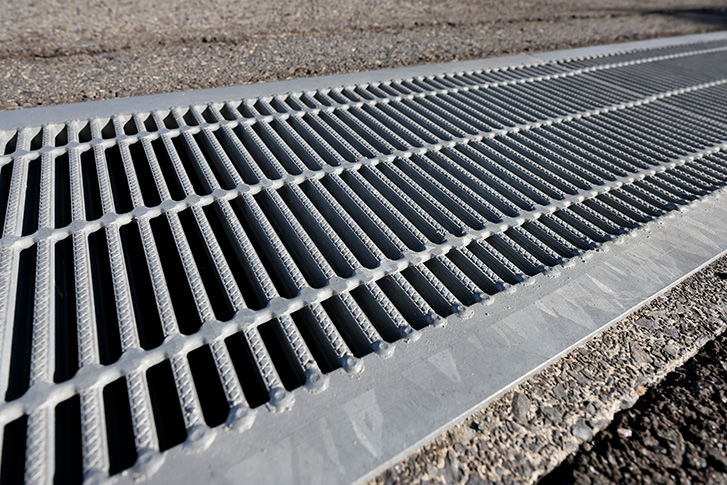
Gratings
Gratings are made by welding steel material into a grid pattern. While a narrower grid spacing reduces the risk of the wheels of prams, wheelchairs, or high heels getting stuck in between, it also makes the grating heavier and more expensive, so the location of use determines the grid spacing of the grating that will be installed. In the past, one of the disadvantages of gratings was that they would also often become slippery on rainy days.
In pursuit of its goal of “people-friendly” designs, Daikure launched a new product called D-Grip in 2022. D-Grip has two contradictory features: it has large protrusions that gives it excellent anti-slip properties, but is also comfortable to walk on. Its successful development was made possible by applying a complex hexagonal protrusion pattern to the surface. Daikure also developed a new processing machine to perform the complex processing work required. The machine moves the 6 m-long steel materials at high speed while carving the protrusion patterns into it with a blade called a “die.”
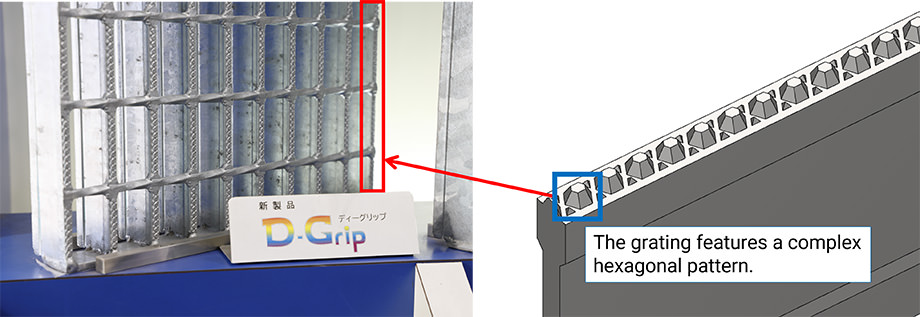
The new D-Grip
Solving blade chipping issues through precise movement measurements
“The D-Grip processing machine used to have frequent blade chipping,” recalled Tsuyoshi Yamashita of Daikure’s Facilities Division. Carving the complicated patterns on D-Grips requires lowering the blade onto the steel material at the right timing, and this was previously controlled using a timer. The timer would be started when the steel material (main bar) entered the processing machine, and the blade would be dropped after a specific duration.
However, the speed at which the steel material is conveyed can vary due to reasons such as friction. Thus, there were issues with the blade falling too soon, colliding with the steel material, and chipping.
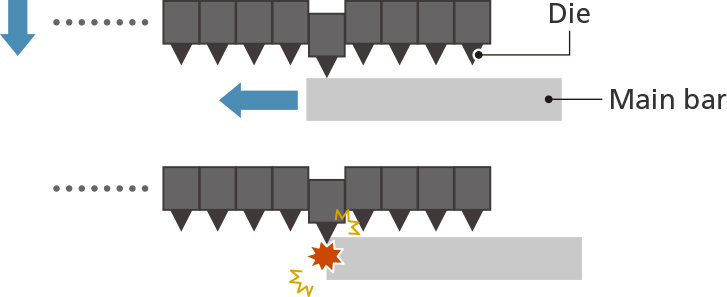
If the blade (die) drops before the steel material (main bar) reaches a specific position, they will collide, chipping the blade.
“We experimented with several methods, but they didn’t solve the issue,” said Masanori Yoshida, the Division’s Section Chief.
“We tried increasing the strength of the blades, and changing the carving speed and pressure, but these did not solve the issue as desired either,” Yamashita elaborates.
“I felt that we wouldn’t be able to solve the problem unless we fundamentally changed our method of controlling the process with a timer.”
While looking for a solution, one of their team members searched online and discovered Canon’s Non-Contact Displacement Sensor.
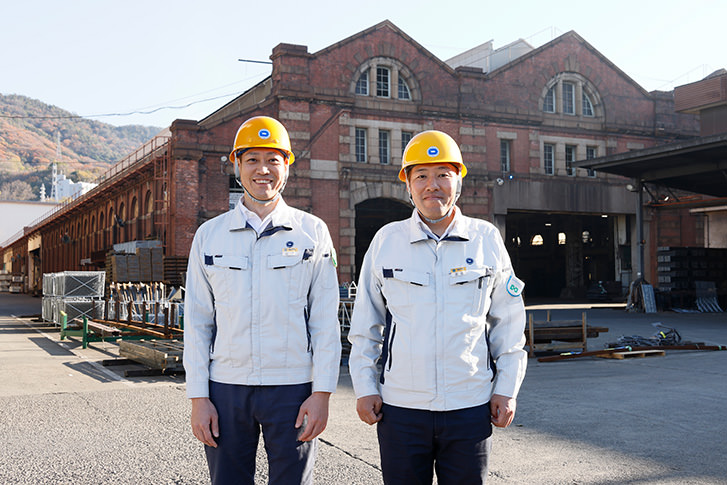
Daikure Co. Ltd.’s Facilities Division Manager Tsuyoshi Yamashita (left) and Section Chief Masanori Yoshida (right).
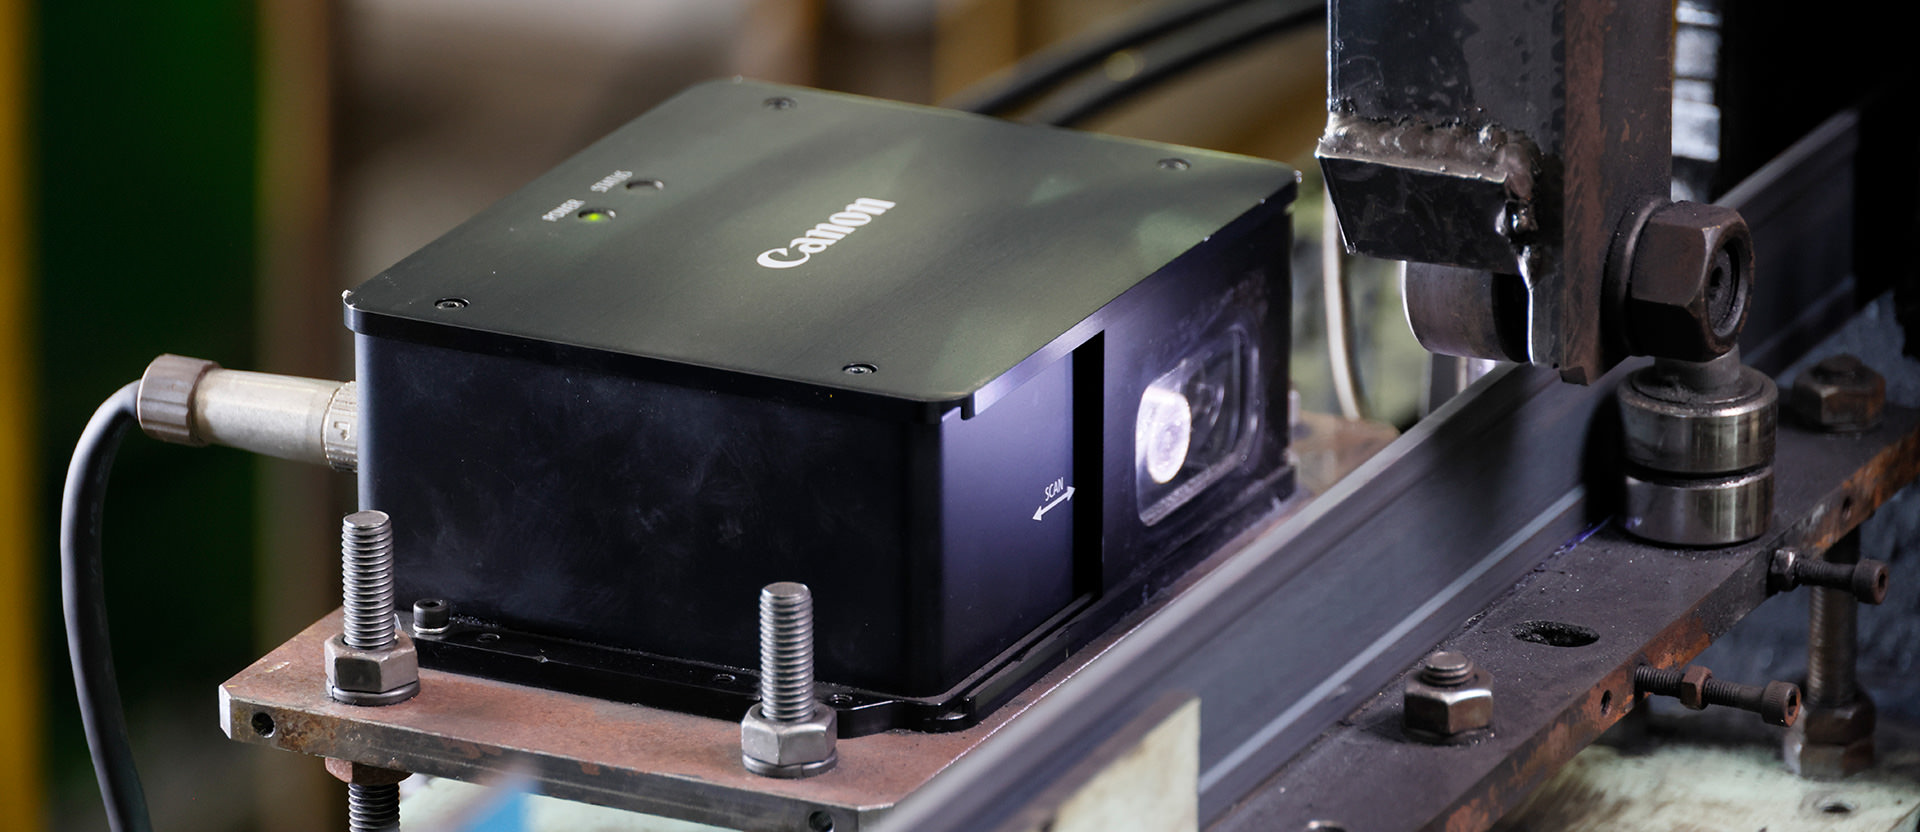
Canon’s Non-Contact Displacement Sensor works by projecting a beam from an LED light source onto the target object and using a line sensor to receive and obtain an image from the reflected light. This enables it to measure the distance and speed of moving materials such as those on a production line without touching them. Using Canon’s proprietary technology, it can rapidly process 4,000 images in one second and measure the length with the precision of a micrometer*. As it is contactless, there are no mismeasurements caused by friction or slippage, and it can be used to measure a diverse range of materials including fragile aluminum materials and food ingredients, which would have been challenging to measure with a contact-type method.
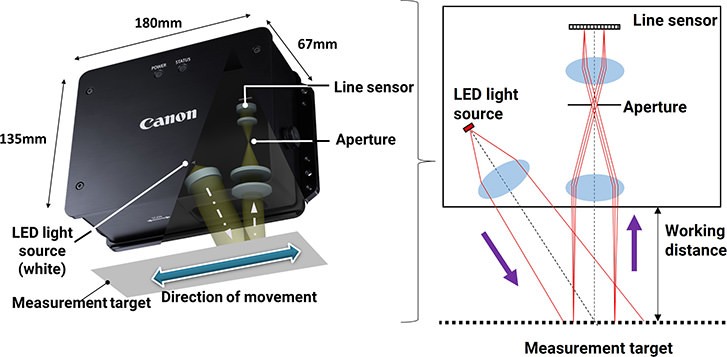
How Canon’s Non-Contact Displacement Sensor works
An illustration of the Non-Contact Displacement Sensor in action (Video/ 26 seconds) *No audio
*In order to view videos, it is necessary to consent to the use of cookies by our website. If the videos are not displayed, please click the "Cookie Settings" and accept cookies.
Yamashita recalls how he felt the moment he saw the sensor’s specifications. “I thought, ‘We just have to know how far the material travelled to be able to process it in the right position. This device is it!’”
They quickly got hold of a demo set to test out.
- *1 micrometer = 1/1000th of 1 mm
We were surprised that it gave accurate measurements even when there were vibrations and sudden accelerations.
It’s impossible to avoid vibrations on a production line where steel materials are conveyed at high speed. Due to reasons such as friction, the conveying speed may not be consistent—it fluctuates between 20 to 50 meters per minute in Daikure’s production environment. Canon’s Non-Contact Displacement Sensor can technically handle vibrations as large as 30 mm vertically.
While Yamashita and Yoshida were hopeful about the sensor’s promised ability to respond to sudden speed changes, they also had some doubts. Would it really maintain accuracy in such situations?
Their doubts were quashed. “The sensor tracked the feed amount of steel materials despite sudden accelerations and decelerations. We were surprised. If this was how it performed, we had confidence that it would work.”
The Non-Contact Displacement Sensor was soon installed on the D-Grip production line, ensuring that the die blade dropped exactly where required, allowing for accurate processing. This ended the blade chipping caused by mistimed motions, allowing the blade to be used to the limit of its durability.
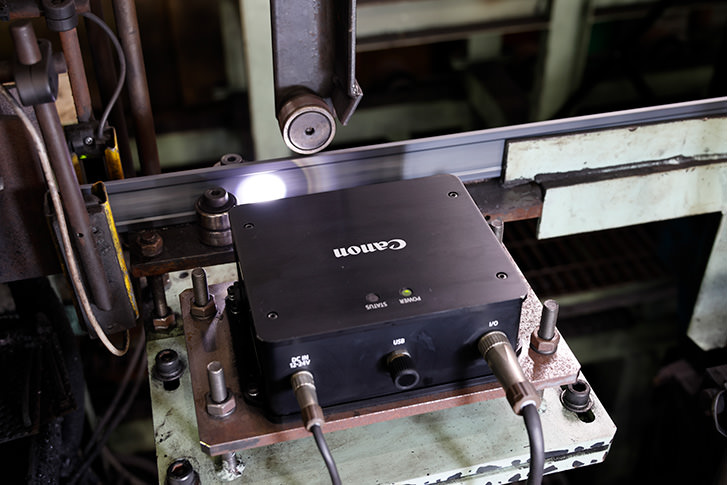
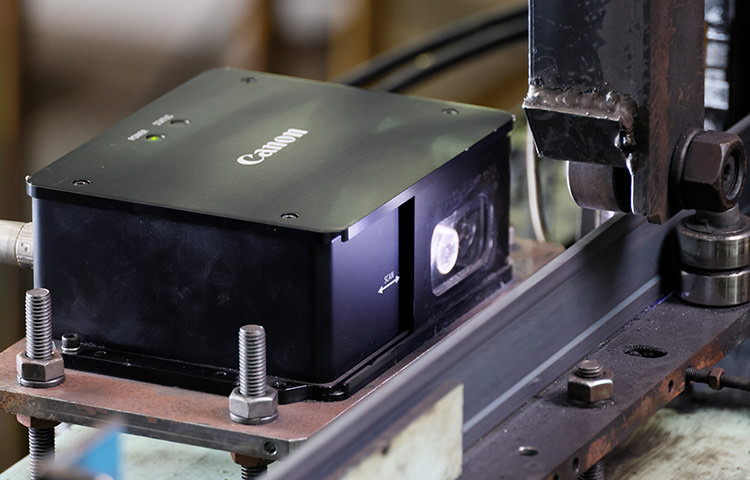
The Non-Contact Displacement Sensor on the D-Grip production line that measures the distance moved by the steel material.
Easy to install and maintain
Canon’s Non-Contact Displacement Sensor is so small that it fits into one hand. As it works without touching the target object, it can be easily incorporated into the production process without requiring realignment of the blade position or the flow of the steel materials.
“It has a simple data output format. We could smoothly integrate the device with other systems (such as the processing equipment with the blades),” Yoshida recounts.
The device’s simple design and operations allow others besides the lead operator to handle the system without difficulty.
“During the night shift when only one person is on duty, any malfunction to a complicated machine means that that person will have to configure many settings alone. In some cases, we would have to pause production.
Canon’s Non-Contact Displacement Sensor is simple to set and easy to swap out if there are any issues, which is also part of its appeal,” Yamashita shares.
So far, they have never encountered a situation that required reconfiguration of the sensor: Yoshida and Yamashita say it has worked smoothly since its installation with barely any issues.
The Non-Contact Displacement Sensor can measure steel materials that vibrate and change speed. (Video/ 10 seconds) *No audio
*In order to view videos, it is necessary to consent to the use of cookies by our website. If the videos are not displayed, please click the "Cookie Settings" and accept cookies.
An indispensable device to reduce cost by tens of millions of yen
Canon’s Non-Contact Displacement Sensor has nearly tripled the lifespan of Daikure’s steel processing machine’s blades since its introduction.
“It not only saved the blades, but reduced the time and labor costs incurred replacing them, and improved our rate of non-defective products. We estimate tremendous cost savings as much as tens of millions of yen,” says Yamashita.
Yamashita and Yoshida, associating Canon with camera manufacture, had been unaware that Canon also developed and produced measuring devices. The length measurement sensor that they purchased now has an indispensable presence in the factory. “We look forward to future equipment development that addresses our production floor needs,” they tell us.
Canon hopes to continue contributing to the improvement of productivity in diverse areas.


